
The Ultra Max Ludicrous edition (2500W peak) fitted onto a modified FS fatty frame
One of my pet peeves about the new torque-sensing 1000W Ultra Max drive unit is that there just aren’t that many frames for it available in the states. The original Bafang Max drive which only sported 350W of power has a totally different mounting bracket than the Ultra Max which means you just can’t fit a round drive unit into a square hole. While there are prebuilt ebikes on the market that you can buy already with the Ultra Max drive unit on it, I wanted something a whole lot cheaper and I didn’t want to wait. I had an old full suspension bike frame from a Bikes Direct Sniper which I decided to chop up and weld the aluminum mounting bracket on. This article is about that process and the end results which I would encourage everyone to copy me (imitation is the sincerest form of compliment).

I just used a cut-off wheel with a cordless angle grinder to chop off the BB
I liked test riding the 2500W torque sensing Ultra Max Luna Apex, but it quickly became clear that I wasn’t going to be able to spring for the $5,500+ that it was going to cost to get my dirty paws on one. On top of that, after test driving the model with the Rohloff hub, it became clear that if I did get the Apex that the Rohloff was a must have $1,800 option. Since I have seen fit to not really work a real job and basically have been living off the scraps out of my neighbor’s compost pile I had to start looking at more realistic options.
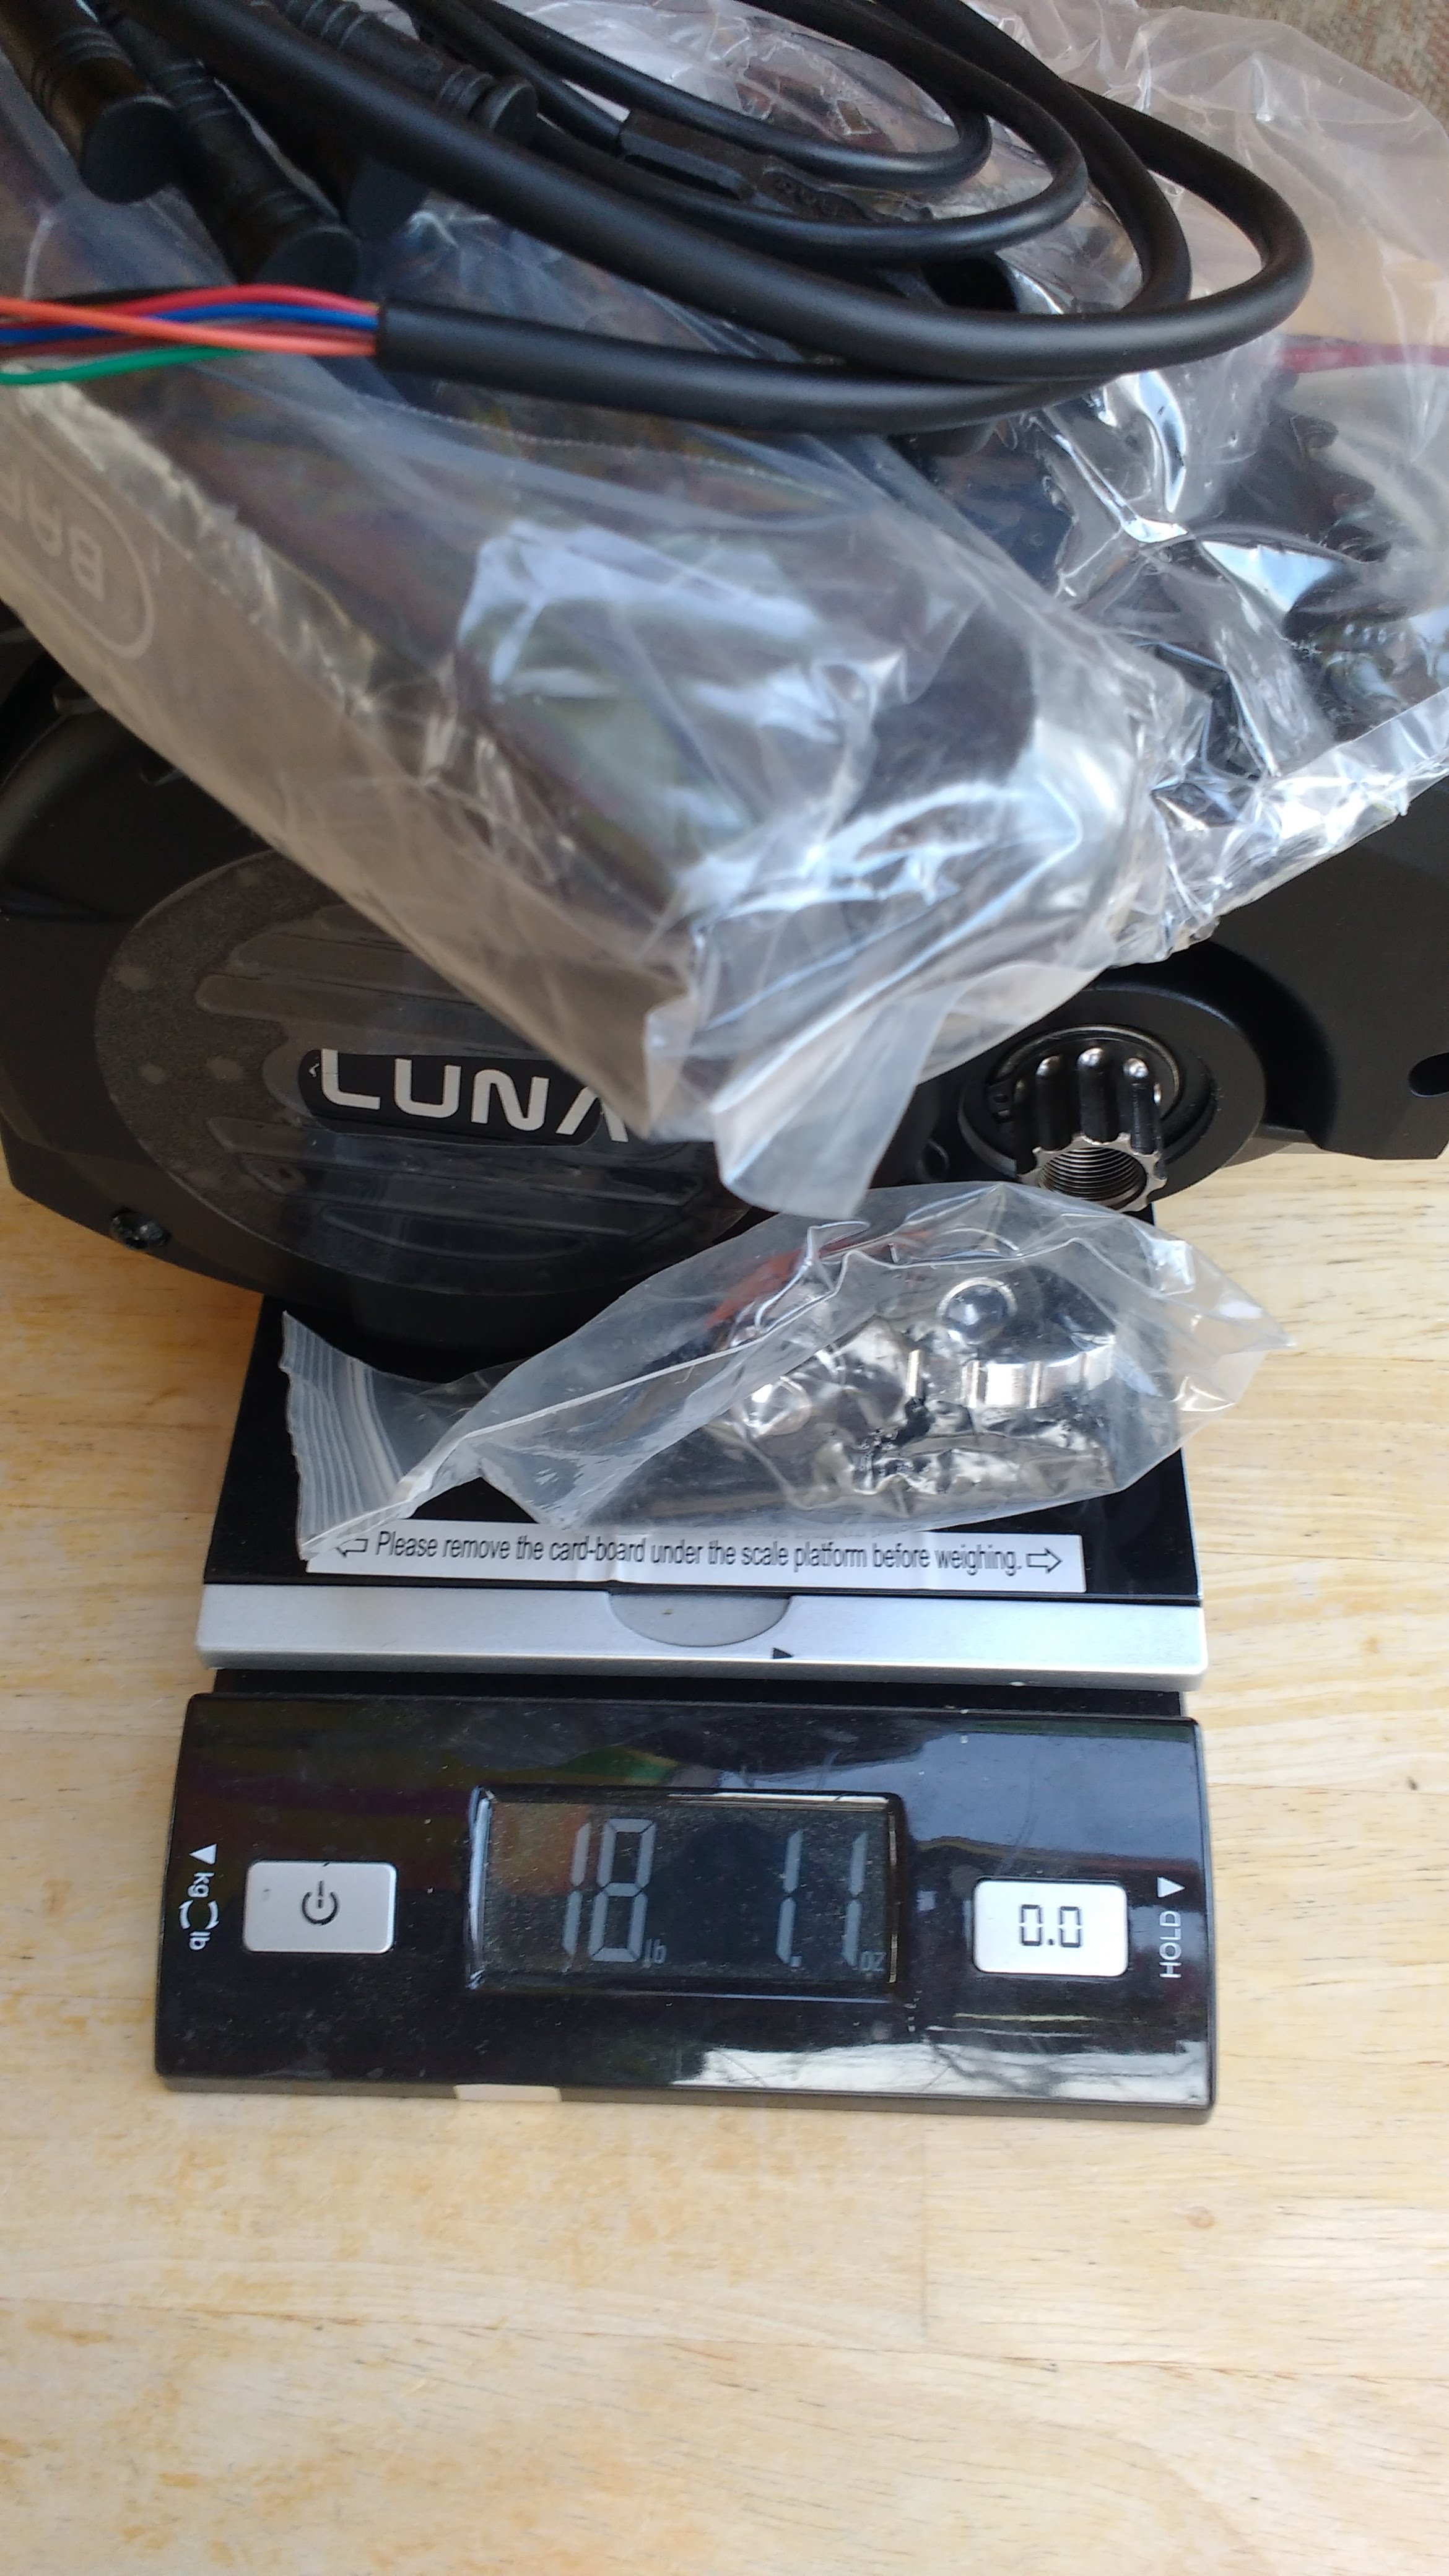
With all the accessories the Ultra Max is a heavy beast, Yowsers
The Gravity Sniper full suspension frame I had sprung $1500 on 2 years ago had been sitting around in the ebike shed gathering dust. The rear swingarm was looser than a $20 hooker and I could see I was wasting my time riding it with. I had set it up with a 3000W Ascent Tangent drive system which twisted the frame so much under full throttle that I was seriously afraid that the frame would break. Something a little lower power and torque sensing were clearly called for. One of the nicest features of the Sniper/Quigley frame is that the chainstays are up and out-of-the-way so you don’t have to try to weld them to the Ultra Max bracket.
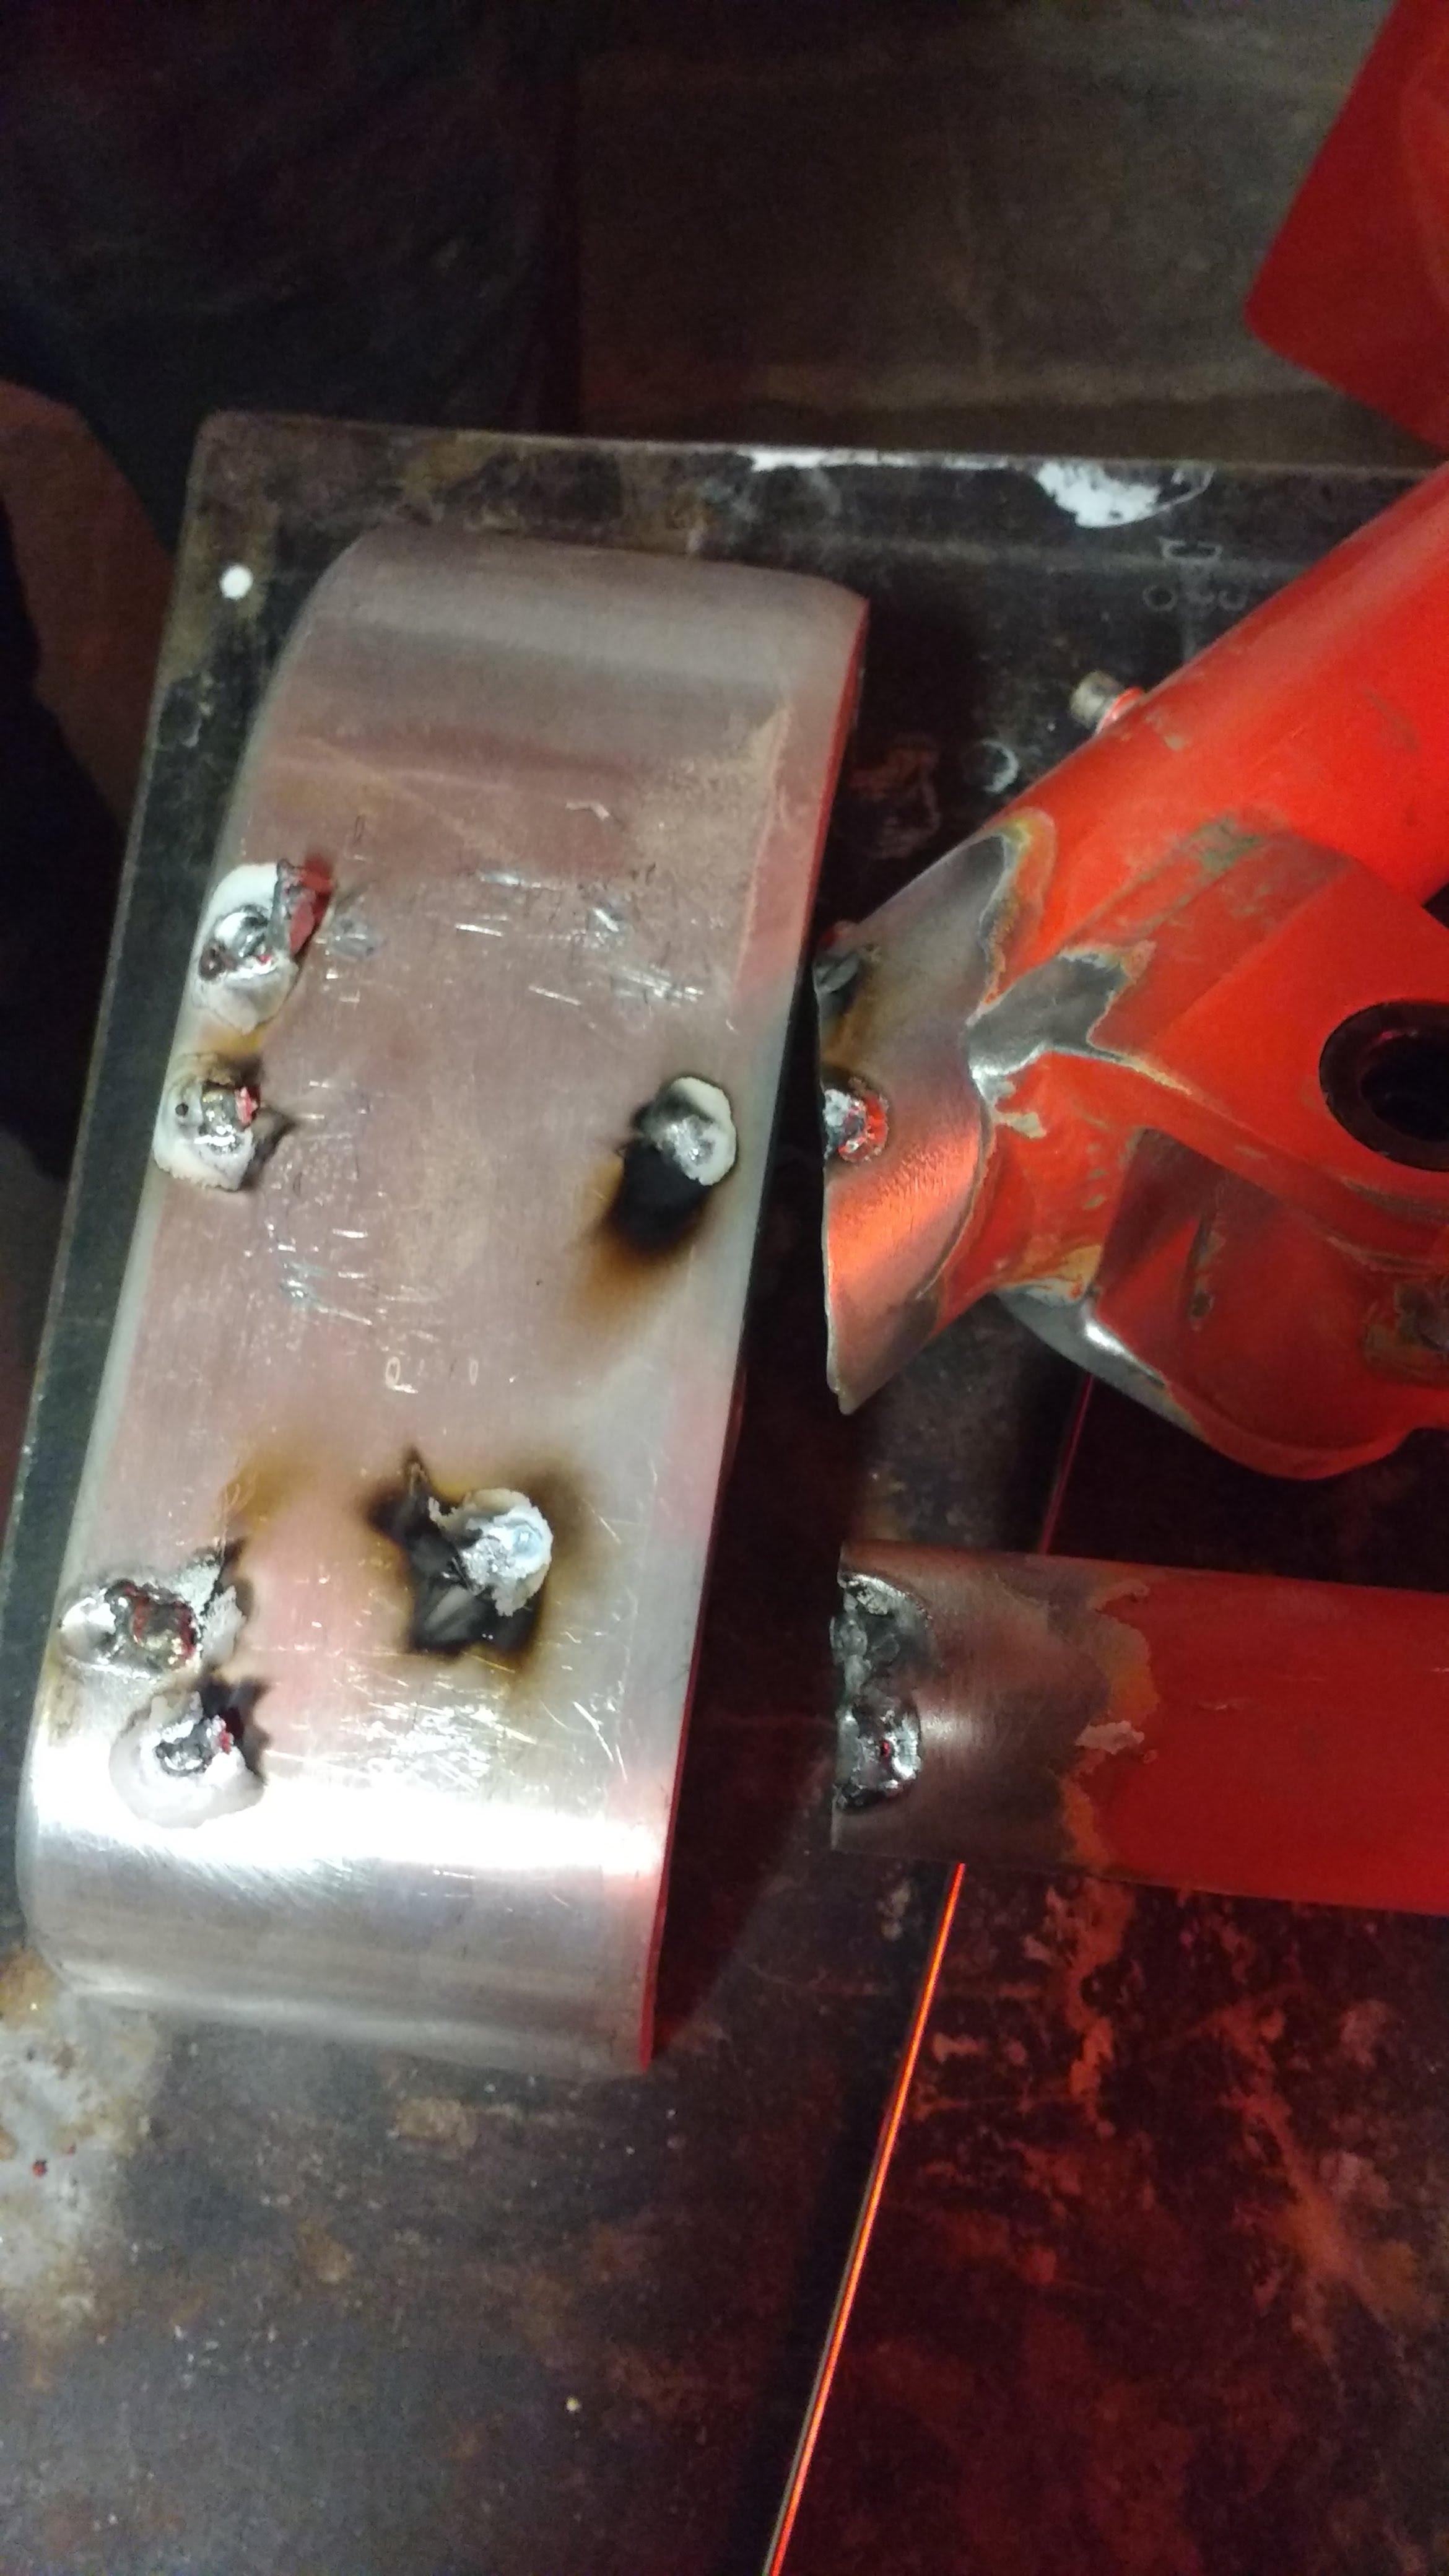
Laughably bad tack welds, I should keep my day job (if only I had a day job)
I went to the Ithaca Generator Makerspace to chop off the old bottom bracket and grind off the paint so I could TIG weld it. Although I’ve done a fair bit of Acetylene welding in the past, I can say with some certainty that the skills don’t transfer well to TIG welding. After about 15 minutes of trying, I ended up giving up as it became clear that there was no way it was ever going to happen. I took my pieces to the local welding shop Accufab who charged me $80 to do a bang-up welding job on it. I talked to them about what the application was and they used the right kind of rod that would allow some flex in the joints instead of rigidity. Although Aluminum is extremely weak when welded and not heat-treated (think lead) I was assured that the welds would probably hold up even with the level of abuse that I dish out to my bikes (I just broke my second alloy frame last week, sad panda).

If you think it’s easy getting welds this nice with aluminum, I assure you that it’s not
If you want to heat-treat the frame after welding it (you should) then you need to get a temperature controlled kiln and get the frame up to about 1400 degrees and then quench it in water. After the quenching it needs to go into the kiln at a mere 400 degrees for a few hours then it’s good to go. I have a friend that has temperature controlled kilns that agreed to do the firing, but in the end, I was too lazy to grind all the paint off so I figured I’d try to break the untreated welds and if I could then I would do it the right way the second time around. So far, so good (I’ll update the article if and when I break it).
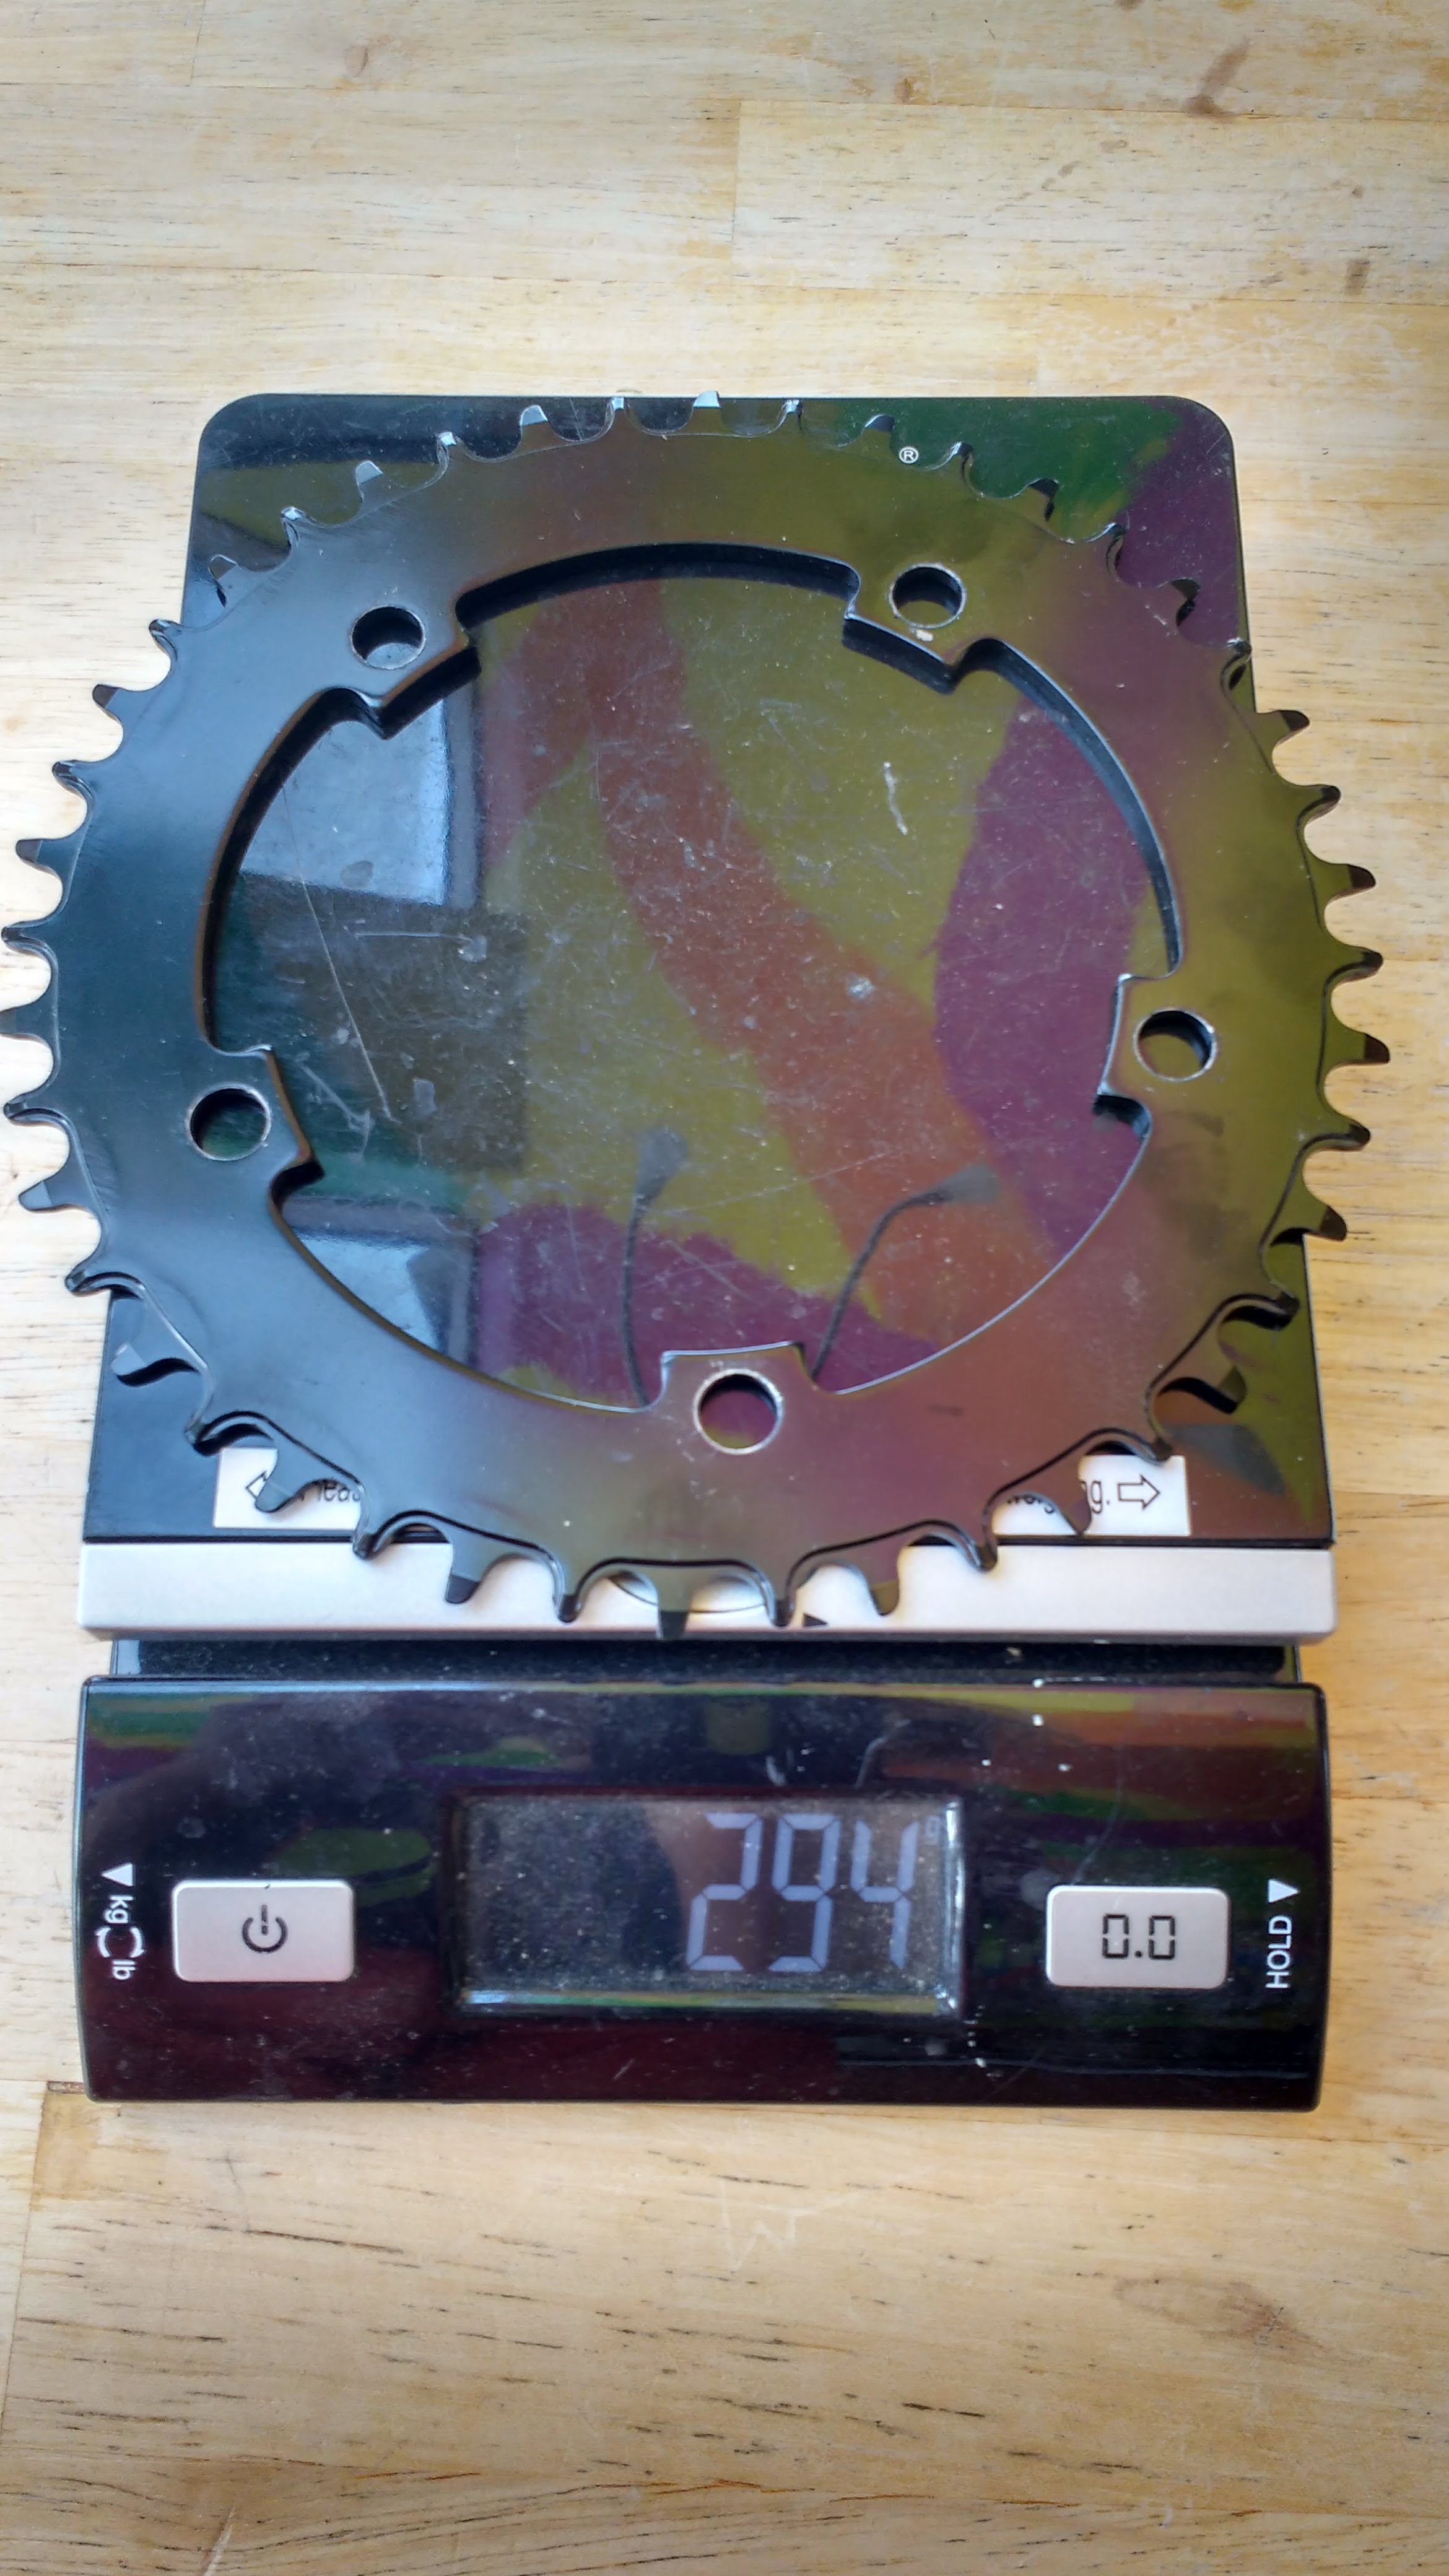
This was one of my biggest disappointments with the Ultra, a 294g steel chain wheel frisbee
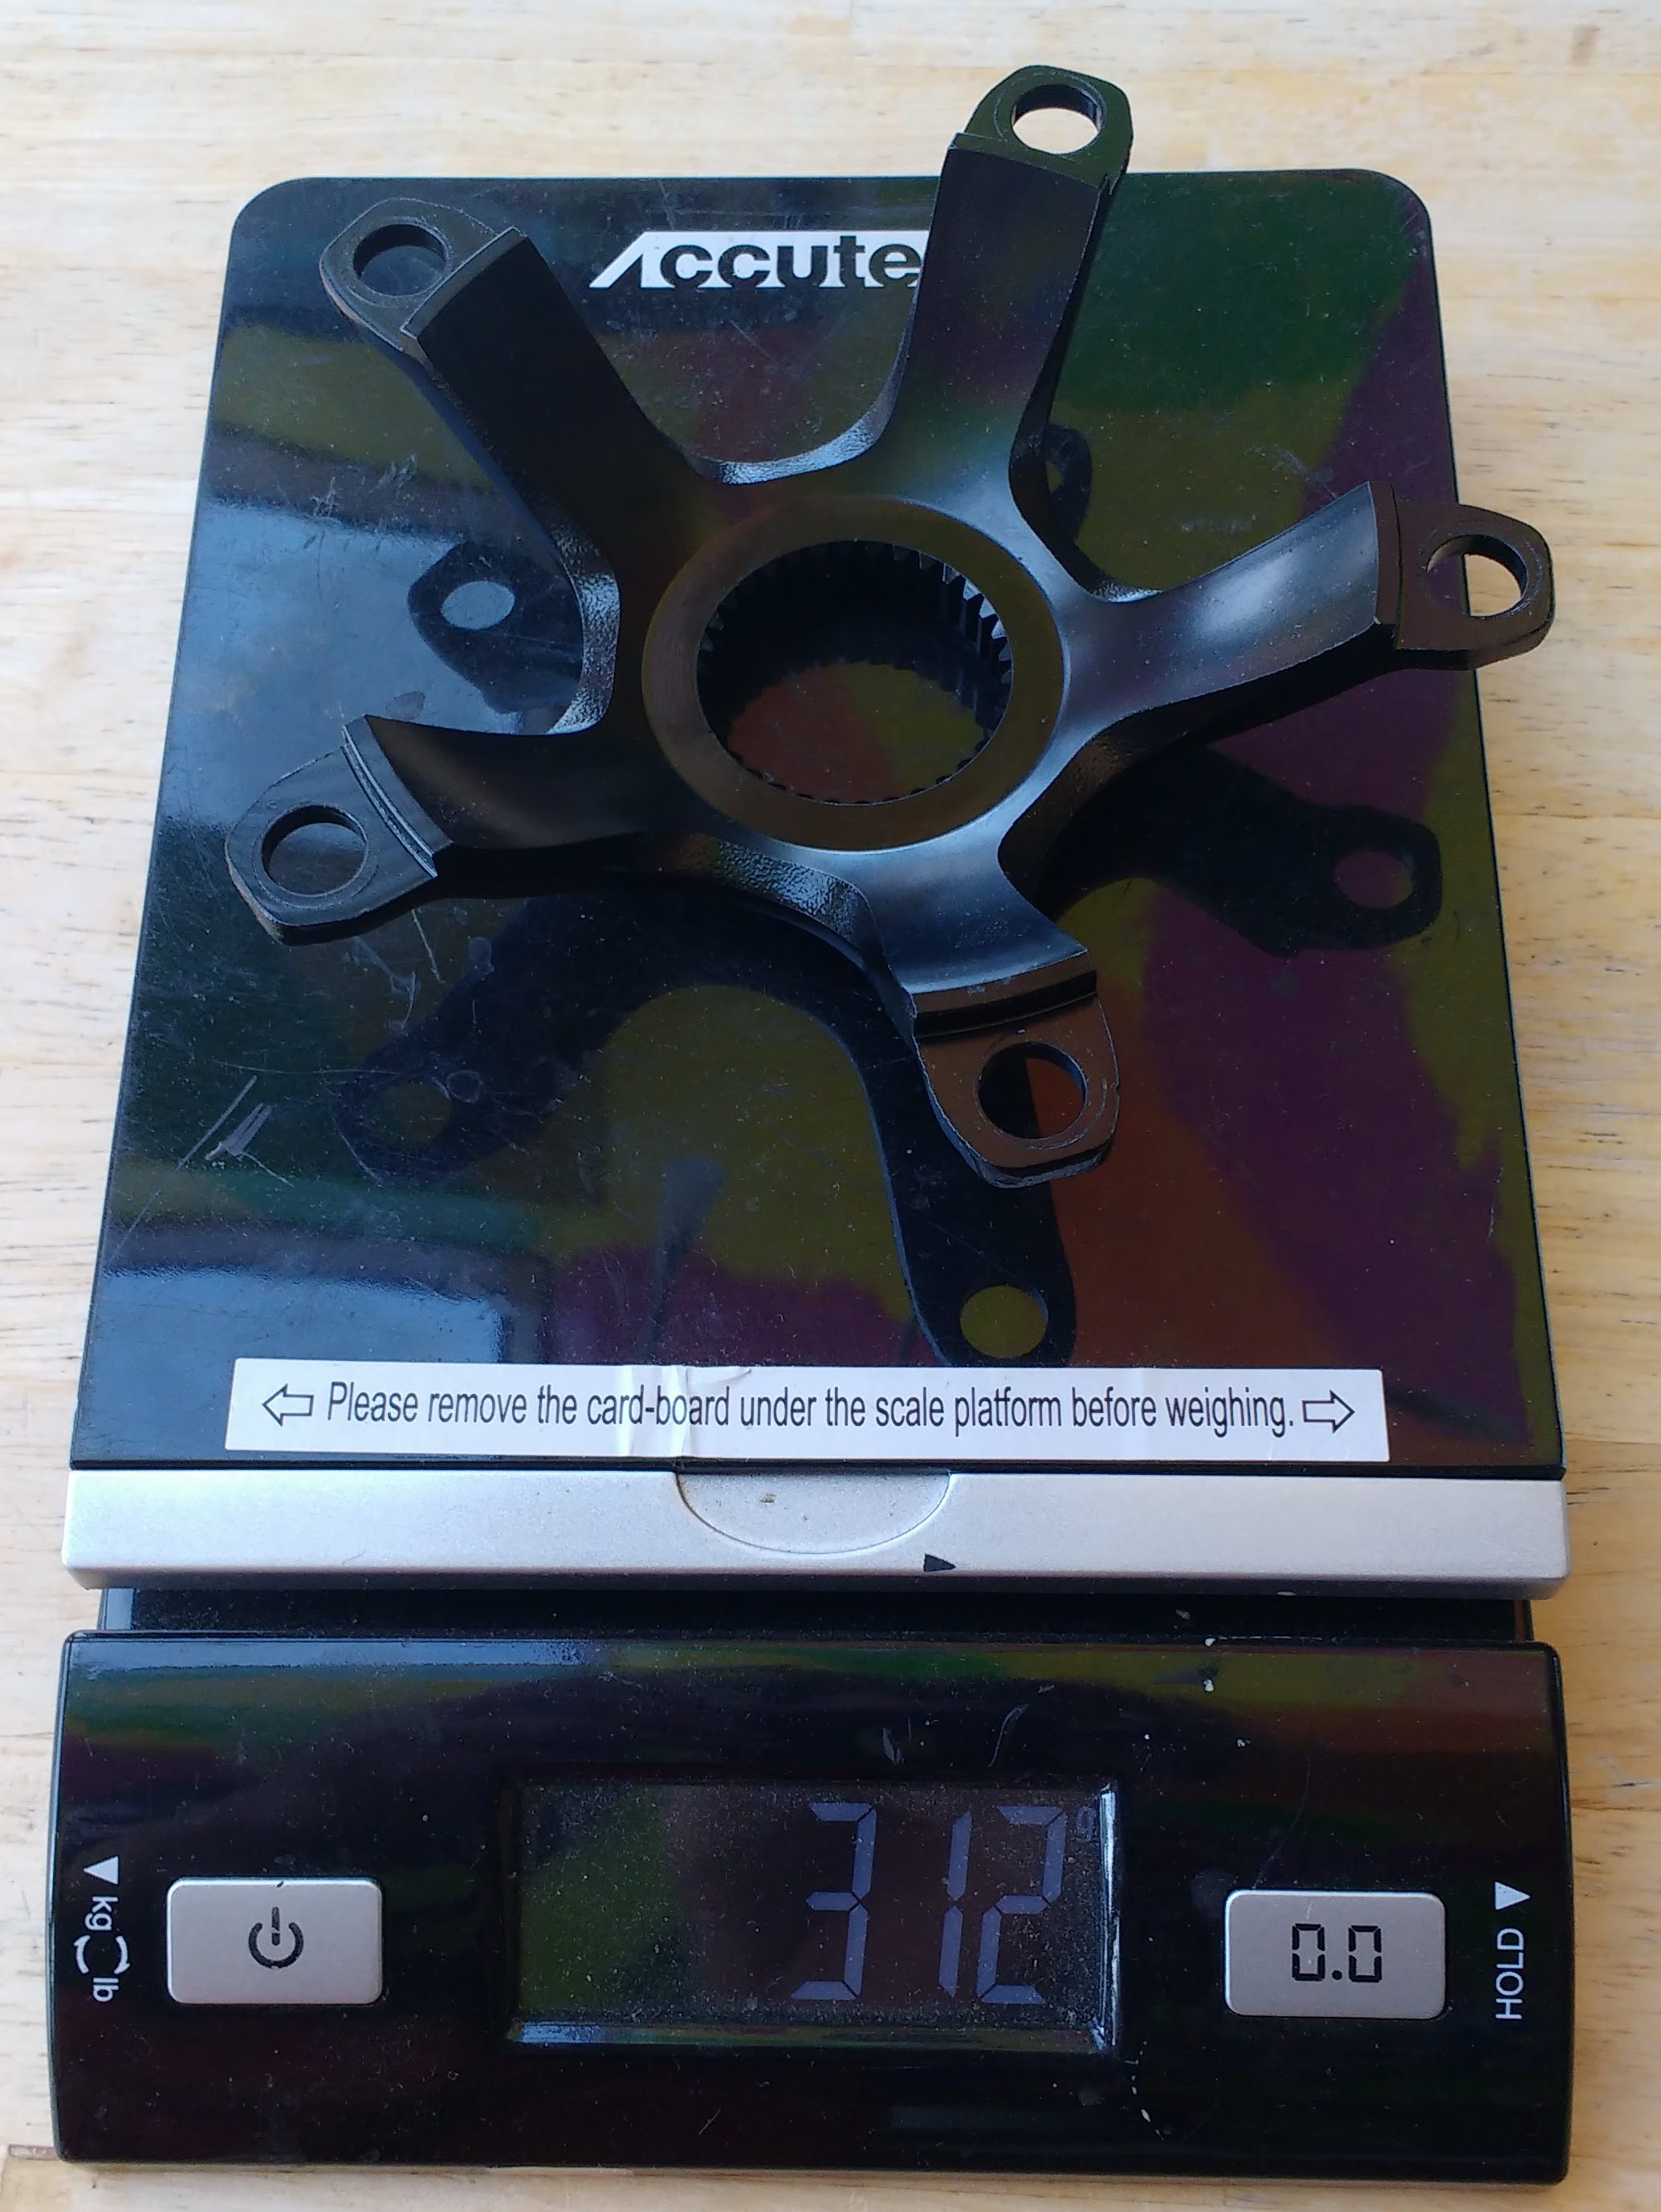
I’m not sure why Bafang continues to make their chainrings and spiders out of heavy steel. The stock chainring is nearly six times heavier than the 42T narrow/wide Raceface ring (56g) I settled on that will wear nearly as well as the stock steel one does. Add to that another 312g for the steel spider adapter and I have to say enough is enough. There is no chainring and adapter anywhere in the universe that needs to be over 600g, that is just complete unadulterated madness.
Heres a joke without a punchline
To mount the chainring adapter to the bike you will need to get your hands on a custom tool to do that. It is reverse threaded and you can purchase one of the new socket adapters and torque wrenches (torque wrench? who needs a torque wrench? I just tighten it down as hard as my little T-Rex arms will allow me to) from Luna for $85 here or you can do what I did and just pick up a cheap-ass Park tool BBT 69.2 socket from ebay for $25.60 here.
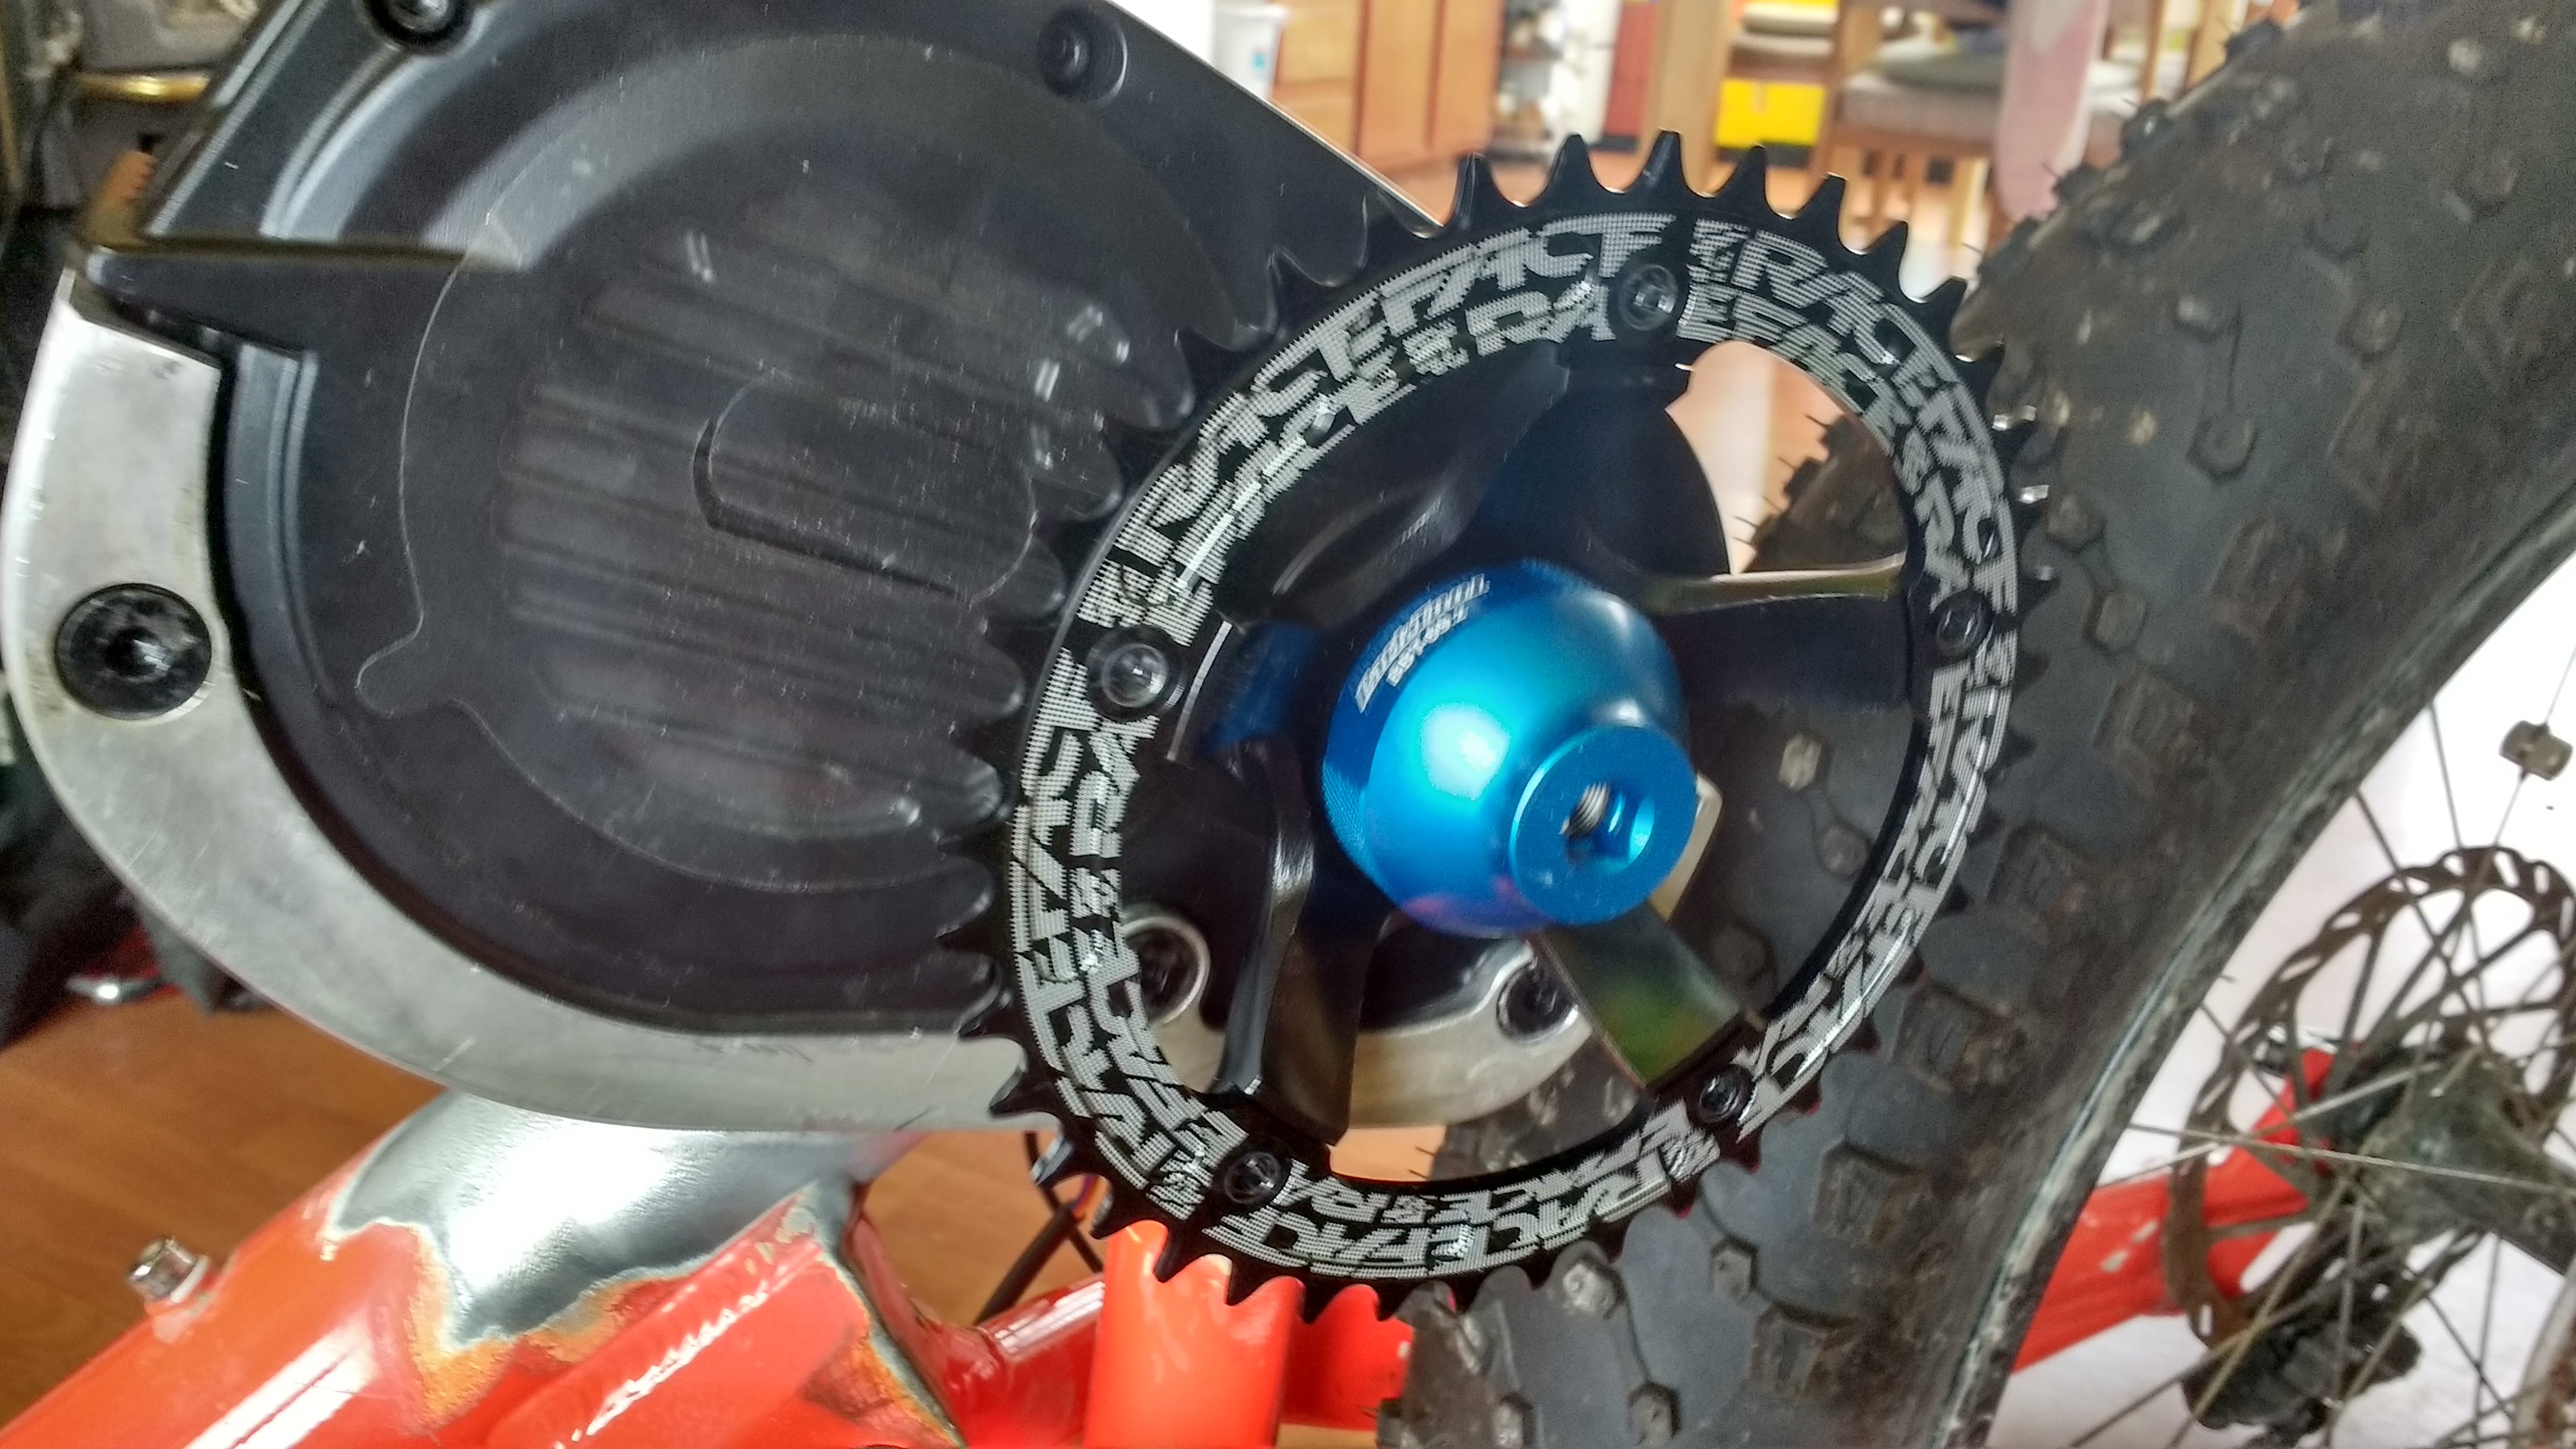
This adapter is reverse threaded so counterclockwise to tighten
The other parts of the Ultra max that I thought were much better is the new magnetic speed sensor does not have to be a few mm from the sensor to work. I was able to get it to work with almost a whole cm of space. This added space makes it much easier to get fat tires on and off the ultra build without hitting the speed sensor unit in the process. The drive unit also has a nice plastic cover that you can cram all the wires behind so they are a little more hidden on your build. I ended up cutting up the plastic cover so I could rout the wires out of it through the top instead of through the aluminum mounting bracket like most production Ultra Max bikes.
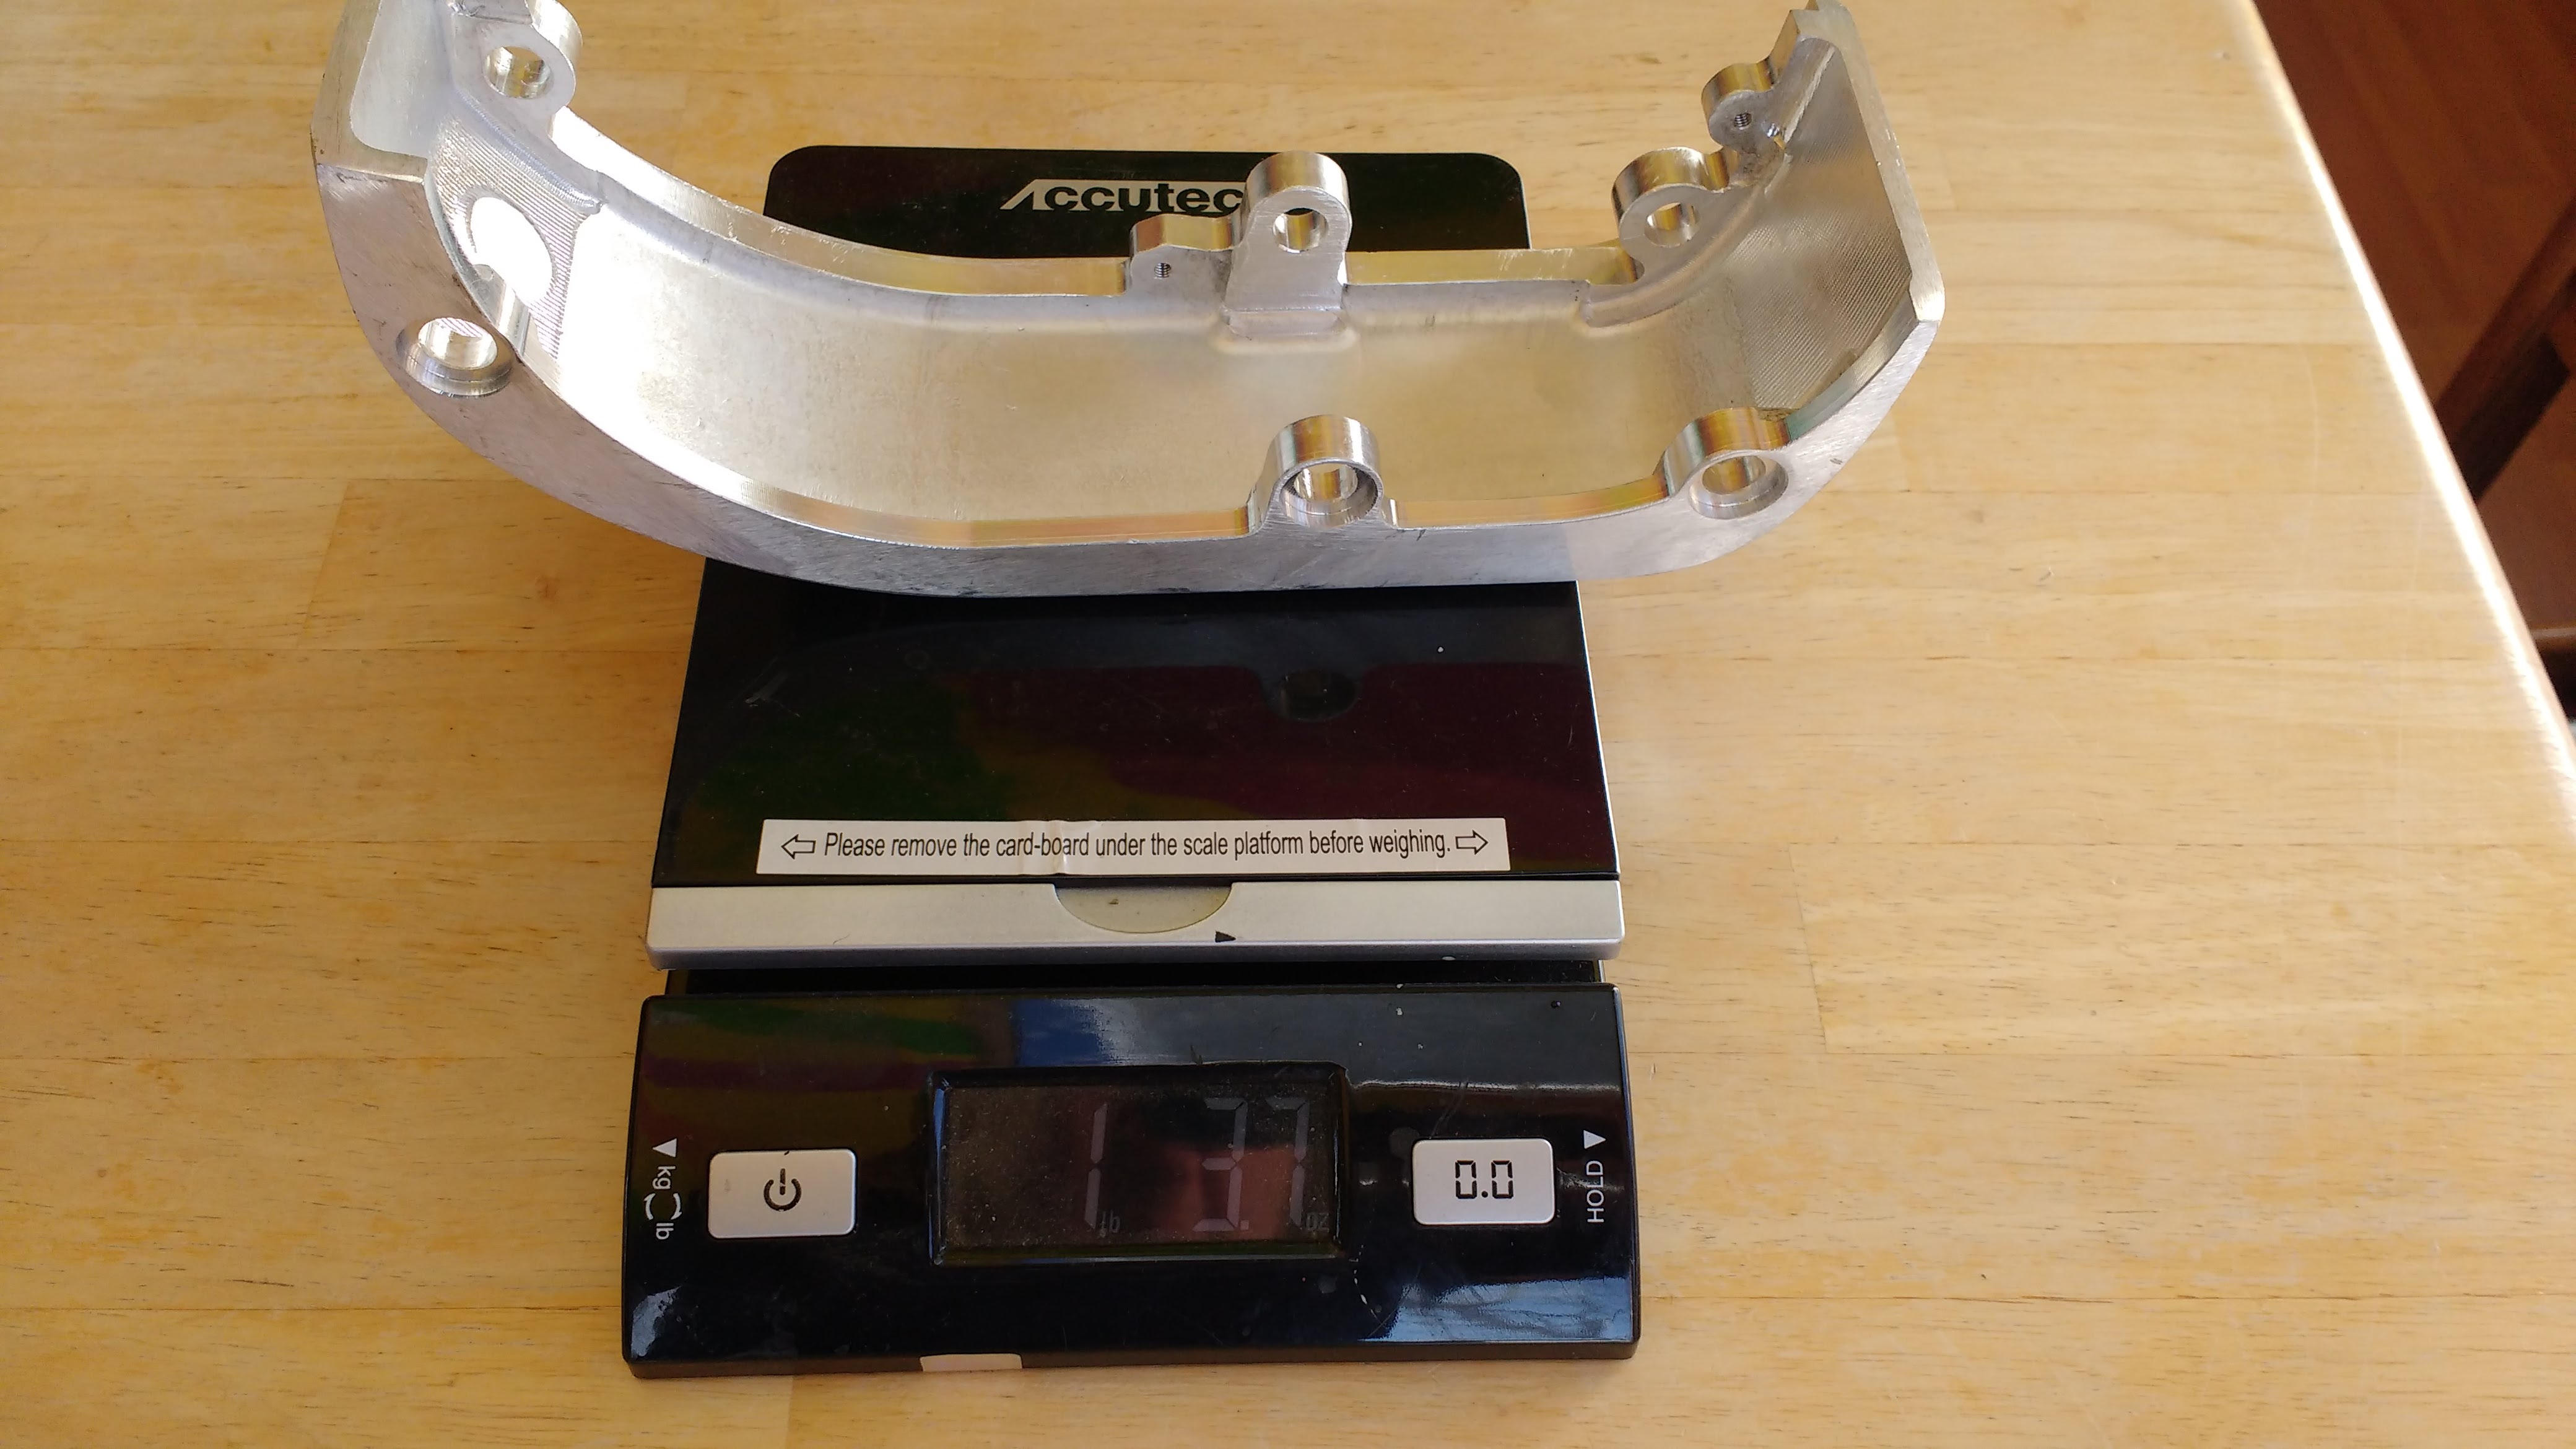
Even the $40 bracket is 1lb 3.7oz. Weight weenies everywhere are cringing.
It’s been a tough winter, and I don’t think that the Ultra Max is the right drive unit for plowing through deep, heavy, wet snow. That being said, the reward I was able to experience after finally completing this build and testing it out was near bliss. I didn’t know if anything I did was going to work, but the stock programming on the ludicrous powered Ultra Max drive unit available here for $995 was nearly perfect. If you don’t like the settings on the Ultra Max, almost all the parameters are custom programmable which is not true of any other torque sensing drive units on the market right now. Although the Ludicrous controllers for the BBSHD are nearly impossible to get, Luna is selling their 2500W controllers on the Ultra Max to anyone who will plunk down the extra $250. I would not even consider getting this drive unit without the higher power controller, it does not disappoint. I harass my wife for using too much toothpaste on her toothbrush. Clearly, I am the biggest cheapskate out there, and I still sprung the extra $250 for a Ludicrous controller. $250 buys a whole lotta toothpaste.
For an extra $40 you can throw in a mounting plate, add another $80 for a professional weld job and you can turn any alloy bike frame you have kicking about into a pretty awesome ride. Once you go Bafang-Max-Ultra-Ludicrous, baby, you’ll never go back.
Ride on.
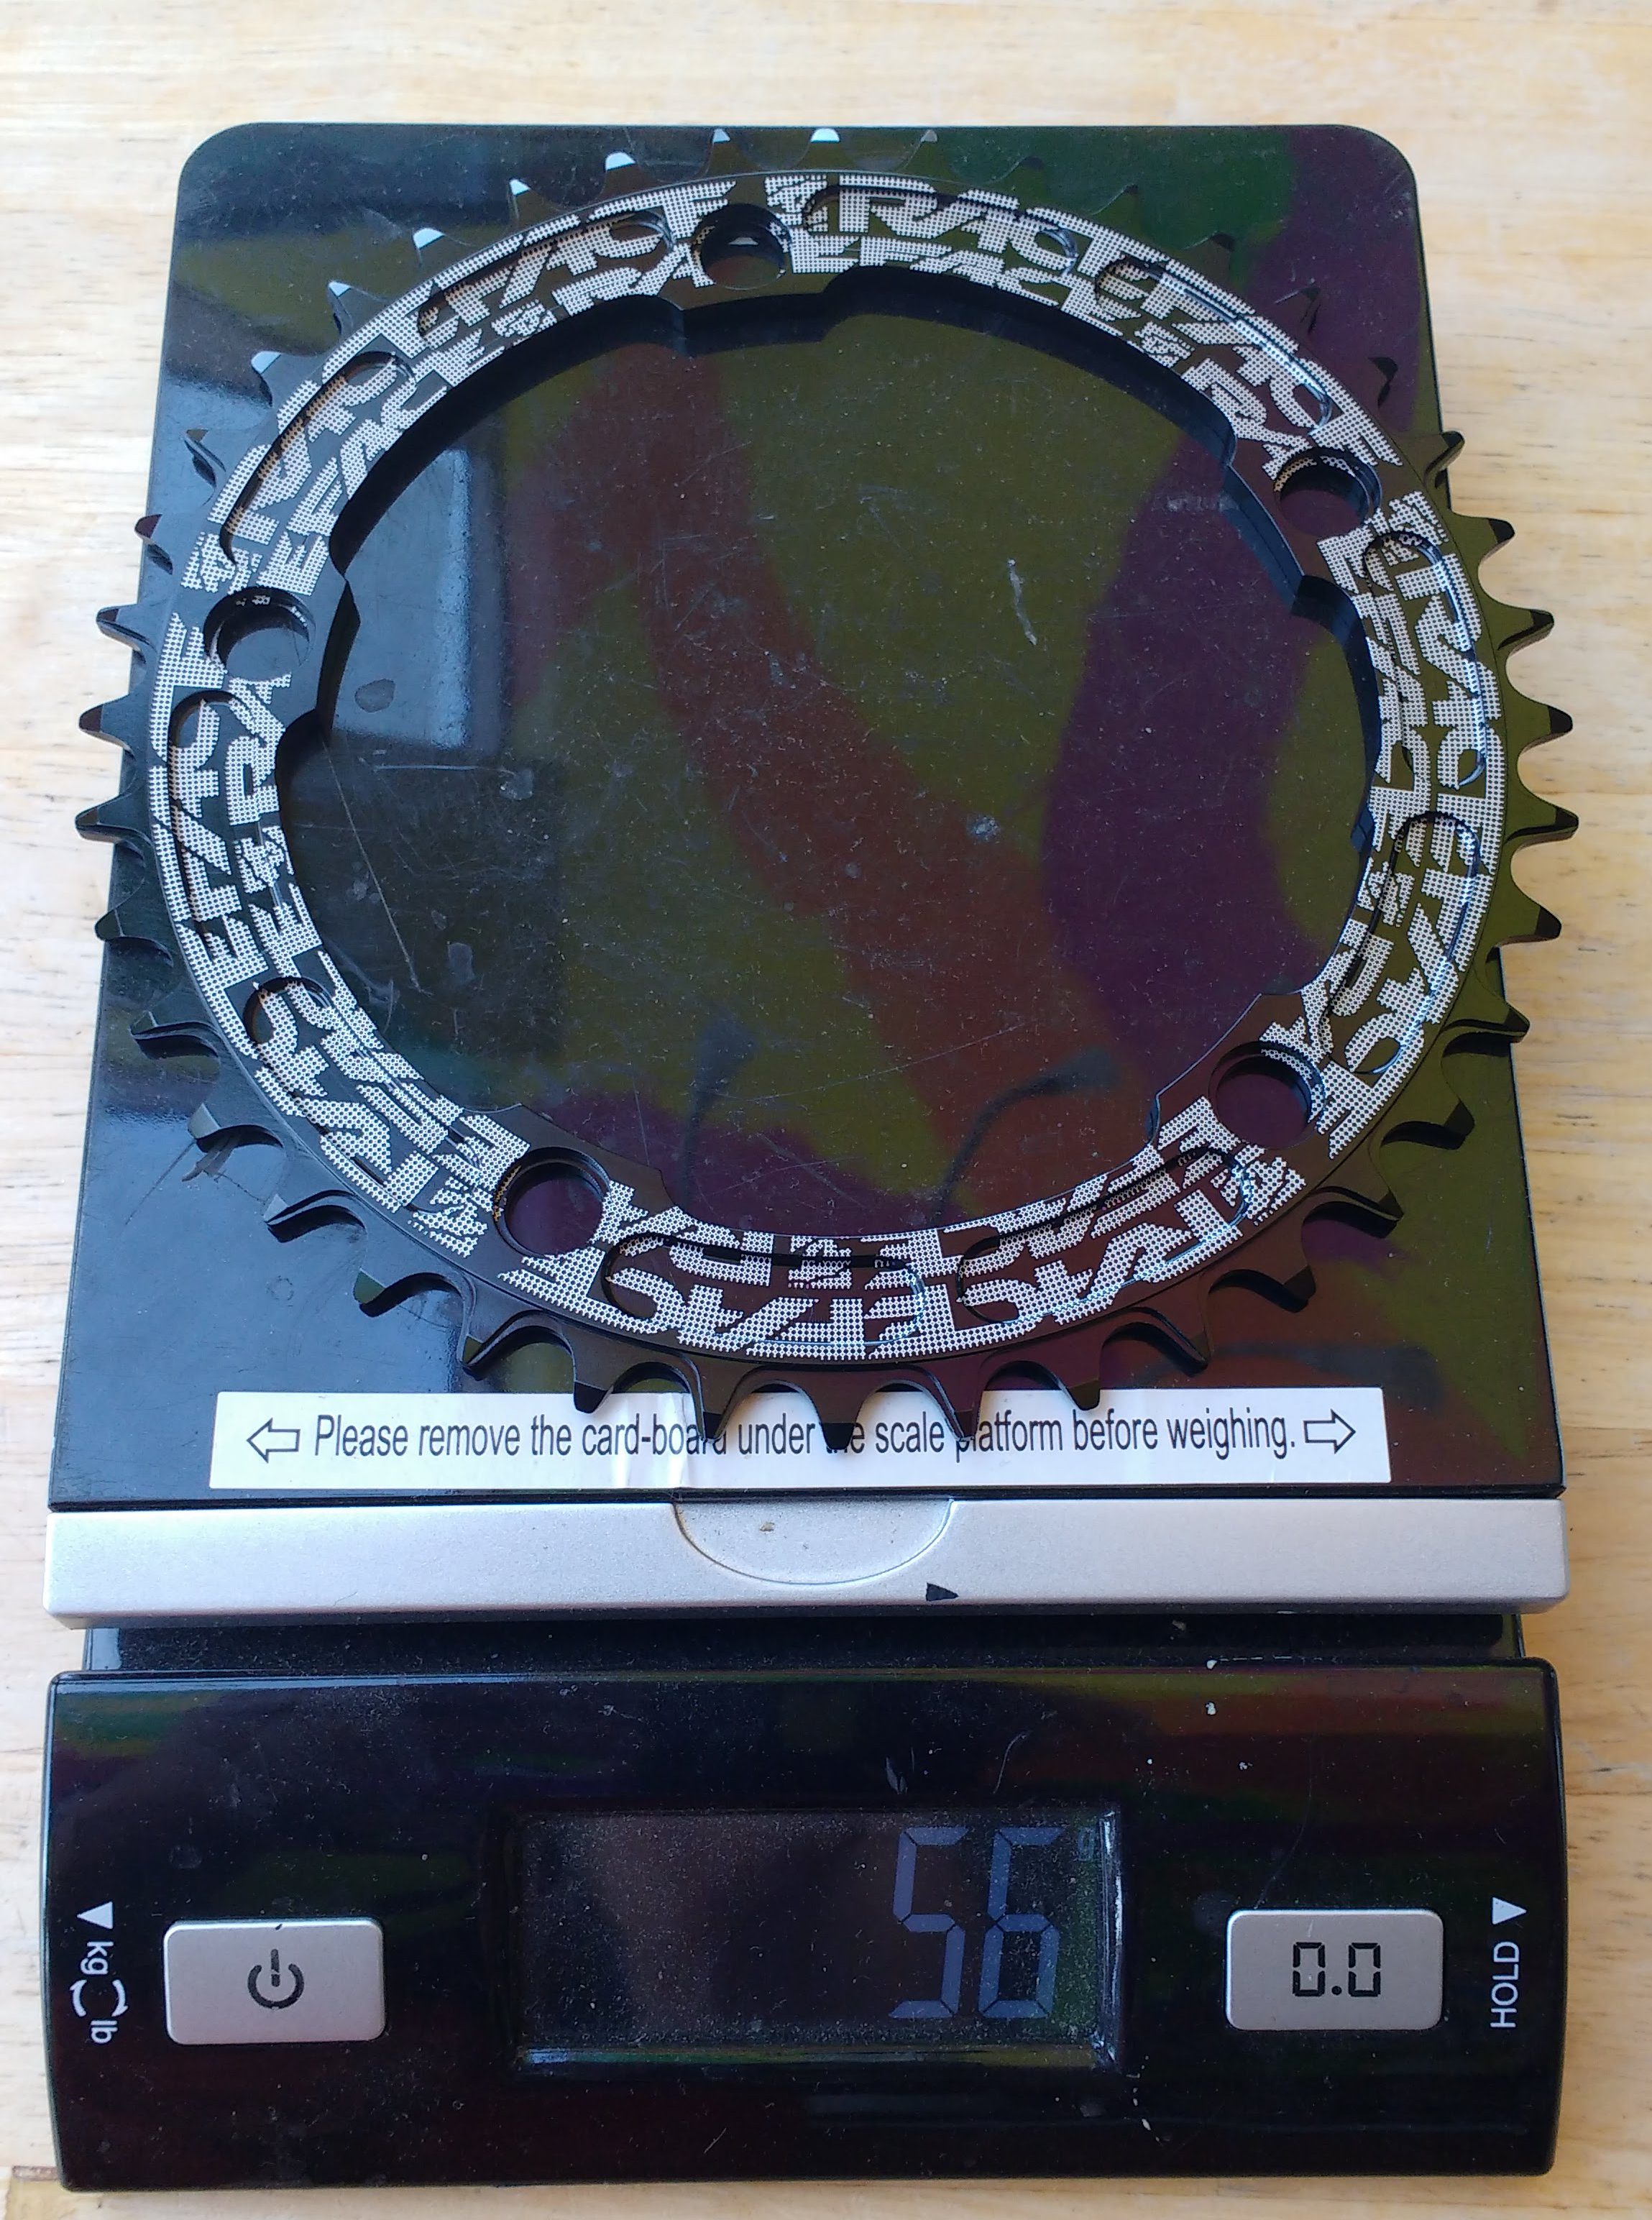
The Race Face narrow/wide chainring is a must


Hi Karl,
These mid drive units just keep getting better and better. How did you get the position angle etc before welding the adapter on. Also have you seen anyone mount as in screws and clamps an adapter on. The custom frame job is a step up from mounting on an existing frame and the welding if properly done should hold up but I am concerned about the weight and the constant stain from the motor.
LikeLike
Just eyeballed it. You could mount the drive unit at any angle and it should still work.
Not seen anyone use screws and clamps, don’t know if that would work. I toyed with the idea of using epoxy, but it would look like crap and it might not work. I’ll post here if the frame breaks as soon as it does and if it does I’ll take it apart, reweld it and then heat treat it like I should have to start with. Aluminum welding without heat treating you get about 40% of the strength of the metal, With these welds I felt like that was enough. With heat treating you can get up to about 90% of the original strength.
Building a custom frame from scratch is a whole lot of work and time, esp if it’s alloy. You could easily build a ghetto steel mounting bracket as there is only 3 bolts holding the drive unit up. If I was going to build a custom frame I’d go with steel, its so much easier to work with.
LikeLike
I bolt/clamped my bbshd into my frame after I cut the downtube to allow the motor to be rotated up for better clearance. I bolted adaptor plates to the motor and then to the downtube after I’d bonded an internal reinforcement inside. The rear of the plates located in the bb & were clamped to the seat tube via a custom clamp. It’s worked flawlessly for 6 months of almost daily singletrack hammering. I tried to attach a pic but could not.
LikeLike
Email me a picture and I’ll throw it up. info@electricbike-blog.com
LikeLike
Hi, did you ever get a photo from Mike of the custom bolt/clamp he used with his BBSHD and downtube. I’m thinking of doing something similar with a Bafang Ultra instead of cutting and welding. Somehow clamp the mounting bracket to the existing bottom bracket. If someone were to CNC something that would exactly fit a standard BB and clamp to the G510 mounting bracket, I’m probably not the only one who would buy it.
LikeLike
where does one obtain the bracket?
LikeLike
Option when you buy the drive from Luna.
LikeLike
If you have time to take a pic, I would like to see a picture of your finished bike, right side up. Thanks for your article.
LikeLike
A separate build thread is coming in a week or so. Rebel Scum II.
LikeLike
Pingback: I Void Warranties : Hacking The Bafang Ultra Max Mid-Drive Ebike Drive | ElectricBike-Blog.com
Can you post a pic of the finished product? I want to see this thing!
LikeLike
Good going Karl. $80 spent well I think on your trip to the fab shop. The way I look at it, what’s the worst that can happen – if the motor falls off you just run over it and no one gets hurt. I love it. Looking forward to the build thread. I hear you on the 14 speed IGH, I don’t want to spend any money on a new bike until I can scare up the money for the quality IGH in the package so that may be a while………wayne
LikeLike
Thanks Karl. I am curious if there is a larger chainring (like 48T or 50T) chainring you can recommend ? I found this online https://www.vueltausa.com/components/chainrings/vuelta-se-plus-chainrings-64mm-bcd-black-1331.html but not sure if it might fit?
Any recommendations will be welcome. Thanks.
LikeLike
I would stick with a narrow/wide chainring.
You don’t need a chainring that big unless you have tiny wheels (under 20″) or you’re building a super high speed commuter.
LikeLike
The thing I run into is that the Nexus 3 IGH only has 16T cog, so the gear ratio doesn’t allow me to go that quick.
LikeLike
Pingback: Rebel Scum II : 2500W Ultra Max Ludicrous DIY Torque Sensing Full Susp 10sp Ebike ~$2805 w/out Battery | ElectricBike-Blog.com
Pingback: Rebel Scum II : 2500W Ultra Max Ludicrous DIY Torque Sensing Full Susp 10sp Ebike ~$2805 w/out Battery | ElektricBikes
Pingback: Lose The Spoke Magnet Before You Lose Your Spoke Magnet | ElectricBike-Blog.com
Simply don’t know why Bafang don’t offer a steel adapter plate instead of a hard to weld aluminium one . With the heavy weight of this set , it’s not some gram more that will make the difference .
LikeLike
Been a couple of years Karl, any update on how your untreated welding has held up?.. mounting plate still hanging on?.. or should I bite the bullet and heat-treat the frame afterwards?..
LikeLike
Honestly I haven’t been riding that one much. The Sniper frame is pretty aweful. I wish I had converted a hard tail instead.
LikeLike
I suspected as much, the moment you said it moved too much *before* adding a motor. I guess you could make it a hardtail! 🙃
Sounds like it’s a pretty great motor; perhaps the parts you’ve invested would swap to a less spongey frame?
Eager to hear what you can really do with an Ultra!
LikeLike