
Makes me hungry just looking at it.
It took several years for BMC to realize that Nylon planetary gears in their larger geared hubs like the Mac motors could not take the kind of loads that people were dumping into them. Eventually they learned their lesson and switched to using composite gears, but with the BBS02 Bafang still haven’t wised up and made the primary reduction gear out of composite materials or metal. The primary reduction gear feeds against the metal helical gear on the motor and takes a tremendous load when the motor is started under load from a standstill. The problem is greatly compounded when starting off from a standstill in a gear that is much too high. This puts an insane amount of force against the teeth of the nylon reduction gear which can usually take the load, unless it gets too hot, then it ‘peanut butters’. That really is an ebike builder technical term to describe how hot nylon becomes the consistency of peanut butter and just falls apart under too much heat and load. I believe that black heavy axle grease leaking into the seal and getting on the white wheel is the reason for these failures. This grease can break down the nylon and cause the gear to fail prematurely.
The best way to make your primary reduction gear lasts is to install a smaller chain-ring. Smaller chain-rings put less of a strain on the motor and drive unit and decrease the chances that your nylon gear will lose its teeth. Installing a temp sensor is another way to decrease your chances of overheating the drive unit under load and causing the motor to get too hot causing the primary reduction gear to fail. A smaller chain-ring will have a negative effect on your top speed, so many people opt for bigger chain-rings on their commuters.

You’ll have to use something pointy to get all the mud out. These bolts tend to strip and you want the wrench to go in as far as it can.
The biggest chain-ring you can get from Bafang is the 52T ring which is designed mostly for recumbents or folders with small wheels (20″ or so). A larger chain-ring with a smaller wheel will mostly cancel each other out and ‘feel’ like a normal 44T chainwheel on a 26 or 29 inch tire. On my 26″ wheeled commuter bike I put a 52T chainring on the BBS02 and found that it goes frighteningly fast on downhill stretches (Over 40mph tested with a GPS). Going 40mph with a $295 bike is a good way to keep the gene pool clean, so I don’t do it that often. I do find that I really like the ability to pedal along at a decent cadence at 40 mph which I just can’t do with the smaller chain-rings. That being said if I want to climb any hill steeper than 10% grade I have to be in the smallest 36T granny gear or the combination of the 52T chain-ring and the 26 inch tire means that the pedal cadence is too low and I risk blowing the mosfets on the controller.
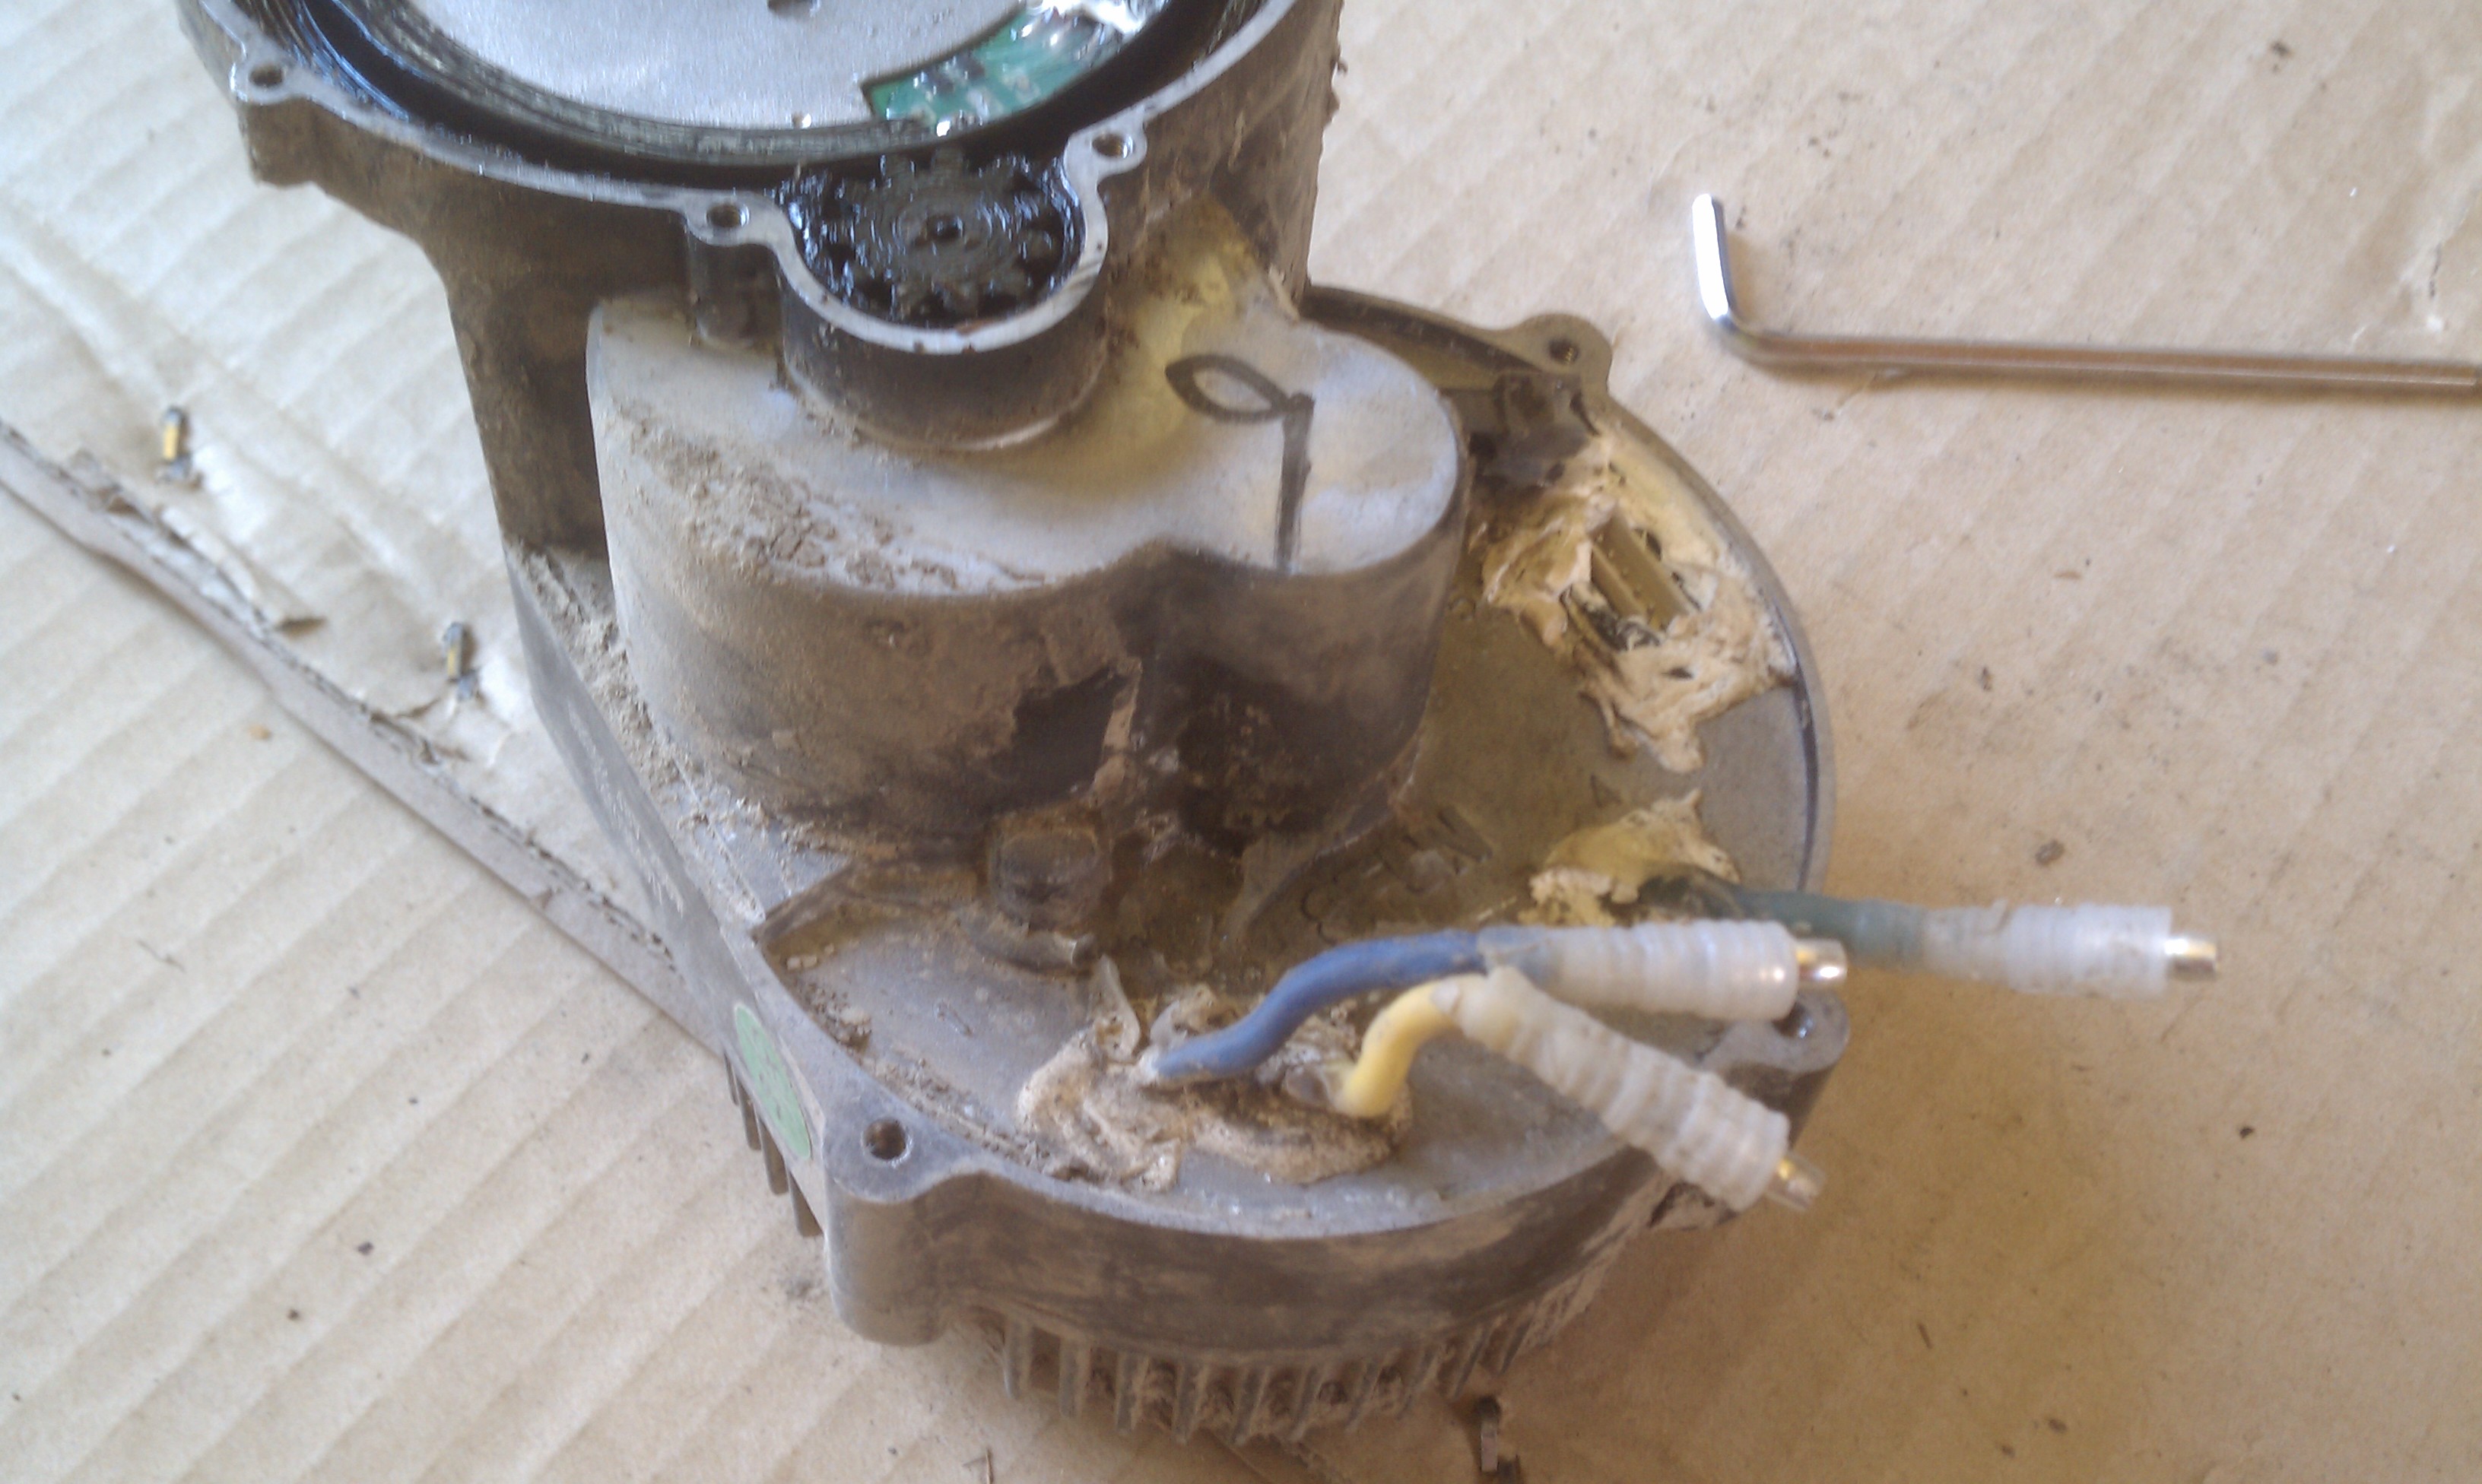
These three wires with banana plugs are the phase wires, carefully remove the silicone on them where they meet the housing.
If you run with a 52T chain-ring then you should expect to have to change the primary reduction gear every few years due to excessive strain. Even if you use a smaller chain-ring the gear can still fail. I’ve had one fail with a 36T Raceface Narrow\Wide chain-ring on a 8% grade in a very low gear when the motor was not even very hot. You can tell the primary gear has failed if the drive unit seems to be working properly but when you hit the throttle you can hear the motor turn but the chain-ring doesn’t turn. Luckily replacing the primary reduction gear takes about an hour and doesn’t require any special tools except for a set of lock-ring pliers which you can get from any hardware store.
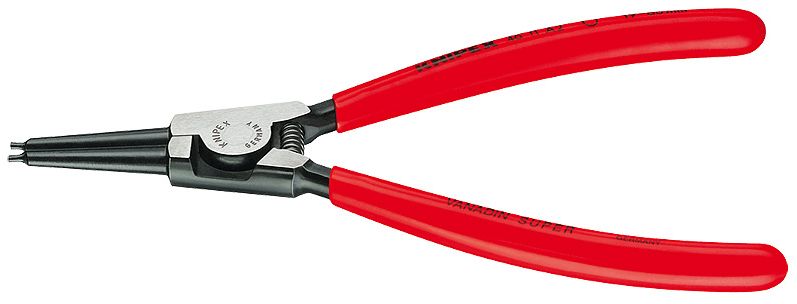
You will need a tool that looks like this to get the gear off. They are called Lock Ring Pliers.
The first step is to remove your drive unit from the bike. Disconnect all the cables and the speedo wires and then remove the giant crank arm hex screws and then remove the crank arm with a crank arm puller. After that use a rag wrapped around the lock-ring to keep it from getting marked up and with a pair of adjustable pliers remove both large locking rings on the main shaft of the BBS02. Then remove the two main hex bolts that hold the triangle plate over the end and remove the triangle bracket. Often times you will have to force the BBS02 drive unit forward and back to ‘work’ it off the bottom bracket. Take your time go slow and don’t get too frustrated.
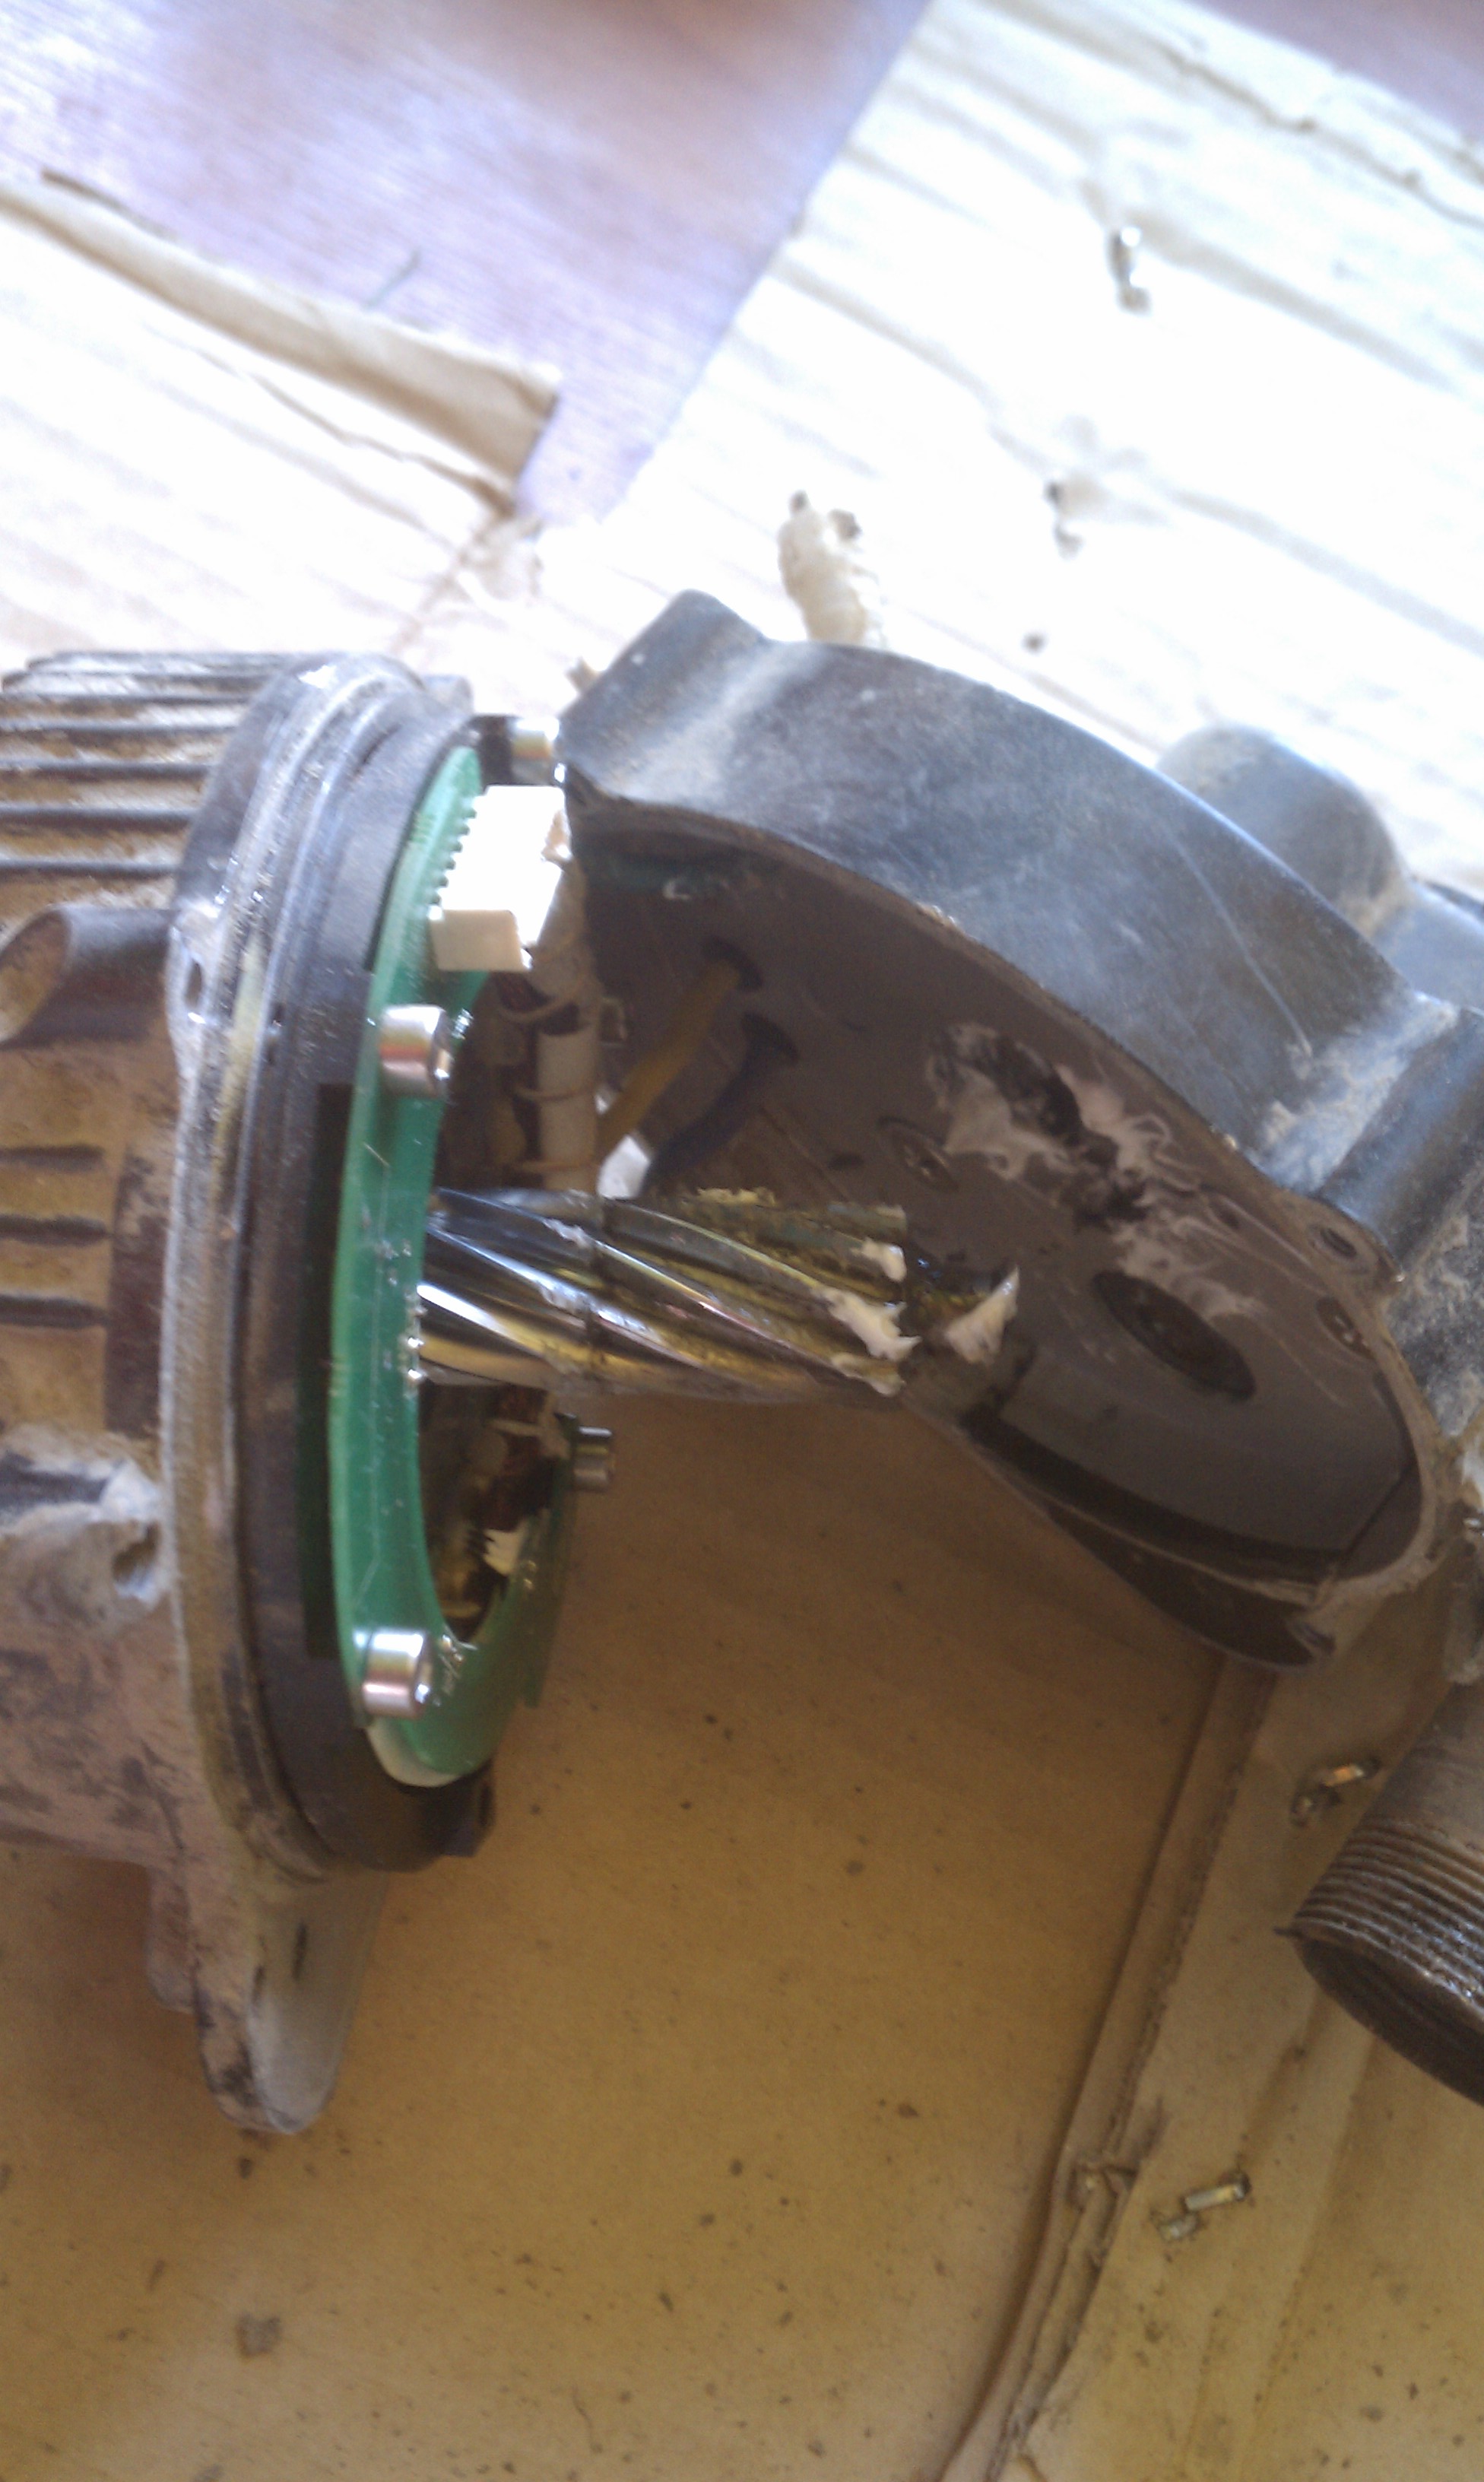
Carefully open the motor up and gently let the phase wires pull themselves through the housing.
Once the BBS02 is off you will need to remove the 5 hex screws that hold the chain-ring or chain-ring adapter on. Then there is 5 or 7 Phillips head screws that need to be removed to pull the plastic cover off the secondary reduction gear. I usually use a rag to wipe up as much of the axle grease as I can on the secondary reduction gear then reapply it before I put it back together. Once that cover is off you can remove the 3 hex bolts that hold the BBS02 controller on. Carefully remove the silicone around the 3 main phase wires that have large banana plugs on them so they can slide through the casing when you pull the motor off. Don’t use a knife, just use your fingers and a flat-head screwdriver. You don’t want to strip or damage the insulation on the wires.
Flip the drive unit over and remove the 4 hex screws that hold the motor onto the BBS02 drive unit. These hex screws are on tight and strip easily so use the right sized wrench, tap the wrench gently into the bolt with a hammer and use pliers to extend the power of the hex wrench. These bolts are a pain to remove if they strip out which happens.
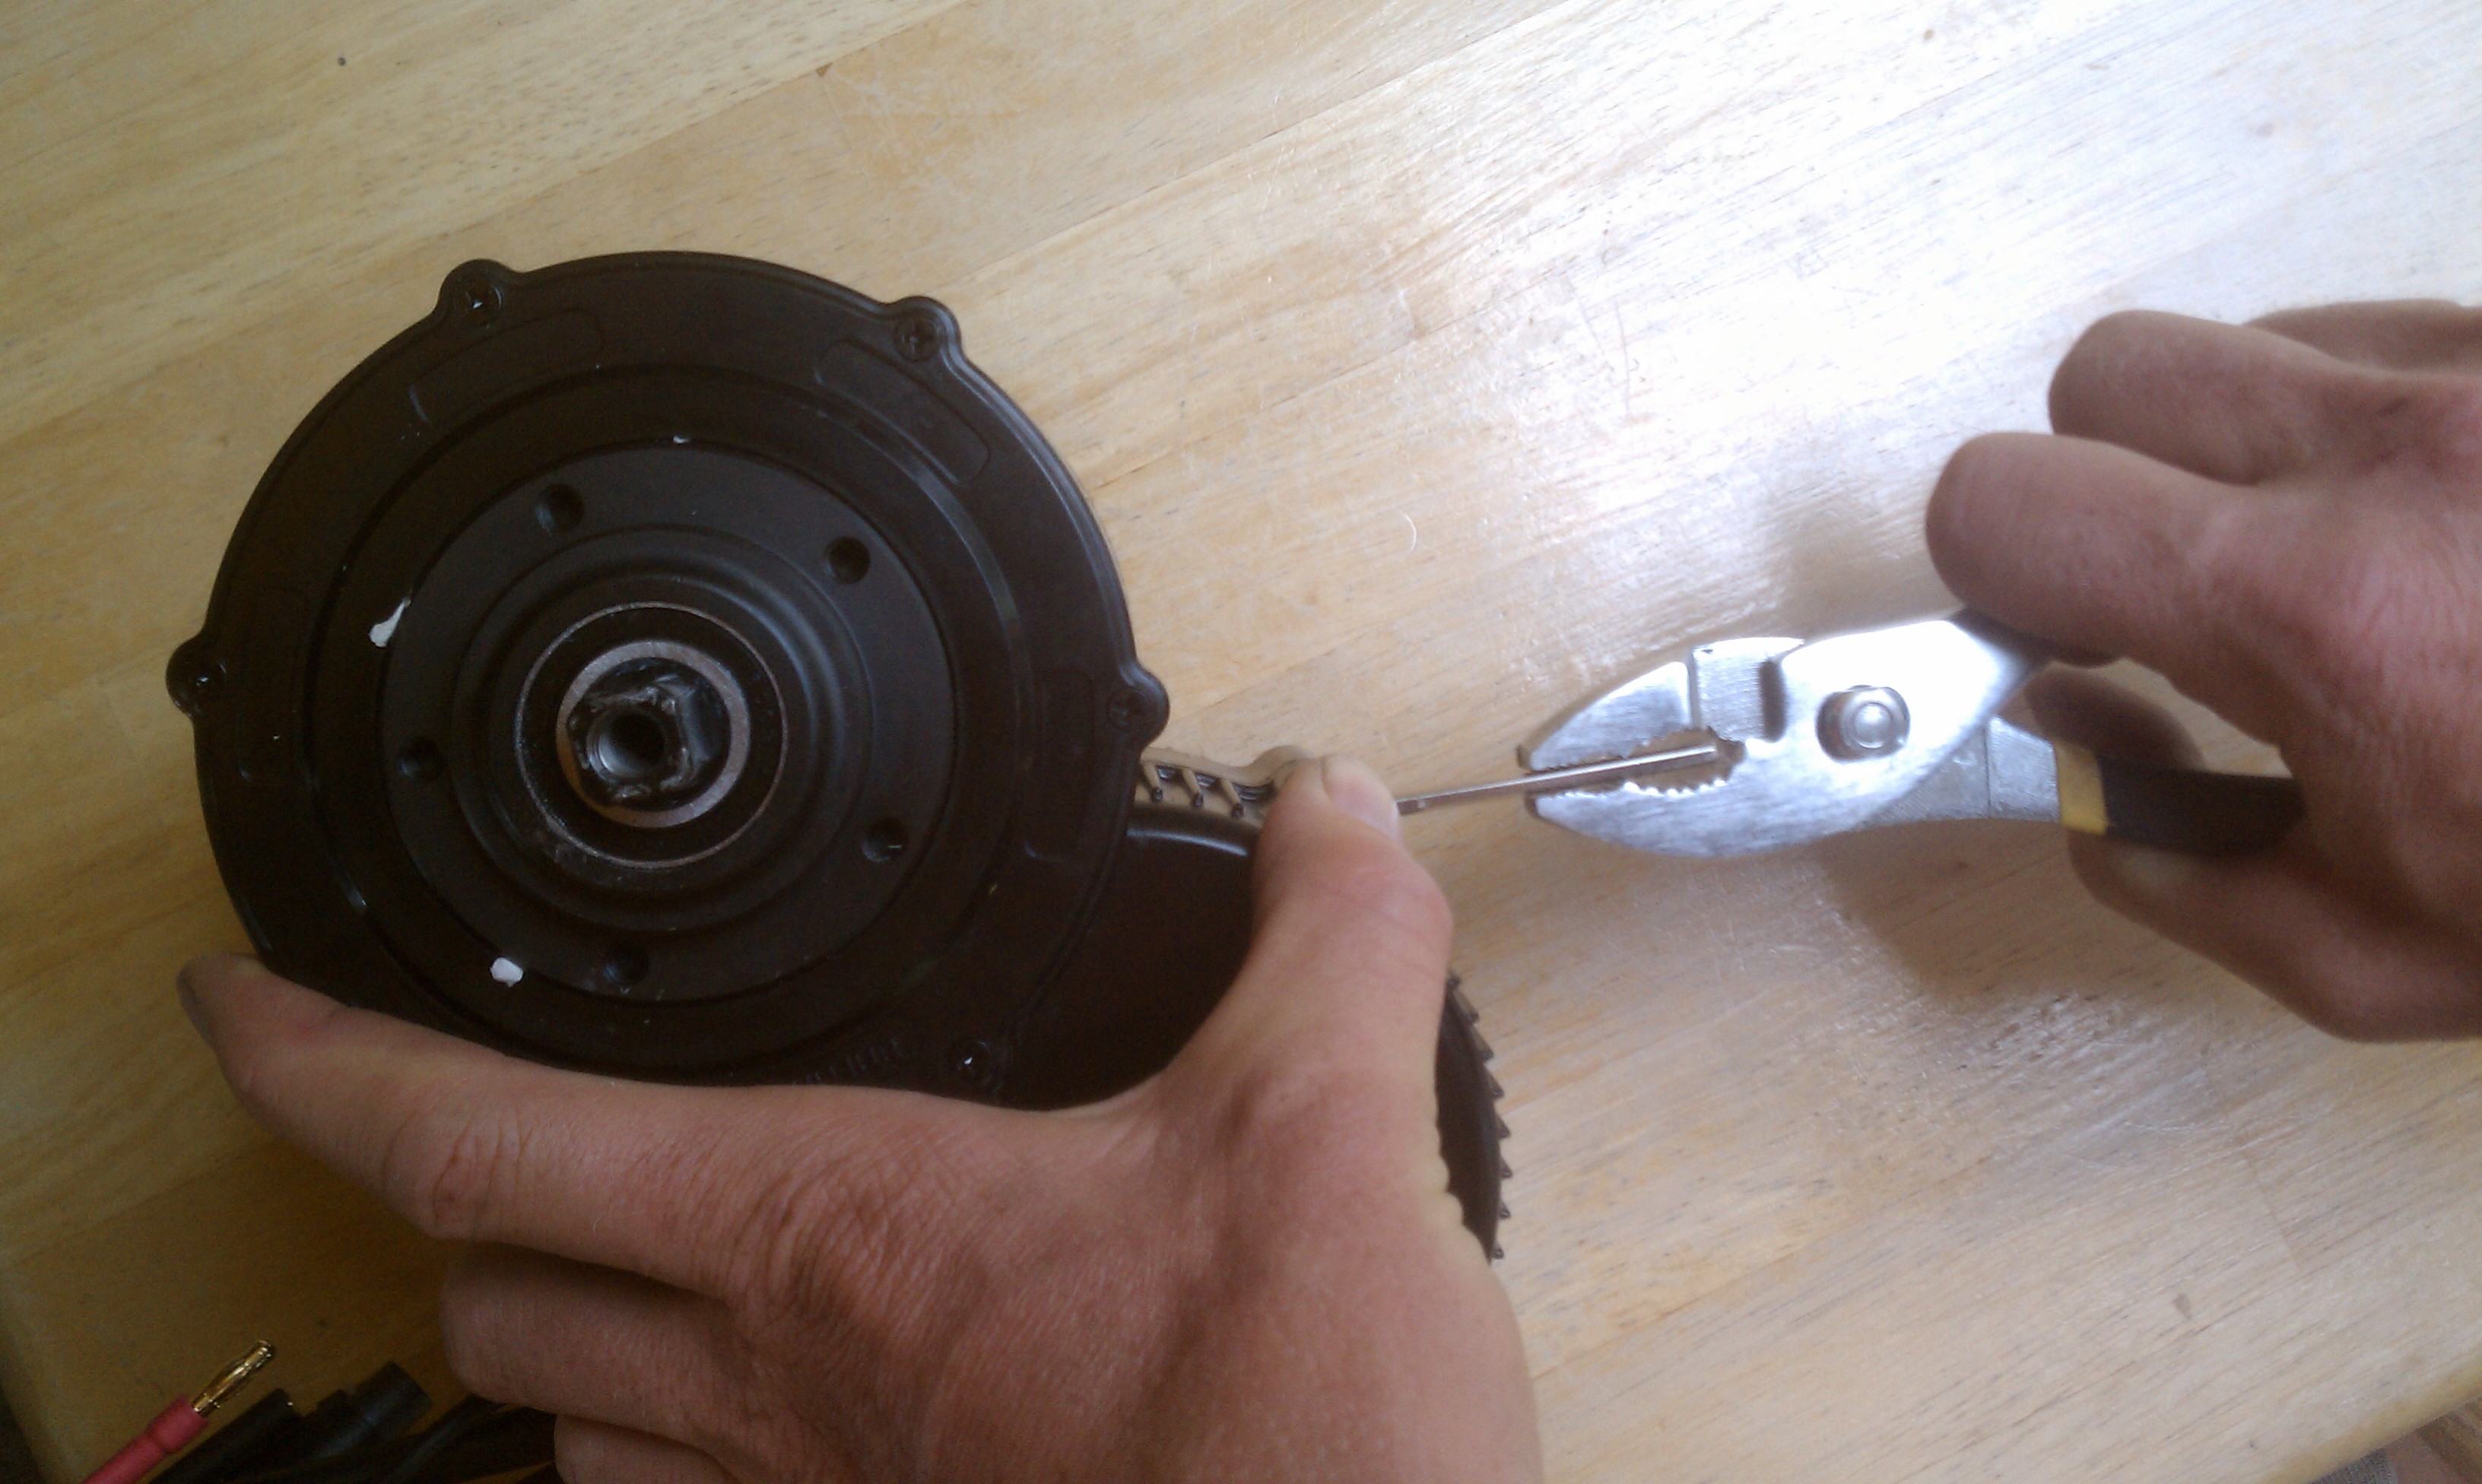
You can use pliers to help remove stuck hex bolts but be careful not to strip them out.
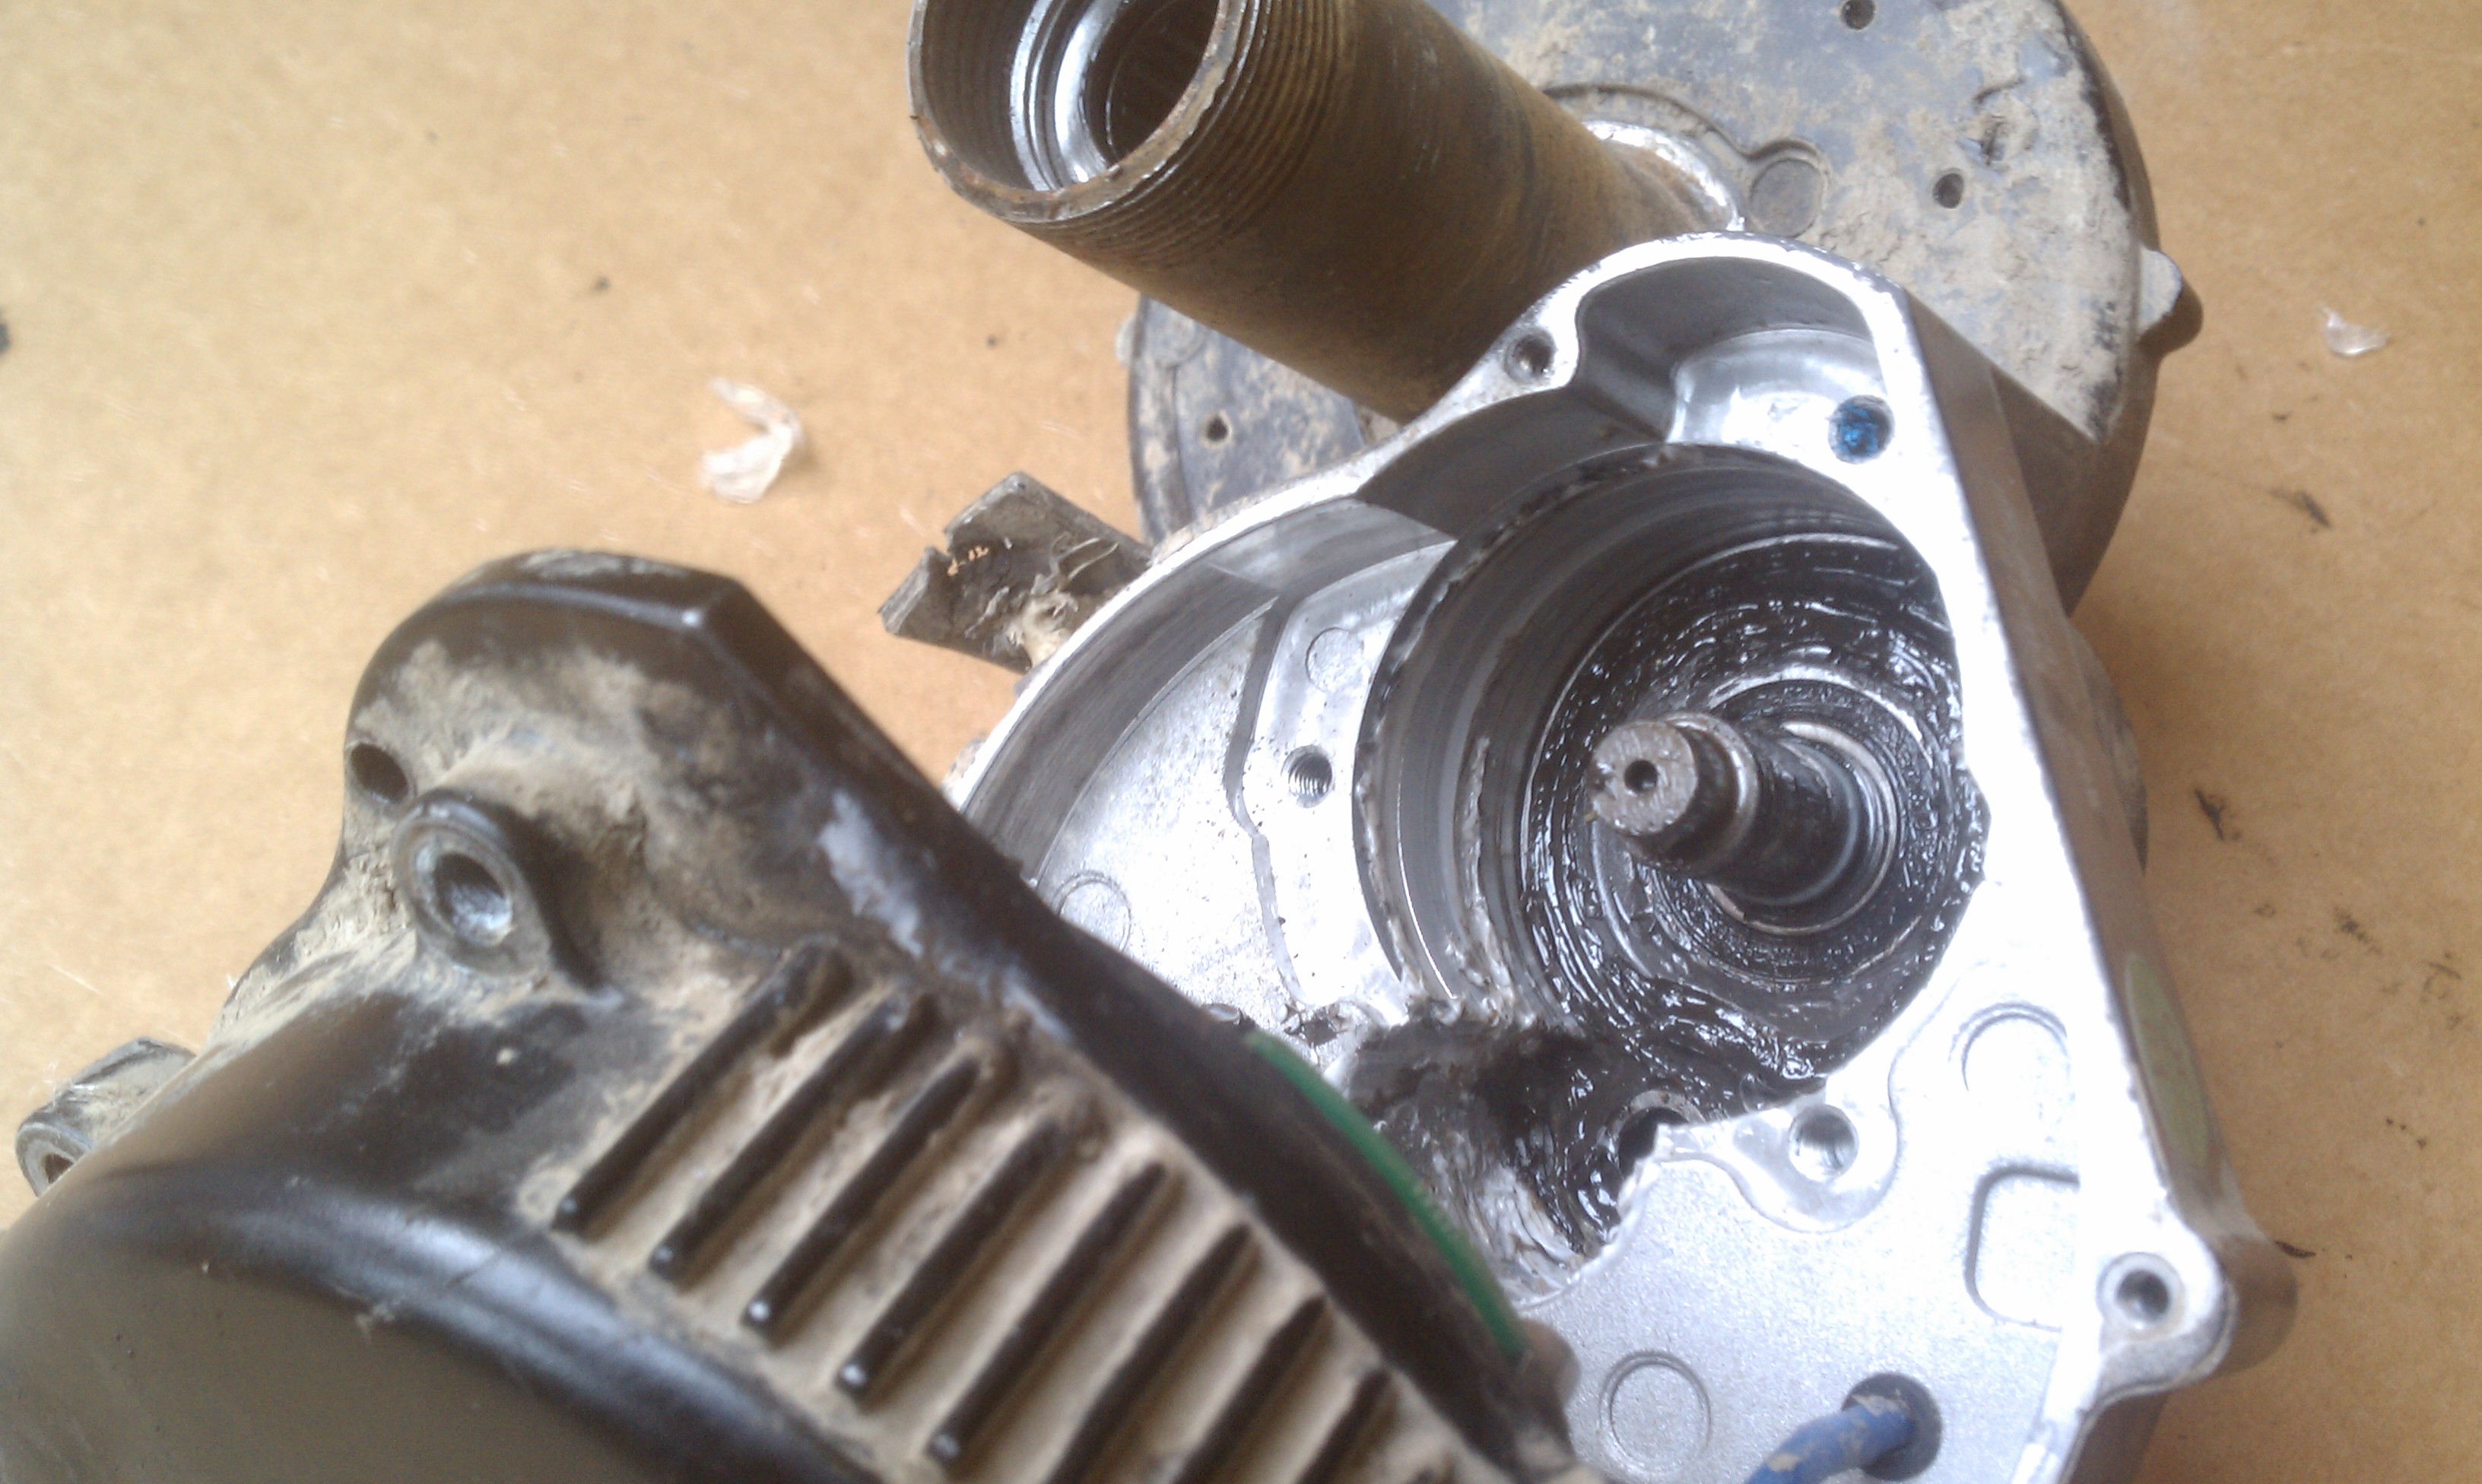
Once the motor is loose you need to remove it from the housing by gently prying it apart from the housing. You may need to use a flat-head screwdriver to make this happen but take care not to mess up the case or motor housing, they are both soft aluminum. Once the motor comes free from the housing the phase wires will keep it from coming apart so you need to carefully pull the motor out while at the same time working the phase wires through the holes on the other side. Take your time. The banana plugs on the phase wires should be all the way pushed into the housing as far as they can go, this will give you the most room to work with.

This circular plate must come out and is held in by 3 screws.
There is a circular plate that covers the Nylon primary reduction gear which has 3 bolts to remove. I wipe off all the axle grease I can as I work then reapply axle grease before I put it back together. Once the circular metal plate is removed then you can use lock-ring pliers to remove the lock-ring for the nylon primary reduction gear. Carefully remove the old gear and replace it with the new one. I wipe off the axle grease and try to make sure I get all the little piece of the gear that might be stuck in that chamber removed. Use a toothbrush (preferably someone else’s toothbrush) if to get into all the corners of it and wipe the toothbrush off with a rag to get the grease off it. Replace the lock-ring and use axle grease to lube up that reduction wheel again. Screw the metal plate back on then carefully pull the three-phase wires one by one while you mate the motor back to the housing. Once the motor is fully set back in the housing screw it back together with the hex screws then re-silicone the 3 phase wires in the controller. This is the perfect time to install a temperature probe in your BBS02 drive unit (instructions here) if you haven’t done that already. Wait till the silicone dries then put the controller back together and carefully replace the 3 screws on it. You do not need to mount those screws as tight as the unit comes from the factory with.
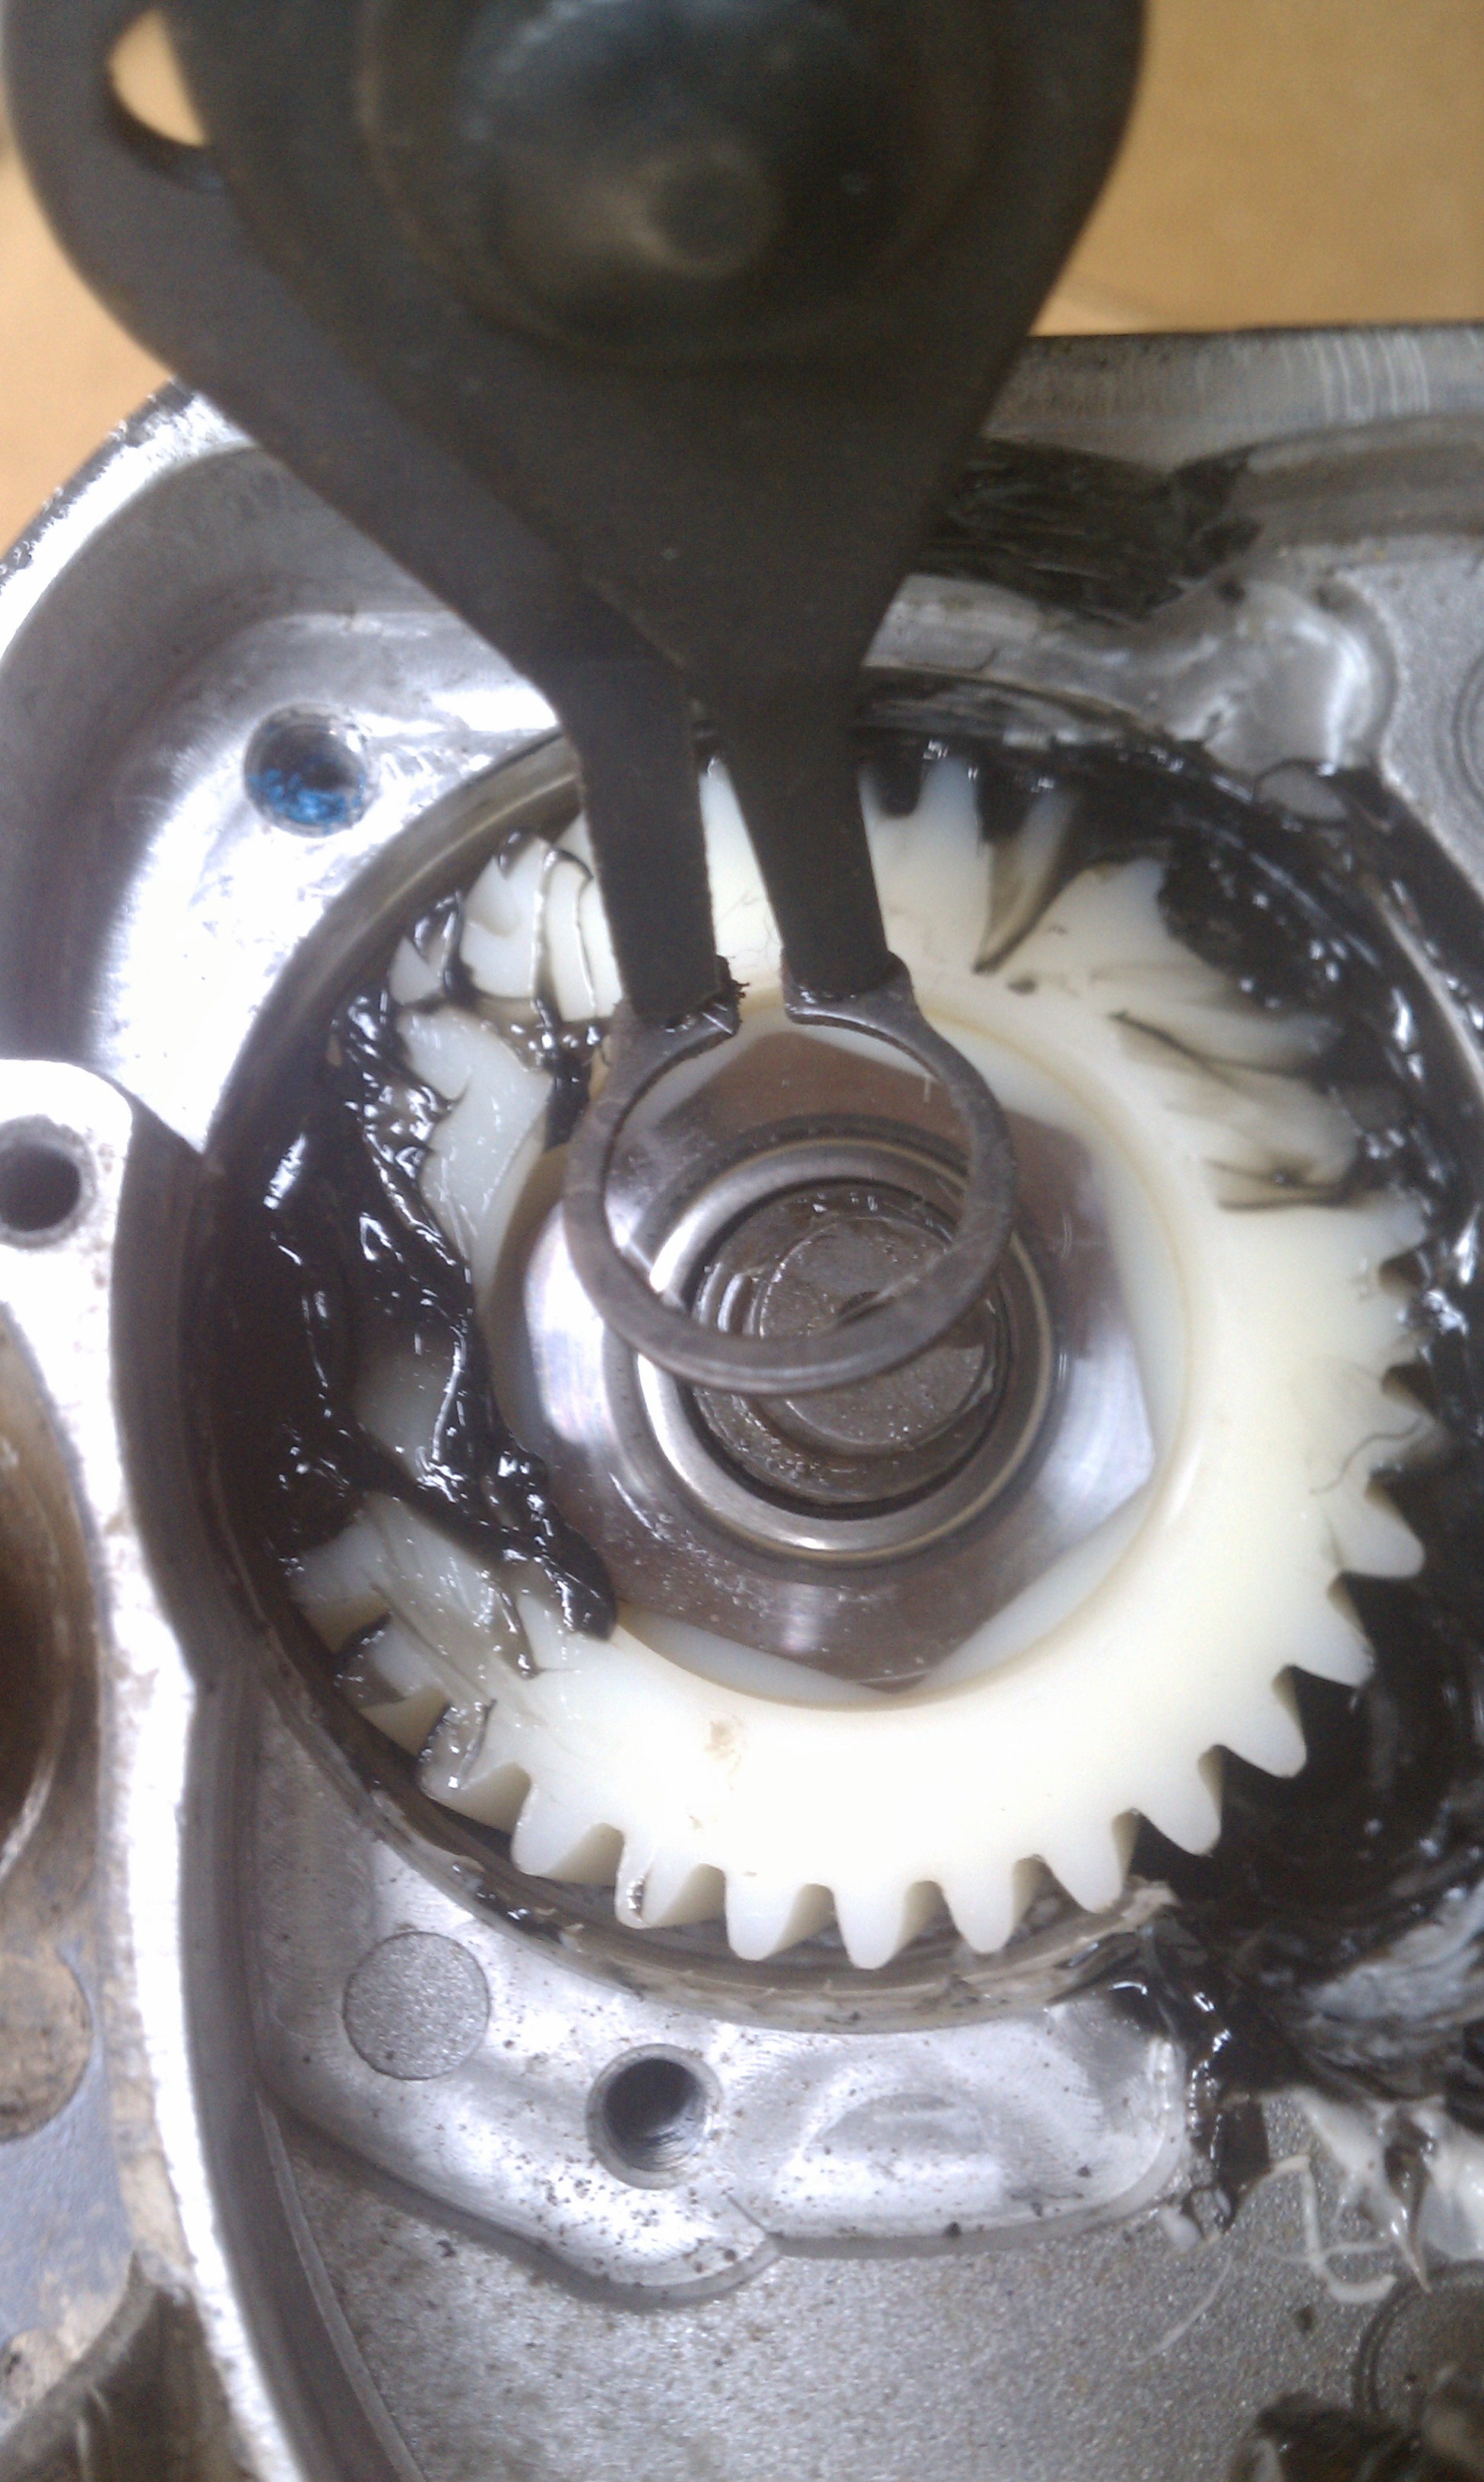
Use the lock-ring pliers to remove the lock-ring then the nylon gear slides right out. This nylon gear is lubed in black axle grease which you SHOULD NEVER DO, it will break down the gear and cause premature failure.
Regrease the secondary reduction gear then replace the plastic cover using a screwdriver NOT a screw-gun and be very careful not to over-tighten the screws. The black plastic case cracks very easily if the screws are over-tightened at all. Replace the chain-wheel \ chain-ring adapter using blue locktite on the 5 hex screws. Remount the drive unit on the bike and put the triangle plate back on and screw it down with the two screws and blue locktite. Then use a lock-ring spanner wrench and blue locktite to put on the first lock-ring and wrap the 2nd lock-ring with a rag and tighten down with adjustable pliers. Remount the crank arms and tighten down the crank arm bolts very tightly. Plug in all the connectors and you’re done!
Clean this chamber out with a toothbrush, then clean off the toothbrush a little bit and carefully return it back to its owner without getting caught. Try to get rid of any black grease you can find.
Hopefully the whole process took you less than an hour from start to finish. If you need to buy the primary reduction gear you can do it from China (for about $15-20 +shipping) or you can buy it from Doug at California e-bikes here for $30 or lunacycle.com here for $20 which is the smartest option. You can also try contacting the dealer for your BBS02 and getting free parts, but for Chinese bought drive units this will be next to impossible. BMS battery which by some people counts is a ‘reputable Chinese dealer‘ completely blew me off when I asked them for a replacement nylon gear (and even offered to pay for it). I ended up buying 4 of them from Green Bike Kit located here and it took them over a month to get them to me even though I paid for the expensive $25 DHL shipping. I would probably not buy from Green Bike Kit or BMS battery again, although I’m hoping it will take a long time for me to burn through 3 more of these gears.
Ride On.

The new gear in place, everything is so clean and pristine! Use white lithium grease only.


Nice post! Everyone can follow your pictures and directions!
LikeLike
Hello there great article thank you for posting it. Do you know where can i find a 52 or 53 tooth
sprocket and temp sensors
LikeLike
Paul from em3ev has the 52T chainring, there is no 53T Chainring or you can use a BCD adapter from Doug at Cali Ebikes and get any large chainring (I recommend the raceface narrow\wide). For temp sensors on the BBS02 you need to install your own probe, instructions are here.
LikeLike
My nylongear is stuck on the axle and i can’t get it loose. The freeweel on the nylongear is also broken.
LikeLike
Screw a self tapping metal screw into the nylon gear and pull with a pair of Plyers
LikeLiked by 1 person
Pingback: Troubleshooting Problems On Your BBS02 Unit | Electric-FatBike.com
Pingback: The Nation’s First Sensible Ebike Law Passes In California | Electric-FatBike.com
Pingback: BBSHD First Impressions : Meh. | Electric-FatBike.com
Pingback: Death Trap 2000 – Road Bike DIY BBSHD 8 speed e-bike $1200 36lbs w/ out Battery | Electric-FatBike.com
Pingback: Orange Crush – Cheapo Commuter BBS02 750W 8 speed e-bike $780 45lbs w/ out Battery | Electric-FatBike.com
Pingback: Hardy Boys Solve The Mystery Of The Nylon Gear Failure On The BBS02 | Electric-FatBike.com
Pingback: Mobilgrease 28 & BBSHD/BBS02 : Because A Good Mid-drive Is Better Seen And Not Heard | Electric-FatBike.com
I suspect I have Freewheel issues but the outer teeth all look fine through the gap in the reduction gear cover where the motor shaft runs. Does the center of the reduction gear ever “peanut butter”? I bought a spare with my last order just in case and the in inner part looks pretty solid so I doubt that would fail.
Should the main shaft that turns the primary reduction gear spin freely?. My one is hard to turn and sounds a tad gritty.
When the problem occurred the engine would spin but not turn the chain wheel under load. When you peddled you could feel the engine “slipping” through the crank. Without any load on the rear tyre the engine would turn the chain wheel and drive the chain and rear tyre would turn. Put load on it and it would not turn anything just slip around the crank.
Does this sound like I need to take the tightest screws in the world off and remove the cover and replace the gear or do you suspect something else?
Please give me your opinion – cheers.
LikeLike
Take it apart, if the gears on the primary and secondary are not stripped then it is the one-way bearings on the nylon gear. Replace the whole nylon gear as the bearings are not replaceable. I have not had mine fail yet although on several drive units they squeak. It’s important not to get grease on the axle that the nylon gear sits on.
LikeLike
The nylon gear seems fine and free wheels backwards the lower bearing where the shaft sits into looks fine. but the engine see here https://youtu.be/kn97I4h6bD4 seems wobbly and very hard to turn. If that normal od does it indictae that the bearing at the other end of the housing is dead?
LikeLike
Pingback: My BBSHD Was Evil And It Deserved To Die A Horrible Death | Electric-FatBike.com
Hello Carl.
I really like your articles! Good job.
I have one spare nylon gear and wondering how is this gear locked to axle, I dont see any notch or so. And theres also some bearing inside the gear.
LikeLike
It’s a one way bearing clutch.
LikeLike
Pingback: How To Buy Your First Ebike Or Ebike Kit And Not Get Punked | ElectricBike-Blog.com
Pingback: Destroy Everything You Touch : Managing The Repairs On Your Ebike Fleet | ElectricBike-Blog.com
Decided to check on my nylon gear after the first 100-200km on my new BBS02b and to my surprise the motor gave me a hard time coming of. When it did finally come of, it rather pulled the rotor from the motor. I am now stuck with the gearbox and rotor sticking out.
No mater how hard I pull and wiggle it will not come out. It seems that on the gear side there is now a pressfit into the bearing. Afraid to use a lever as it will surely damage the magnets or bearing.
Anyone experienced this?
https://drive.google.com/file/d/17fY0yi6Xc_tfVX9lH6VFxHRwvwyoJKJE/view?usp=sharing
LikeLike
I would put it back together and forget about checking the nylon gear. The only time I ever take my units apart is when the gear fails catastrophically. It’s unlikely that you’ll see any visible wear on the nylon gear until it fails. It is a press fit, so it will pull out, but you need to pull it straight out not lever it to the side.
LikeLike
In case anyone is lazy or has a BBS02 unit seized into their frame like mine, this can easily be done with the motor still mounted on the bike.
LikeLike
while i had everything apart,i checked the spiral shaft that feeds the nylon gear,it was noticably bent, sore place that along with bearings ,rotor and stator, I may as well check the clutch,almost buy a new motor
LikeLike
Where can I find BBSH02A nylon gears?
Or where can I find information on how to upgrade BBSH02A to BBSH02B?
I know the nylon gear and the shaft were updated but what else?
LikeLike
Hey!
Thanks for sharing all this information! 🙂
I have a problem – I have an old BBSH02A style motor with a peanutbuttered nylon gear and I cant find the old style gear from anywhere… Can anyone lead me to one? There must be some left on the planet!
If not – is there an article about upgrading BBSH02A to BBSH02B?
I know the shaft, the nylon gear and some plate in the motor were upgraded and that it should be possible to upgrade…
Cheers!
Rasmus
LikeLike
Any luck mate?
LikeLike
Hey!
Thanks for sharing all this information! 🙂
I have a problem – I have an old BBSH02A style motor with a peanutbuttered nylon gear and I cant find the old style gear from anywhere… Can anyone lead me to one? There must be some left on the planet!
If not – is there an article about upgrading BBSH02A to BBSH02B?
I know the shaft, the nylon gear and some plate in the motor were upgraded and that it should be possible to upgrade…
Cheers!
Rasmus
LikeLike