There are 2 different ways to go tubeless with non-tubeless setups
- Using a Stan’s Notubes \ Orange Seal with a lightweight rim strip kit or Gorilla Tape and screw-on valve
- Ghetto tubeless using a split tube and Stans or Orange Seal

What you will need $60 does 4 tires
The people that seem to have the most problems are the ones that do it the first way. Although using a split tube means that you end up with marginal weight savings over using an ultralight tube it does mean that you can use almost any combination of Tire and Rim whether they are designed to be tubeless or not.
Going tubeless on fat tires is more for being able to run at super low (sub 8psi) pressures without getting pinch flats than it is for weight savings.
Here was my shopping list to convert 4 tires to tubeless:
- $32 shipped : Qty 4 – Q-Tubes 24″ x 2.1-2.3″ 32mm Presta Valve Tube – The smaller tube makes for a tighter fit on the rim and the valve cores should be removable. Be aware that these tubes only work well on 80mm rims and smaller and will NOT work with 100+mm rims. If you have a larger rim just split open the tube that comes with the bike (as long as it has removable valve cores).
- $19 shipped from ebay : Orange Seal 16 oz Sub Zero Sealant Refill Bottle – Orange Seal beat out Stans in independent tests and I need something that will seal in super cold temps
- $4 shipped from ebay : Syringe Injector for tubeless tires
- $5 from Lowes : Sill Seal foam gasket, closed cell 3.5″ x 50′ is enough for a whole lot of tires
- Optional $2 for qty 10 from ebay : Presta to Schrader Bicycle Bike Valve Adapter – This makes it easier to use a compressor
- Optional $10 shipped from ebay : Park Tool VC-1 valve core remover tool for Schraeder and Presta valves
That brings the total to $60 for 4 tires or $15 a tire. Considering a decent lightweight fatbike tube is over $11 it means that going tubeless is really not that expensive.
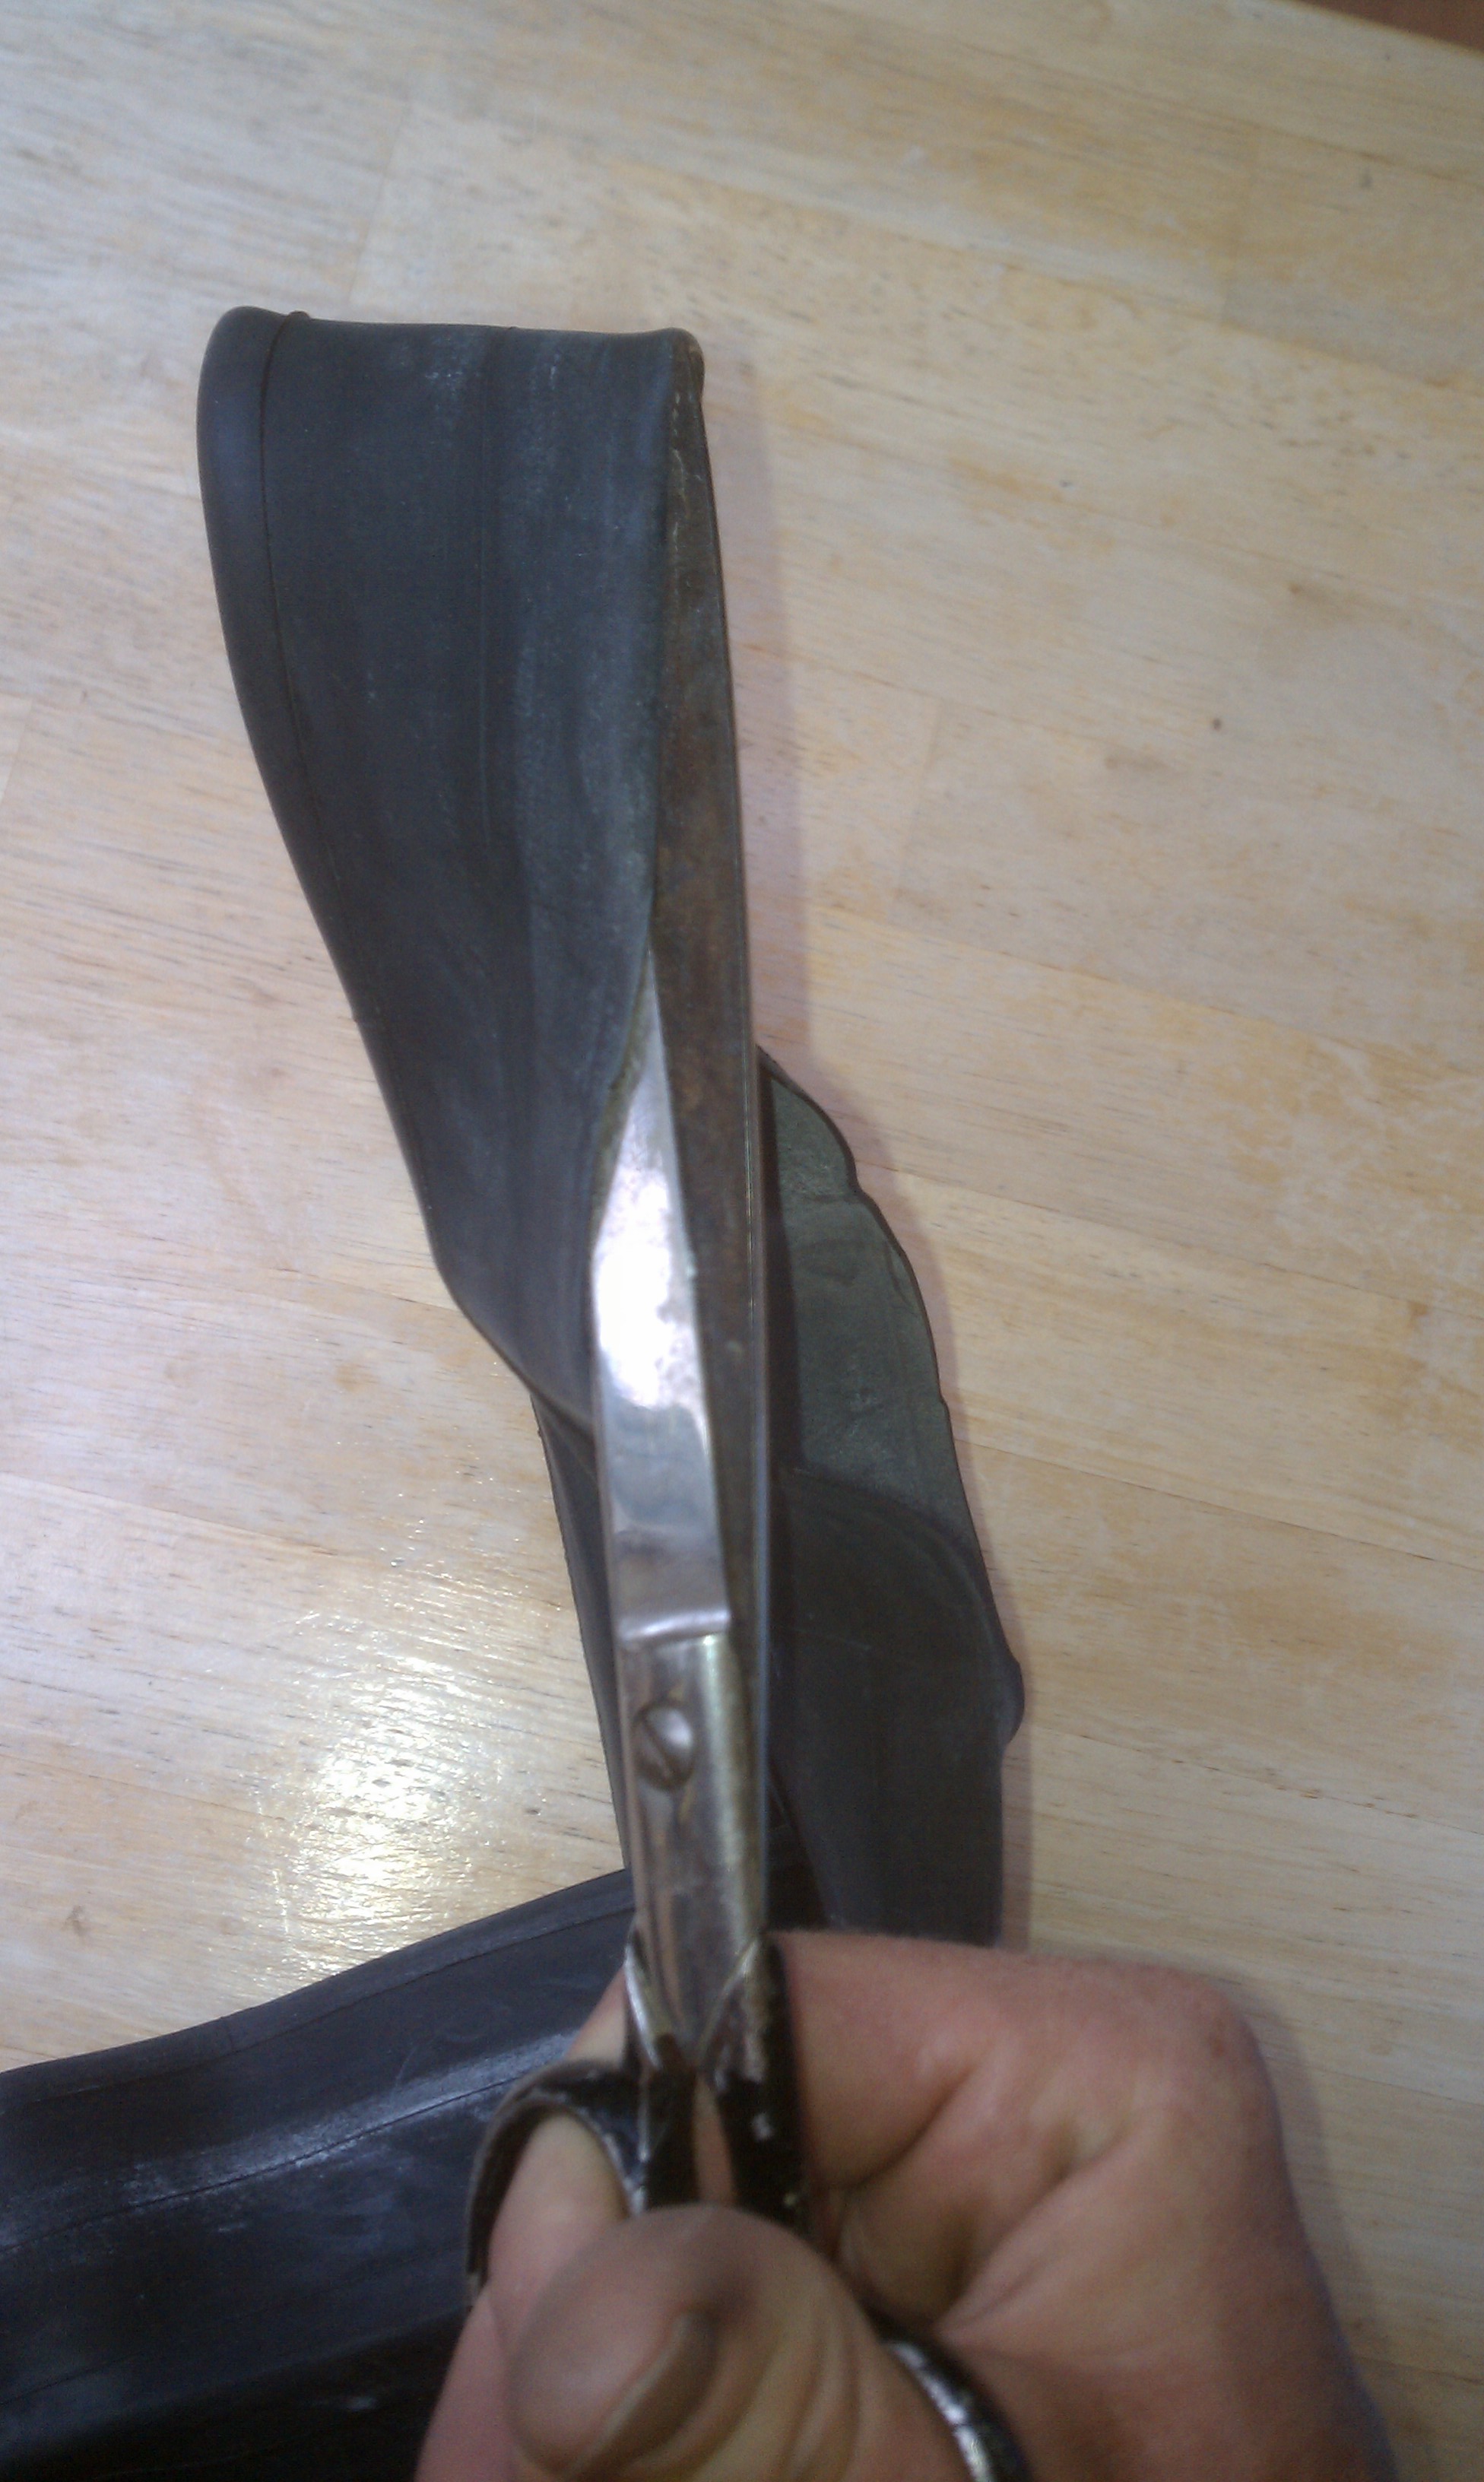
Be careful when cutting the tubes that you stay on the outside of the tube along the seam.
1) Cut the tube the long way along the outside of the tube opposite the valve stem. Wash the powder off the inside of the tube and dry.
2) Cut the foam insulation to width and wrap around the inside of the rim with the seam meeting up at the valve hole. This foam will push the tube against the tire making inflation with the compressor a snap. If the tire has a large diameter bead and you can’t get it to seal in step 4 you might have to add 2 layers of foam. With the Surly Lou and Bud I had to do this.
3) Insert the valve and wrap the tube around the inside of the rim
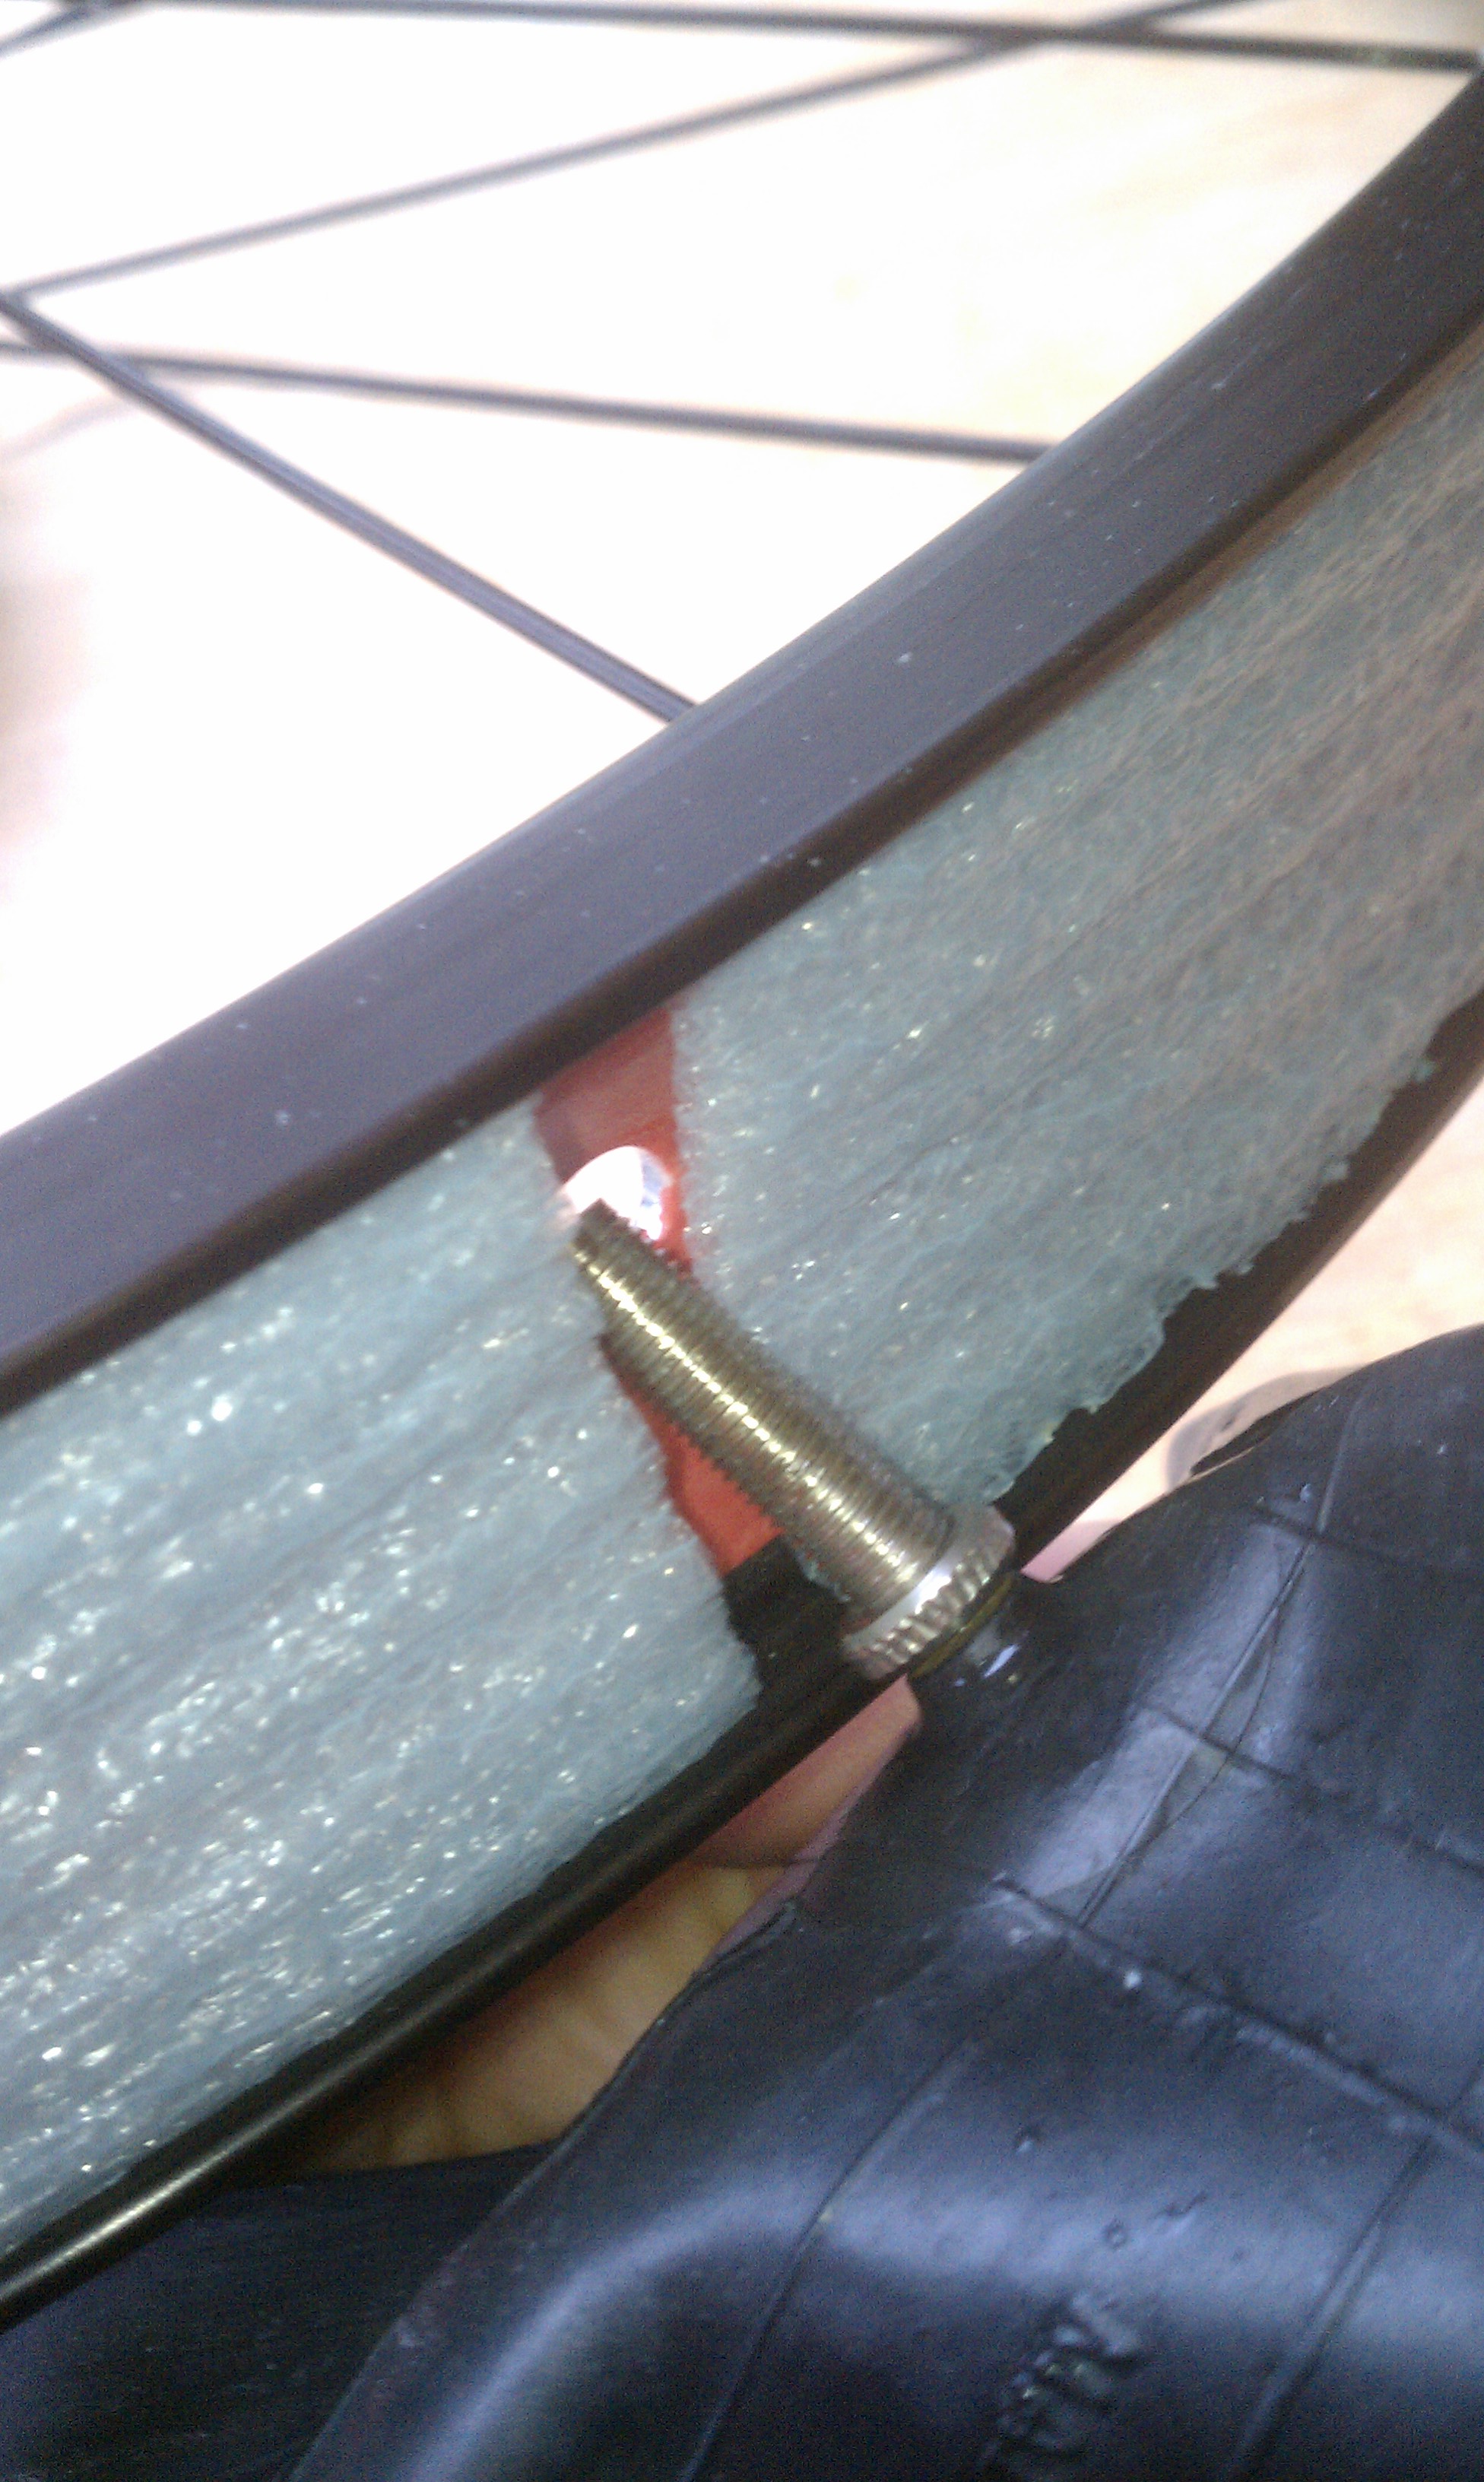
Because this is a Schrader hole (too big) and I’m putting a Presta valve though I put a threaded washer on BOTH sides of the rim.
4) Mount the tire on the rim making sure the tube sticks way out on both sides. Inflate with air to make sure it seals properly and easily. It should be easy, if not add a 2nd layer of foam on the rim strip.
The excess tube can be trimmed later.
5) Remove the valve stem carefully with pliers or with the Parktool vc-1 and allow tire to deflate.
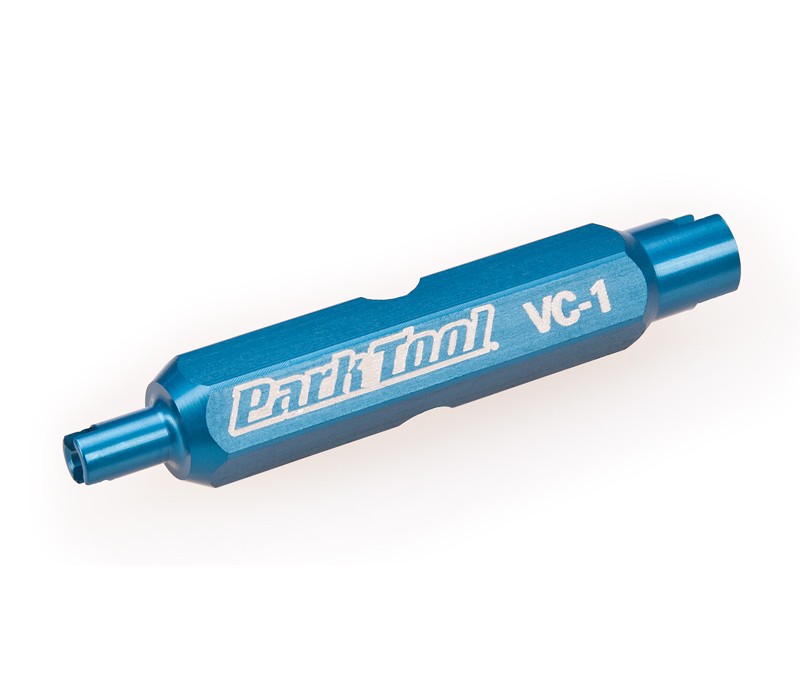
The VC-1 is a fantastic tool for removing/replacing cores.
6) Inject about 4oz or so of sealant.
This was the cheapest injector I could find on ebay
7) Replace the valve core and inflate the tire to max psi (this might be only 20psi depending on the tire) with a compressor
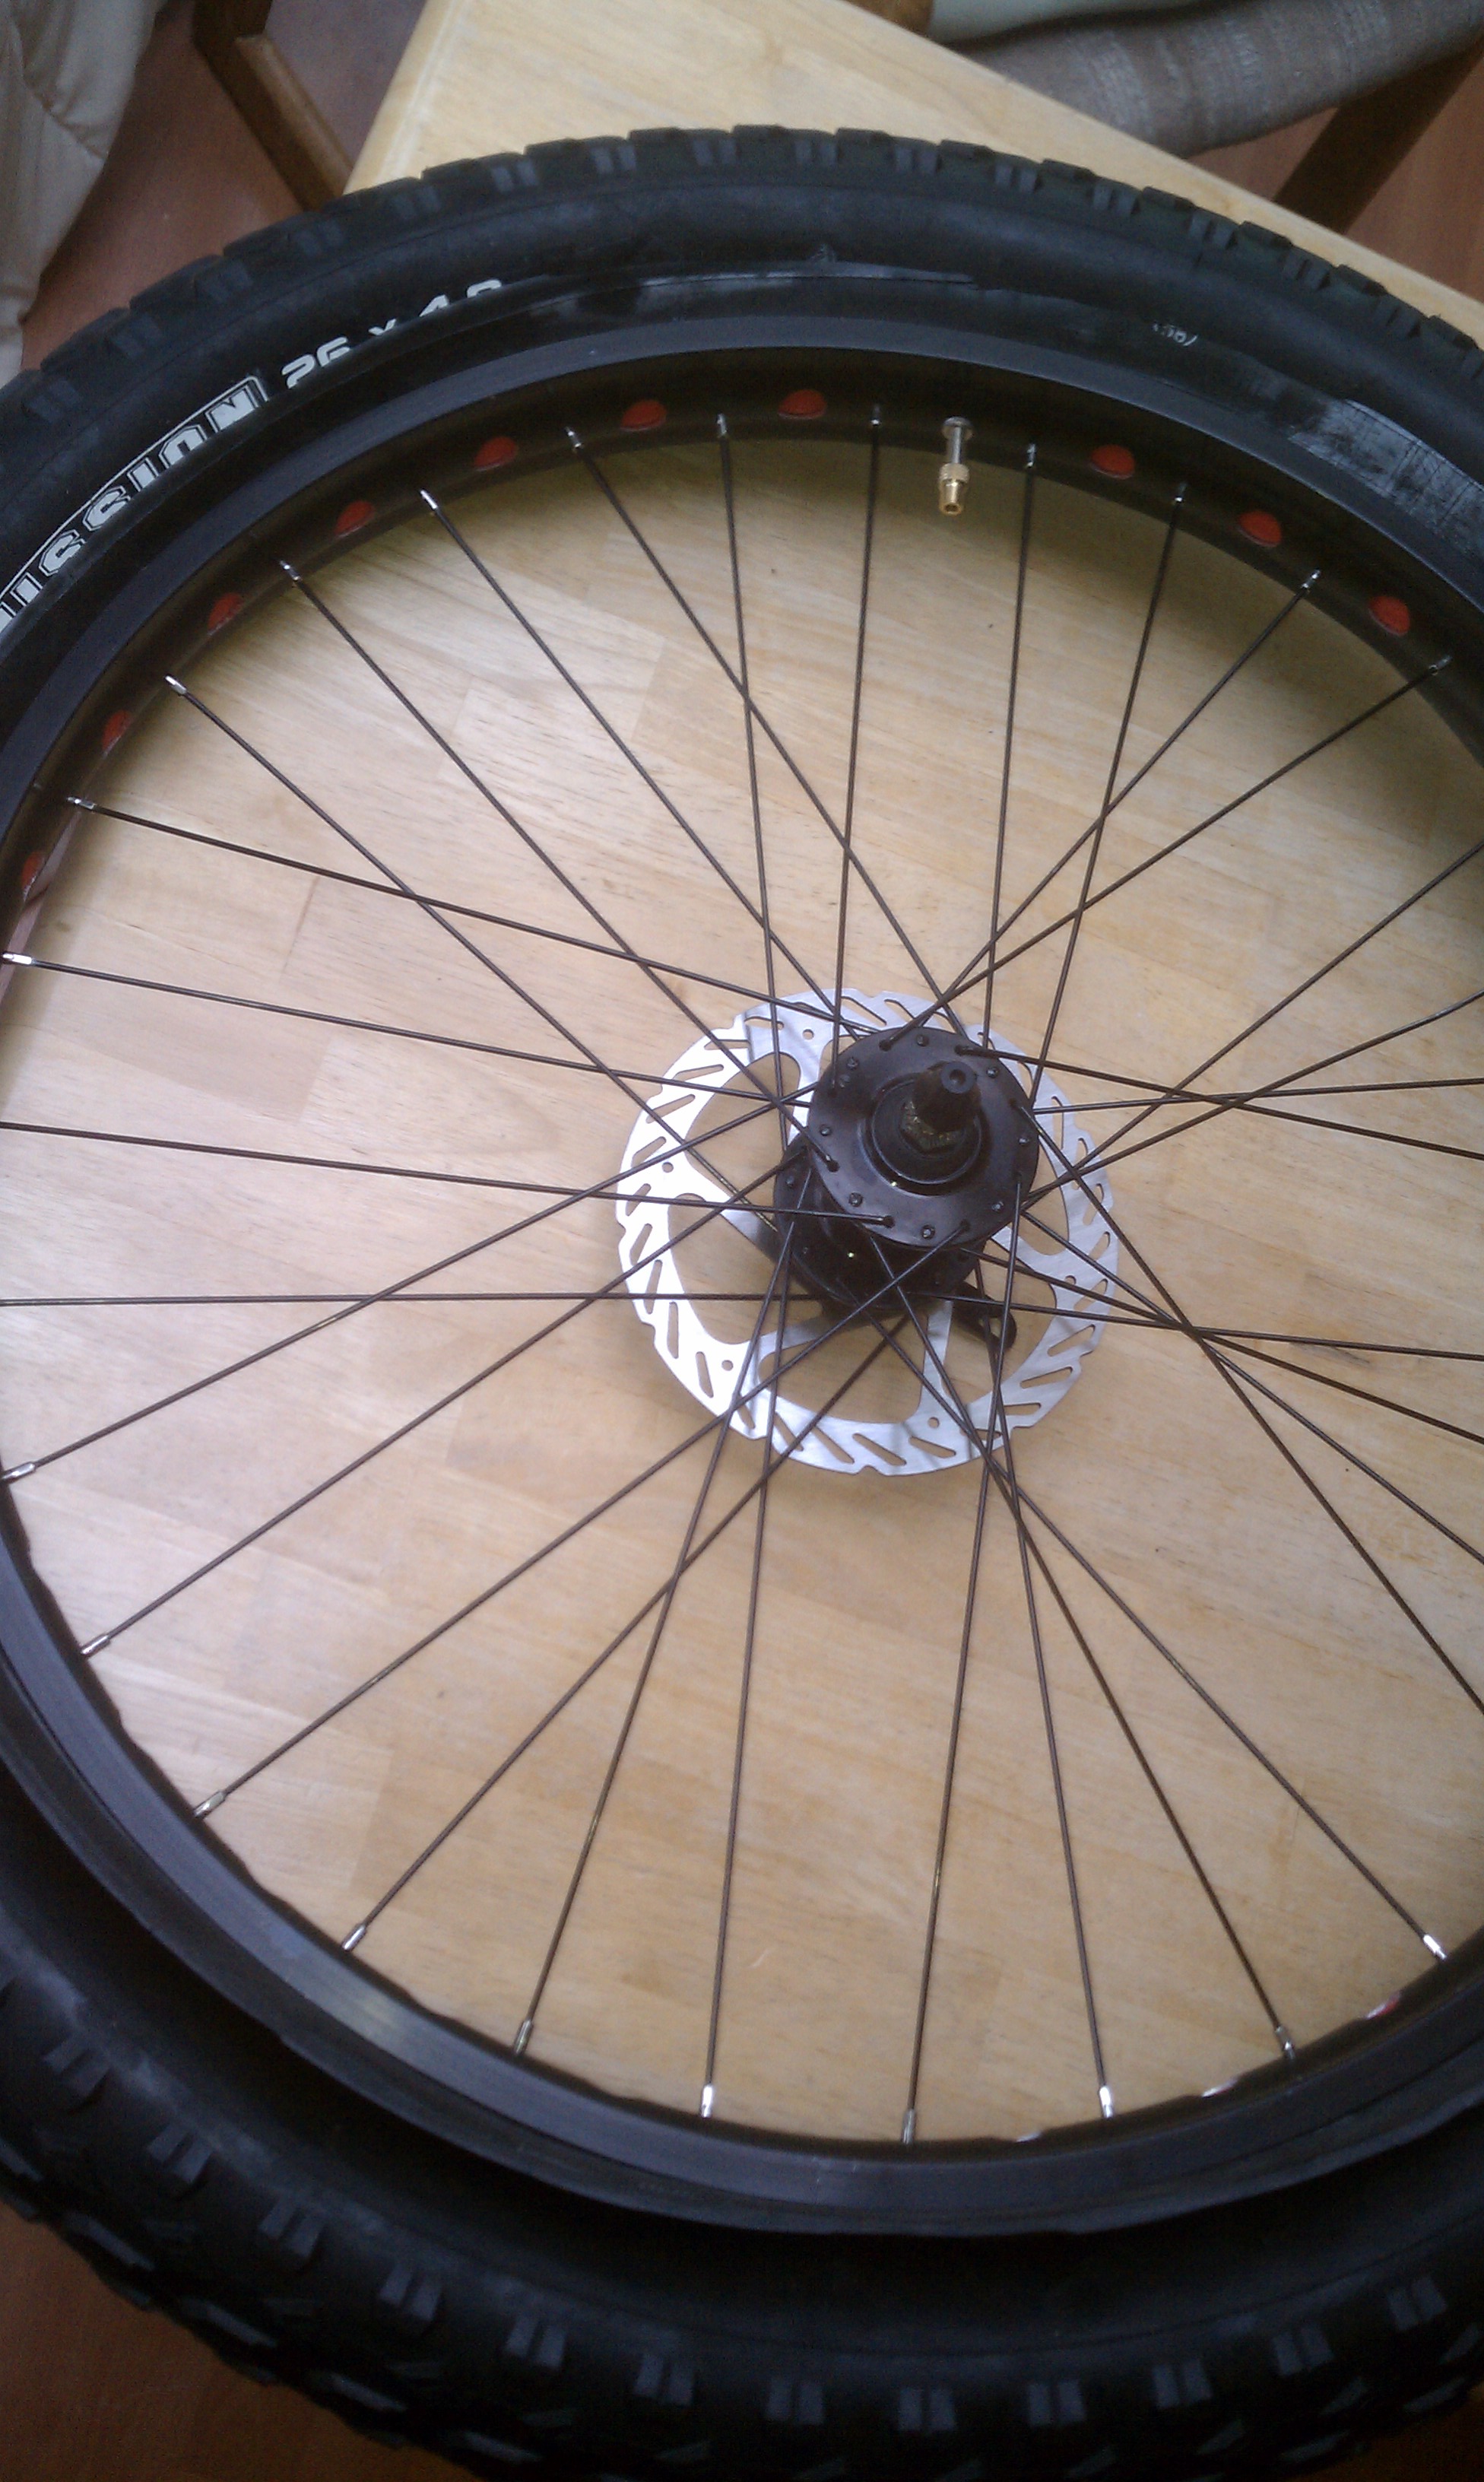
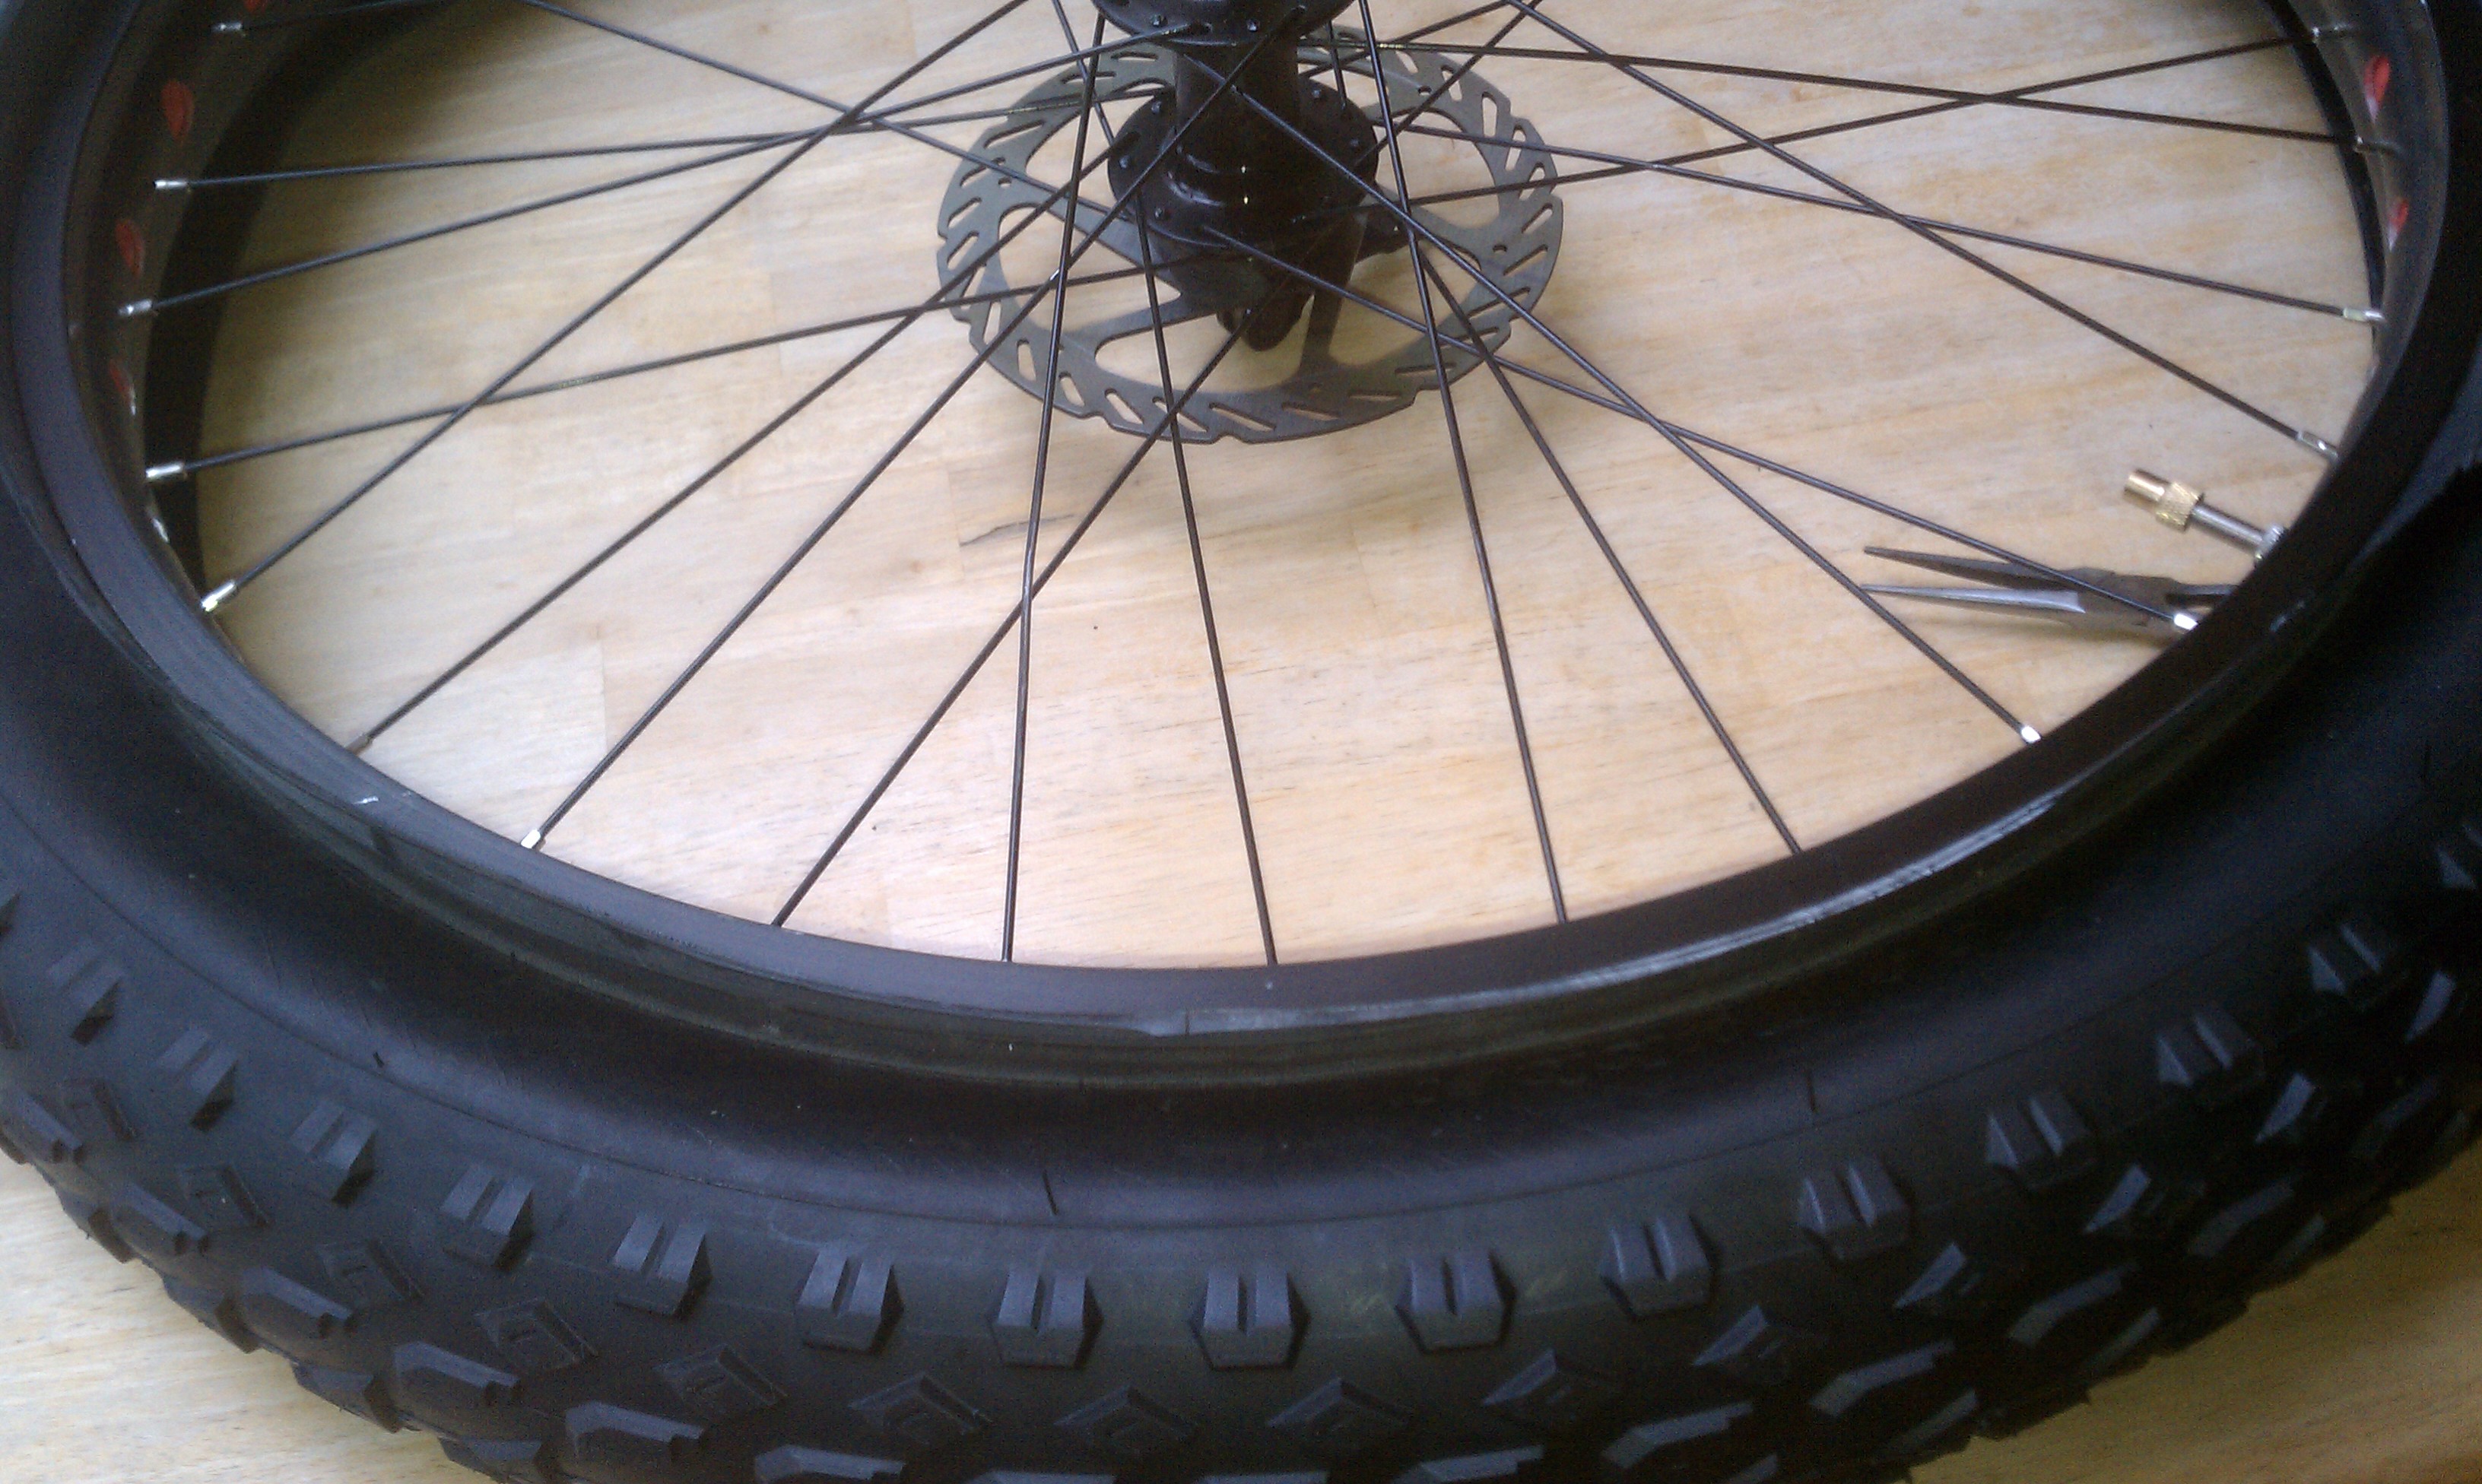
What the wheel looks like with the tube sticking out the sides.
8) Swish the tire around while parallel to the ground and try to get the sealant to seal on the rim. Flip tire over 180 degrees and shake it on the other side. If you have holes in the tire from previous pinchflats now will be when you see them. Let the tire drift down to lower psi’s (like 5) then set the tire so that the orange seal will blow out the hole and try to seal it. You will need to wait several minutes for the tire to seal. If this doesn’t seal you will have to patch the inside of the tire with rubber cement and a tire patch.
9) Mount the tire and ride for at least a few miles.
10) If tire is flat the next day then re-inflate and ride a few more miles. Once the bead sets then you can ride it at much lower pressure with less chance of the tire burping.
Cut a slit perpendicular to the rim
11) Trim off excess tube, the best way to do this is to cut a slit with a fresh exacto blade in the tube down to the rim being careful not to cut the tire. Then point the razor toward the rim with one hand and hold the excess tube with the other. Carefully pull the tube and the wheel will turn pulling the excess tube into the blade. If you are doing the front wheel you will have to have someone hold the handbars steady or balance the bike upside-down.
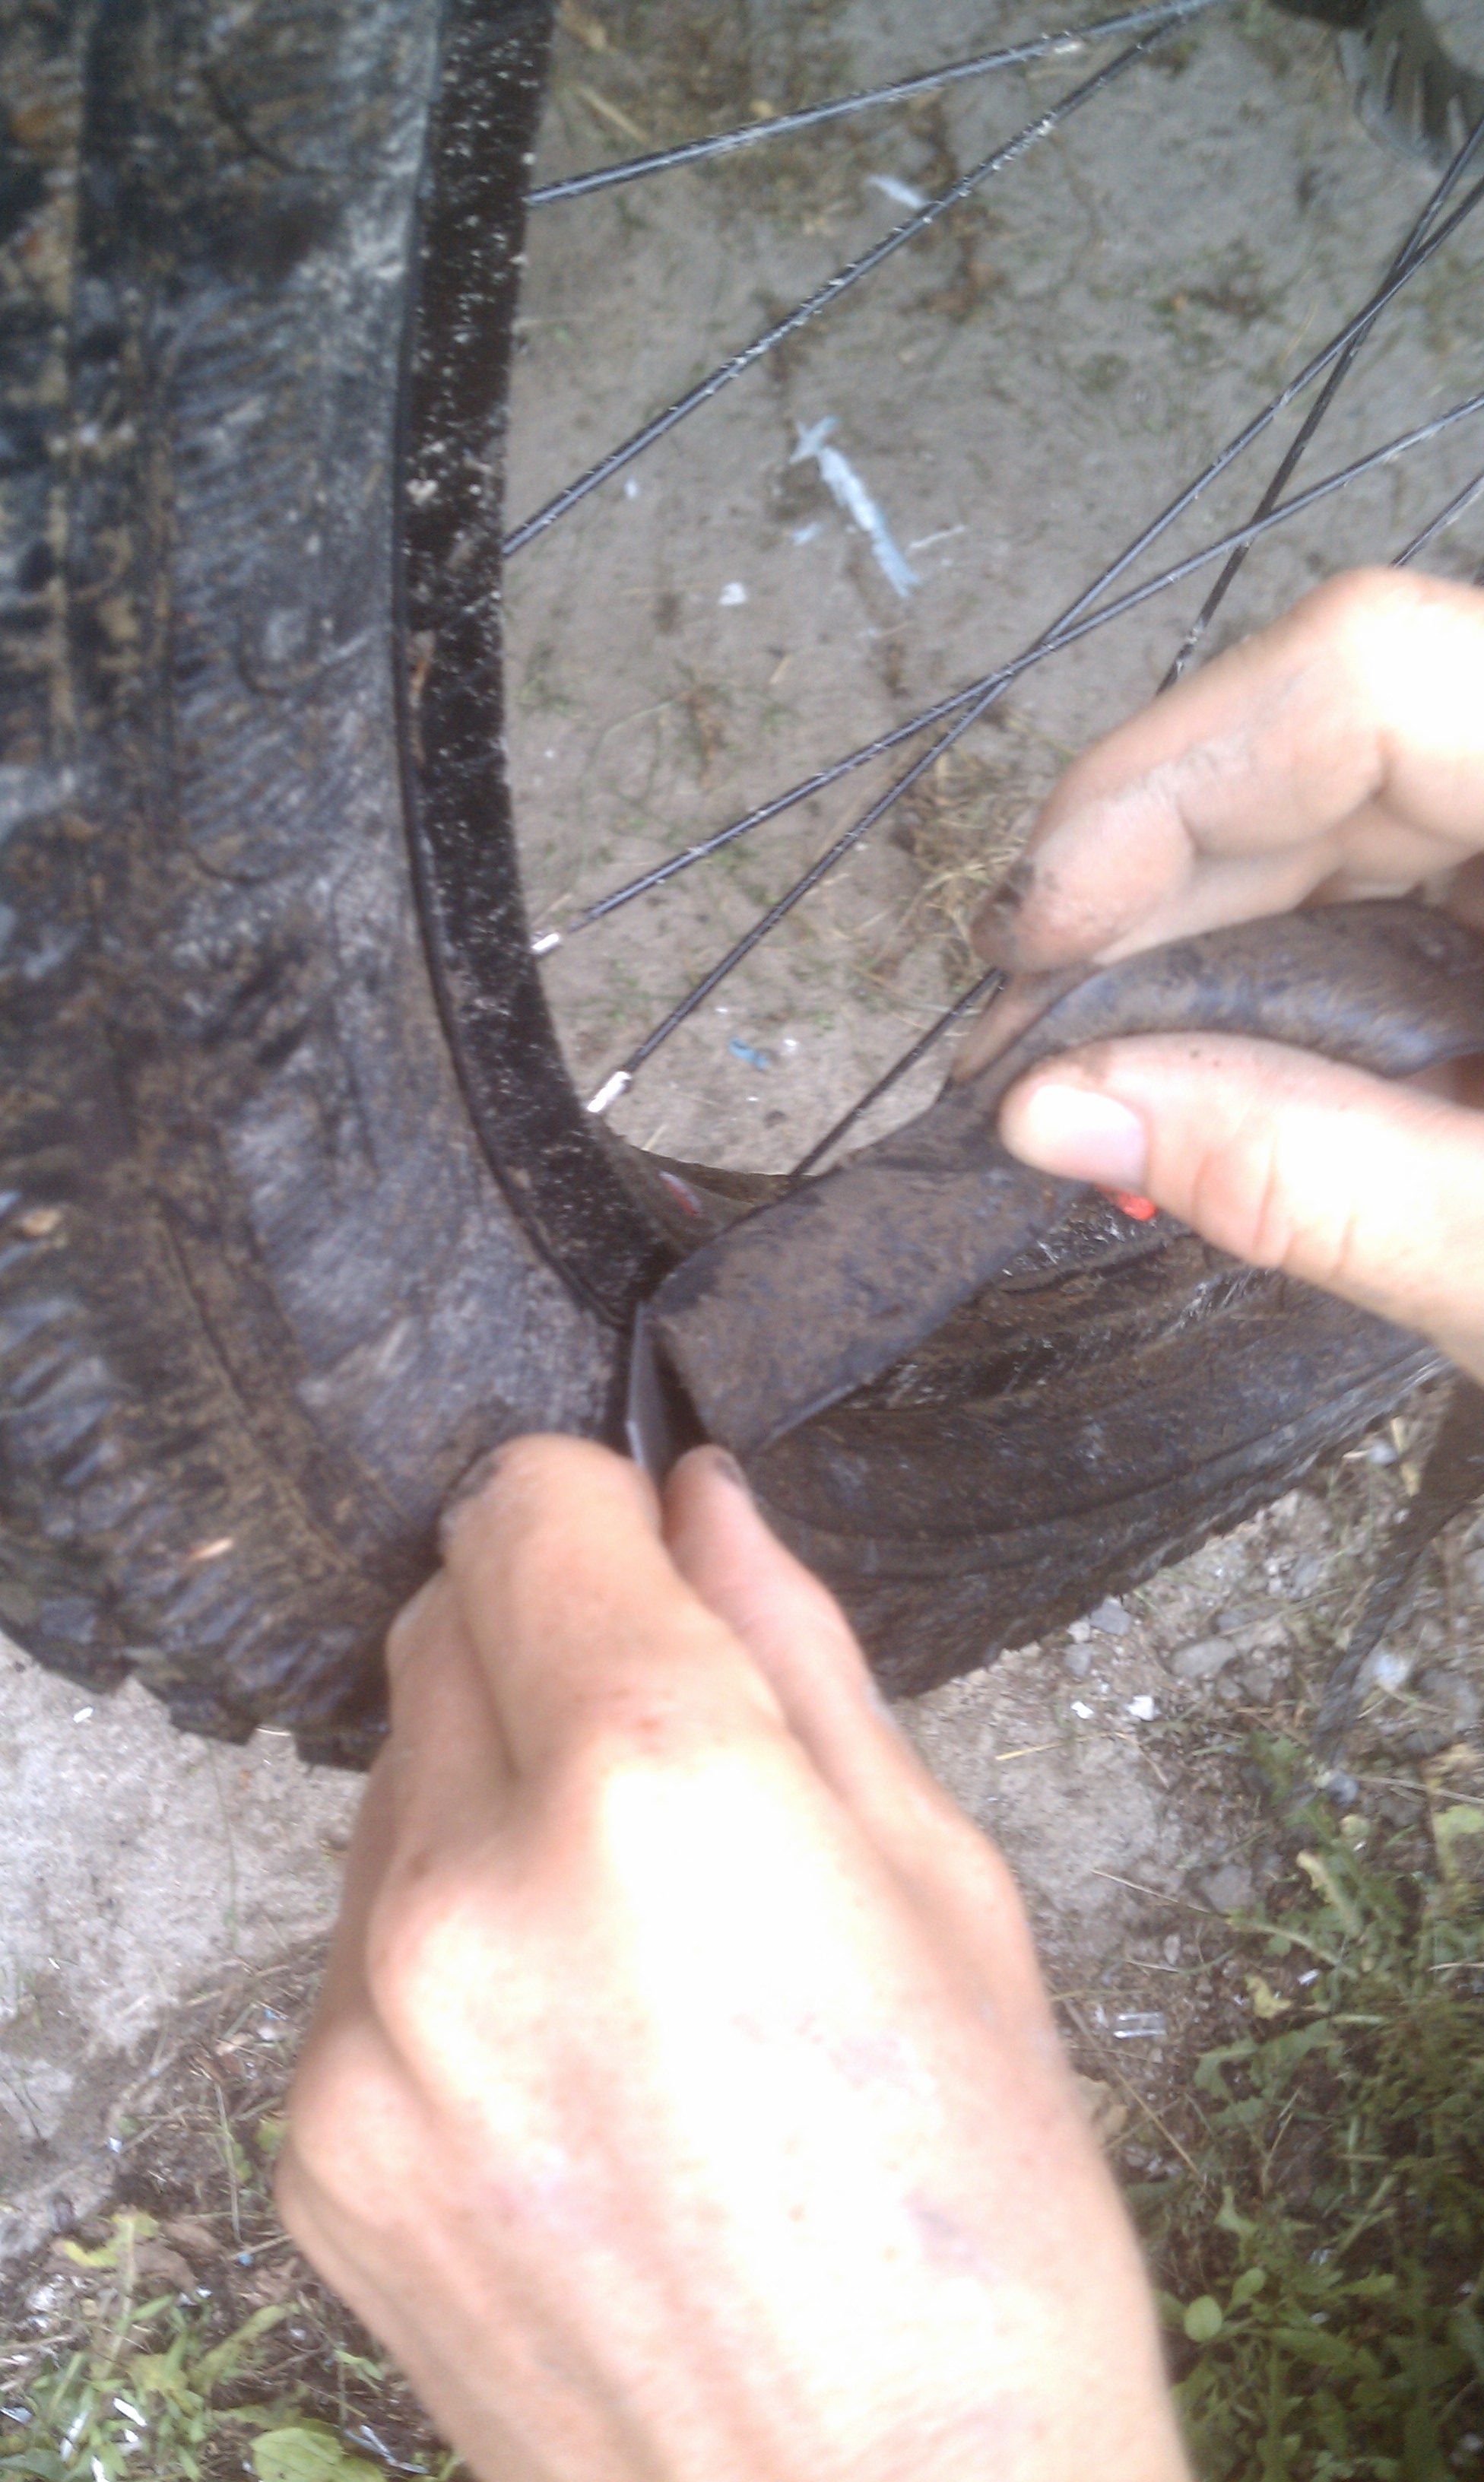
Pull the tube and let the tire turn and the tube will pull into the blade. Don’t cut the tire, position the blade so if the tire moves the tip will hit the rim instead.
Bring a spare tube with you in your backpack on the trail as if the tire goes flat it is much easier to just rip it apart and throw a tube in than to try to get it to work while on the trail.
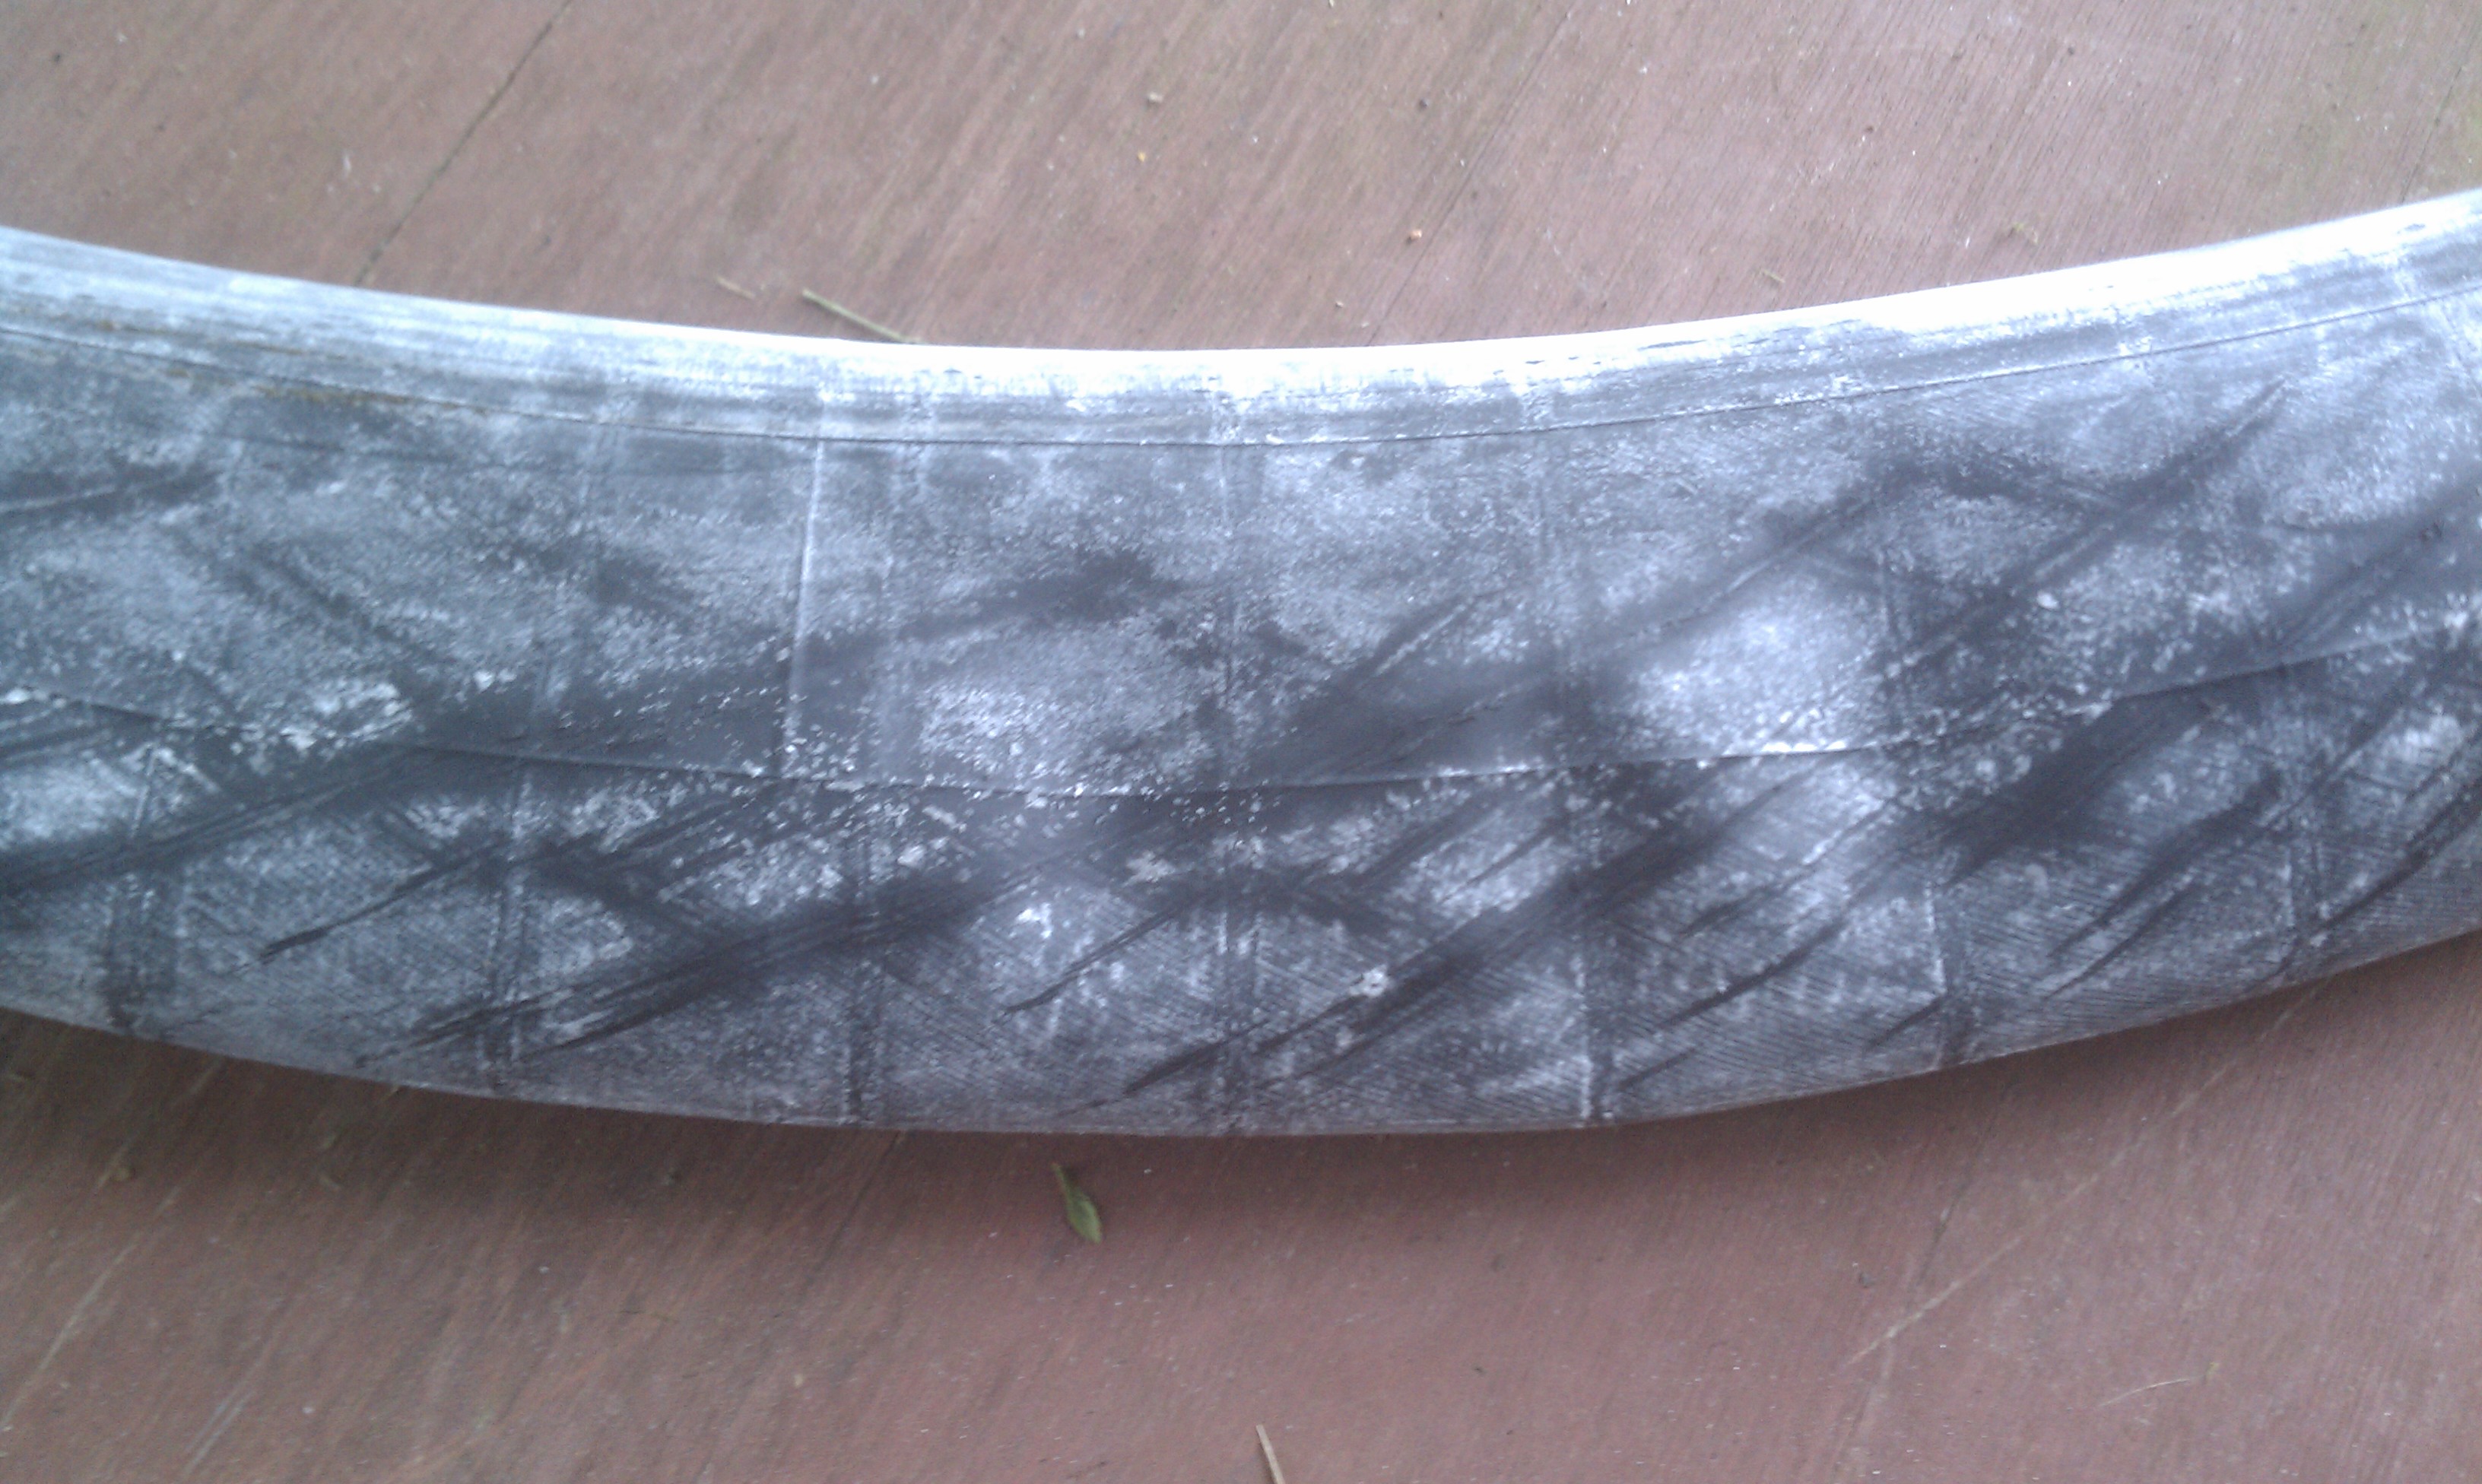
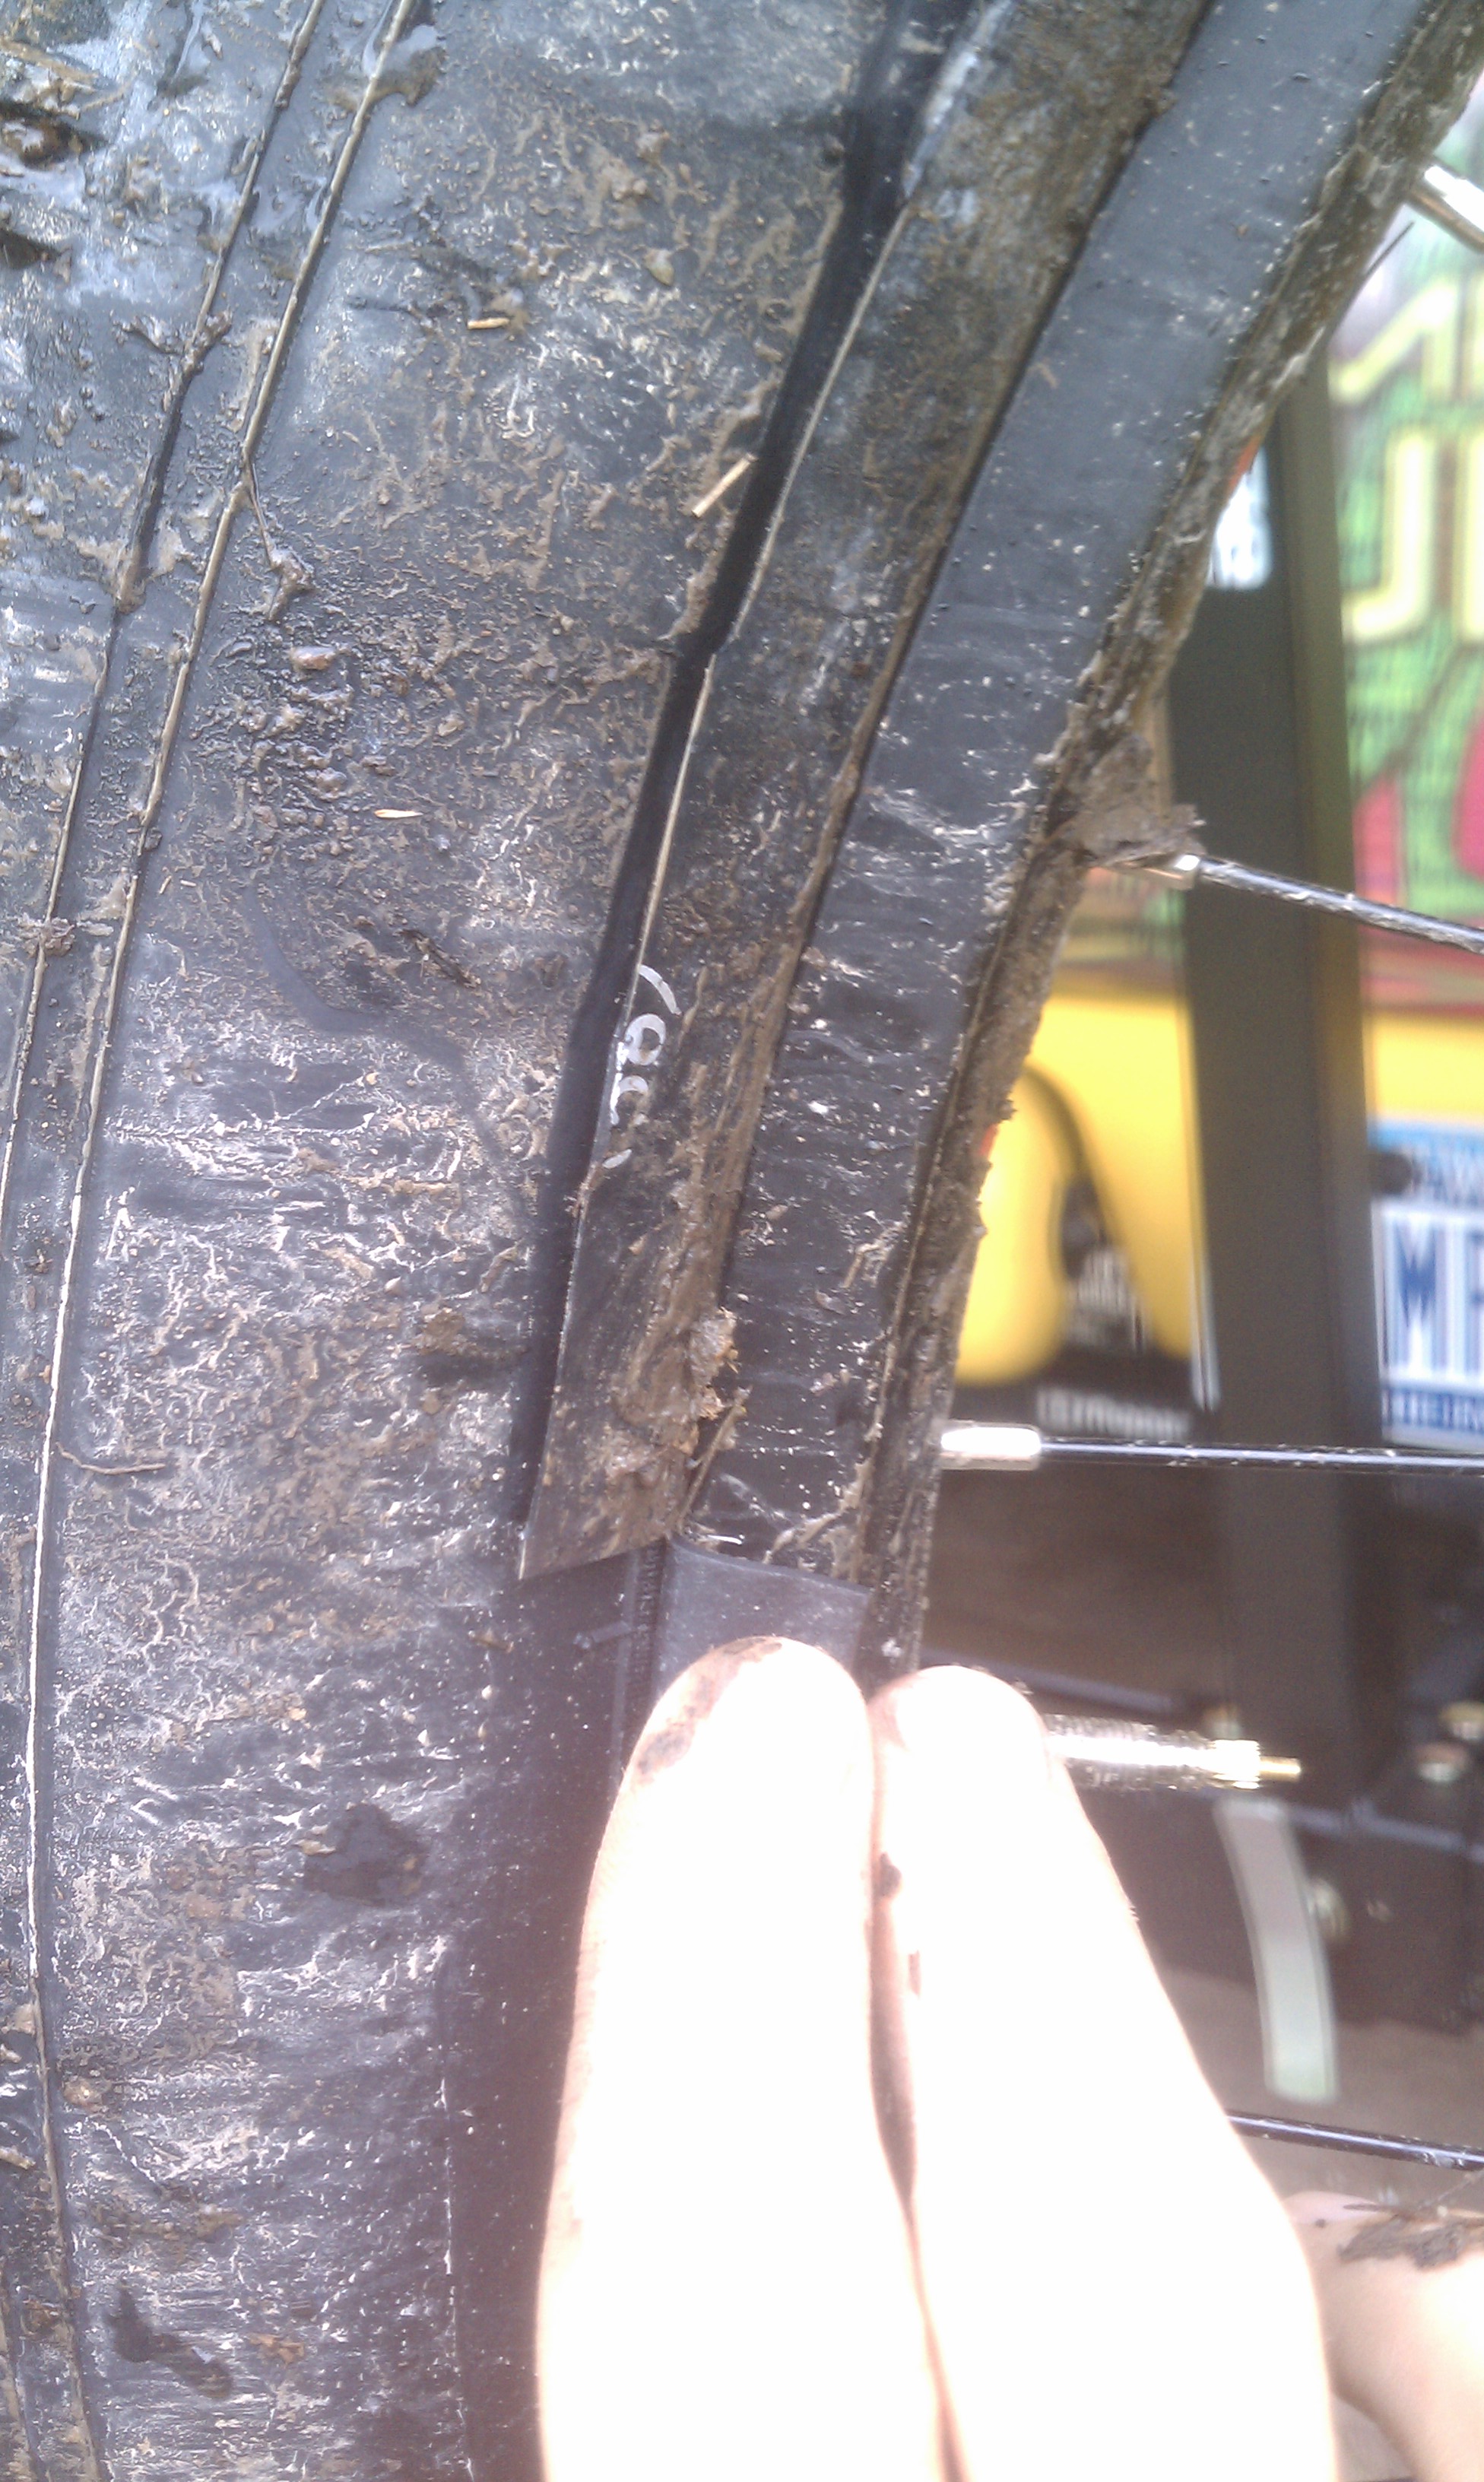
Low tire pressures and high speeds the friction between the tire and the tube will quickly wear down your tubes. This tube was about 1/2 way-worn through with only about 100 hours of hard riding on it.
If you are trail riding with a fatbike you are missing the point if you are using tubes. Lower tire pressure means a much nicer ride quality, better control and more traction. If you want to go over 20 mph and ride with a reasonably low tire pressure then you will need to go tubeless or your tubes and tires just won’t last.
Ride On.
Update: I’ve done about 12 tires tubeless and had no problems. On some of the 80mm rims I have to use 2 layers of sill foam to get the tube to press against the tire bead enough to seal without a lot of hassle. The air pressure also crushes the sill insulation flat once the tire is inflated for any period of time so when you replace the sealant or deflate the tire you will need to pull out the foam insulation and replace it with fresh strips. I only use tubes now to figure out what tires I want on what bikes. Once I decide that I like a tire combination on a bike I switch it to tubeless. It’s the only way to ride.


Pingback: H-Billie 4.25″ – The Best Vee-Rubber Tire I’ve Tried Yet | Electric-FatBike.com
Pingback: Duh Banana Bike – Deadeye DIY BBS02 41lb Single Track e-Bike $765 (w/o batteries) | Electric-FatBike.com
Pingback: Kinaye Motorsports Selling A Laced MXUS 3000W Direct Drive Hub For $699 | Electric-FatBike.com
Pingback: Panaracer Fat B Nimble 4.0 – Some Serious Bang For Your Buck | Electric-FatBike.com
Pingback: Felt LEBOWSKe – Refined Ride, Uninspiring Torque And Outrageous Price | Electric-FatBike.com
Pingback: Bluto Front Fork – “The Wonderful Thing About Tiggers, Is Tiggers Are Wonderful Things” | Electric-FatBike.com
Pingback: Dark Matter – Bullseye Monster Pro DIY Biktrix BBS02 46lb Single Track e-bike $2200 | Electric-FatBike.com
Pingback: Sondors Ebike Reviewed – Feel Like A Real Superhero … Until You Hit A Hill | Electric-FatBike.com
Pingback: BBSHD Skunkworks – The Chainrings Cometh | Electric-FatBike.com
Pingback: Orange Crush – Cheapo Commuter BBS02 750W 8 speed e-bike $780 45lbs w/ out Battery | Electric-FatBike.com
Pingback: My Little Bronie – Sette Ace Single Track Full Susp DIY BBS02 750W 9 speed ebike $1500 w/out battery | Electric-FatBike.com
Pingback: Phat Phuk : FB 5 2.0 Snowshoe 2XL DIY BBSHD 1000W 10 Speed ebike 51lbs ~$1850 w/ out battery | Electric-FatBike.com
Thanks for this. There are several places on the web where this technique is explained, but I think yours is the only one with a detailed parts list and a mention of the Orange Seal Subzero. Orange is a favorite color, so…
Also I haven’t seen anywhere else the suggestion to use sill seal to help push the tire bead outward toward the rim.
My recently acquired Krampus had a flat up front so I just followed these instructions to go tubeless on a couple of 29+ rabbit hole 50mm rims and Knard 3″ tires and it was fast and easy. I was able to inflate the front wheel using only a hand pump, but for some reason the rear tire was looser on the rim and I had to resort to compressed air. The resulting ride is very cushy. It’s fun to ride this (motorless) bike all over Cass Park late at night and chase the deer across the athletic fields.
LikeLike
Pingback: Vee Rubber Snow Shoe 2XL : Fatter Than Your Mom *ouch* | Electric-FatBike.com
I will give this a try Karl. I have some old 24″ down hill tubes that are heavy duty and thick with threaded schrader valve stems. I am assuming its OK to go with the schrader valves as they are threaded? Second question is if I use these schrader valve tubes is it necessary to use the threaded washer on the inside of the rim? I am thinking not and just the lock washer or nut on the outside of the rim for valve stem hold down………thanks wayne
LikeLike
Scraeder should be fine as long as the core is removable (most are) and your injector syringe will fit around the outside of the valve. A single locknut on the outside is fine, you might be able to get away with none at all.
LikeLike
Yes the Schrader valve worked just fine. I used a turkey baster and some rubber tubing between the turkey baster and the Schrader valve. Once the valve stem has been removed the sealant just flows through the turkey baster and rubber tubing with out any squeezing at all. I guess the ID of the Schrader valve is so much larger than the ID of the Presta valves things flow a little easier. If someone is wanting to cut costs and do this as cheap as you can, with a Schrader valve I think you could even use a funnel and a little bit of rubbing tubing and skip the injector all together.
Loving the tubeless, working well.
LikeLike
I use a standard 10ml syringe without needle. It enters into Schrader or presta valves once you remove their core, no issue 😉
LikeLike
Pingback: Snow, Slush & Ice Can’t Stop You : How The BBSHD Is Redefining How Much Fun You Can Have In The Wintertime | Electric-FatBike.com
Pingback: Duro Beach Bum 3 Inch Tires Stretched Onto A 100mm Rim : You Can Tell All the Ladies That It’s 4 Inches, Really | Electric-FatBike.com
Pingback: If A Fat Bike Tire Seems Too Light To Be True, It Probably Is : Kenda Juggernaut 4.0 | ElectricBike-Blog.com
Pingback: Rebel Scum : DIY 3000W Ascent Full Suspension Sniper 10 speed ~$3520 w/ out battery | ElectricBike-Blog.com
Stumbled upon your tutorial after struggling to inflate a set of Surly Nates on Marge Lites. I initially skipped the foam, as I went straight split tube when I set up a pair of 29×3 Knards over Rabbit Holes without issue. The foam was exactly what I needed to get these to bead, first try even, no suds! In any case, I was so impressed that I thought I’d take another crack at a stubborn 29×2.2 Kenda Honey Badger on a WTB Trail 29er I couldn’t get to inflate. Of course it worked. Thanks!
LikeLike
Pingback: 15 Tips To Having More Fun Than Everyone Else Electric Fatbiking In Snow | ElectricBike-Blog.com
Pingback: Lose Some Weight Fatty : Create An Ebike For All Seasons By Swapping Out Your Fat Wheelset For 29 Plus | ElectricBike-Blog.com
Thank you for the sill seal foam suggestion, best advice ever! I had a very loose tire that didn’t seat, and a layer of that foam solved it.
LikeLike
For a Presta valve in a Schraeder valve hole rim there are useful rim grommets to reduce he hole size.
LikeLike